Photographing winter excursions in Finnish Lapland for TUI
In December 2016, I spent five days photographing winter activities and excursions in Finnish Lapland for TUI.
The brief was to create a varied library of destination and experience photography for the TUI website, marketing content and point-of-sale materials used by resort representatives. By the end of the assignment, I had produced more than 500 images covering the Northern Lights, husky rides, snowmobiles, ice structures, snowy landscapes and festive experiences.
Lapland is visually extraordinary, but it is also one of the most technically demanding places I have photographed. Daylight is limited, activities move quickly, batteries drain in the cold and simply taking a camera from freezing outdoor conditions into a warm building can create serious condensation.
This guide explains what I photographed, the equipment I used, and, equally importantly, what I would do differently today.
Lapland winter photography at a glance
For anyone preparing to photograph Lapland in winter, these are my most important lessons:
- Carry several batteries and keep your spares warm.
- Manage condensation whenever you move between cold and heated environments.
- Use a faster shutter speed than you think for a strong, fast-moving aurora.
- Choose a wide lens with an aperture of f/2.8 or wider if possible.
- Use at least 1/500 second for huskies, snowmobiles and other fast activities.
- Check your highlights carefully because bright snow can be deceptively difficult to expose.
- Dress for the conditions properly. Cold hands make operating a camera much harder.
These recommendations come from a real five-day commercial assignment—and from looking back honestly at both the successful images and the photographs I would approach differently now.
Why I was photographing Lapland for TUI
At the time of this assignment, I was working for TUI and creating photography for destinations, excursions and travel experiences.
The Lapland brief involved documenting a selection of activities that customers could book or experience during their holiday. The photographs needed to do more than show beautiful scenery. They had to explain each activity, capture its atmosphere and help potential customers imagine taking part.
The resulting images were intended for TUI’s website, resort marketing, informational content and printed materials used by representatives. This meant producing wide establishing photographs, closer details, action, people enjoying the activities and both horizontal and vertical compositions.
That commercial thinking remains central to my travel and tourism photography today. An impressive landscape photograph may attract attention, but a useful tourism image also needs to communicate what the customer will experience.
A note about the locations
This assignment took place nearly ten years ago, and I no longer have access to the original TUI itinerary or emails. Many of the activities were in remote snowy locations without obvious landmarks.
I can confidently describe what I photographed and how I approached it, but I cannot reliably identify every operator or exact stop. Rather than guess, I have focused this guide on the experiences and photography lessons I can verify from the assignment and image files.
The camera equipment I used
My main camera was a Canon 5DS. For this particular assignment, I also rented a Sony a7S II because of its low-light capabilities.
My rental period ran from 6 to 11 December 2016 and included:
- Sony a7S II
- Metabones Canon EF to Sony E-mount Smart Adapter Mark IV
- Canon EF 11–24mm f/4L USM
I also carried my dependable Canon 24–105mm f/4 and a 28–300mm lens.
The 28–300mm offered a useful focal range on paper, but I did not enjoy using it. It was large, heavy and produced more distortion than I wanted. In conditions where I was already wearing thick clothing and moving between activities, the additional bulk became frustrating.
The 24–105mm f/4 was much more familiar and reliable, while the 11–24mm gave me the wide field of view needed for the Northern Lights, ice interiors and expansive winter scenery.
Today, I would prioritise a faster wide-angle lens for night photography. An aperture of f/2.8 or wider would allow me to use a faster shutter speed without having to push the ISO quite as far.
1. Photographing the Northern Lights
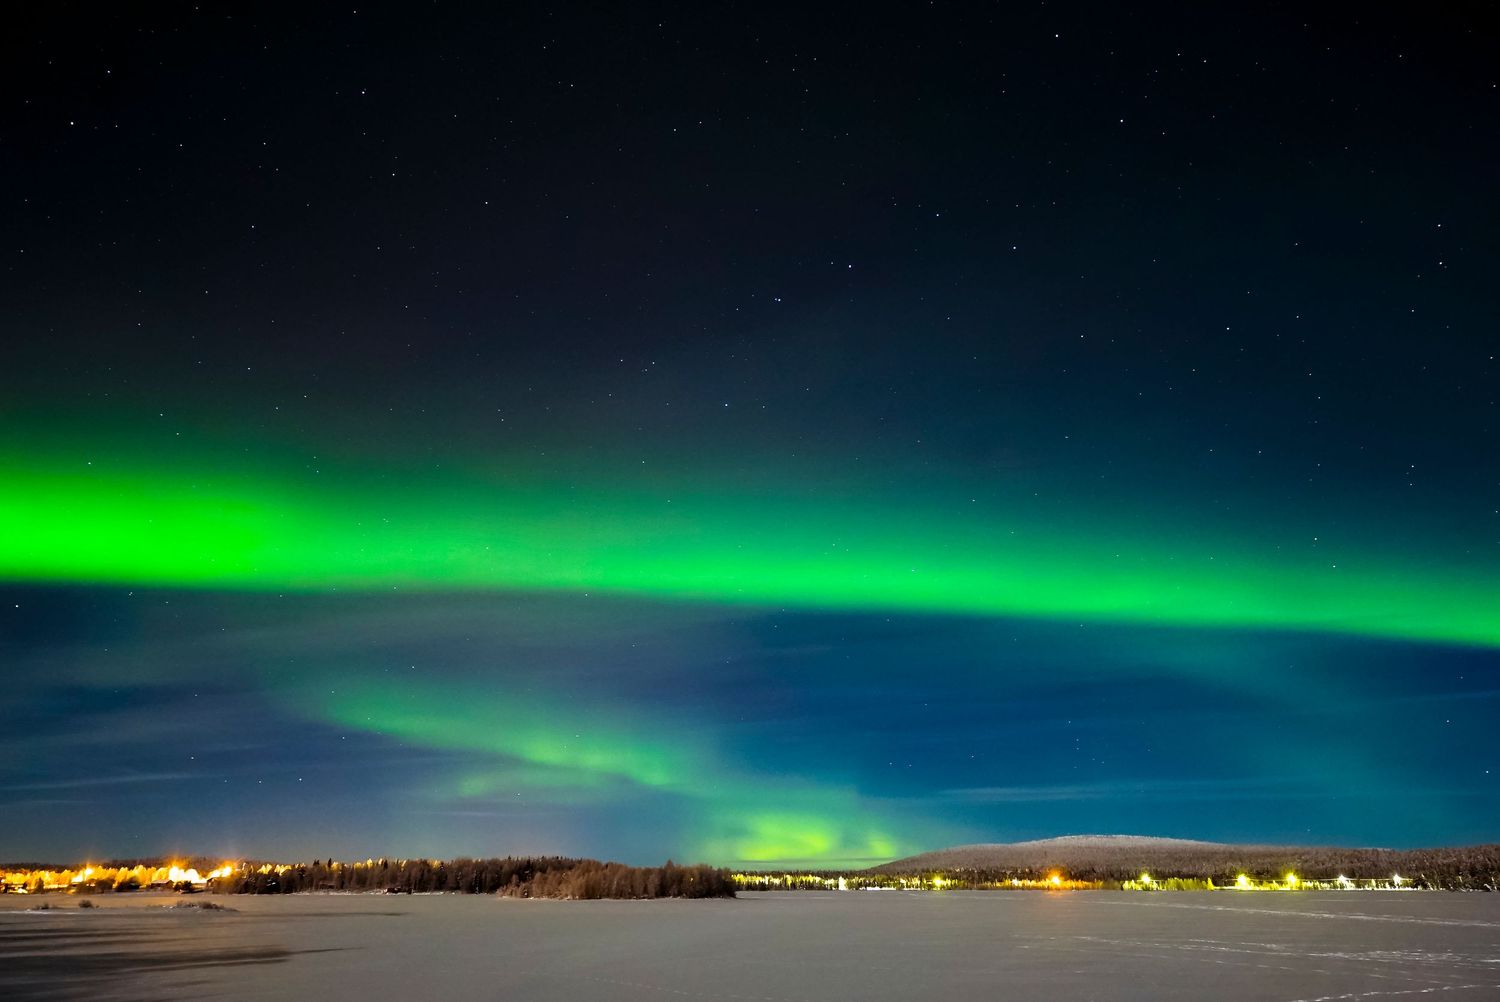
The Northern Lights were the most memorable part of the assignment and the most technically challenging.
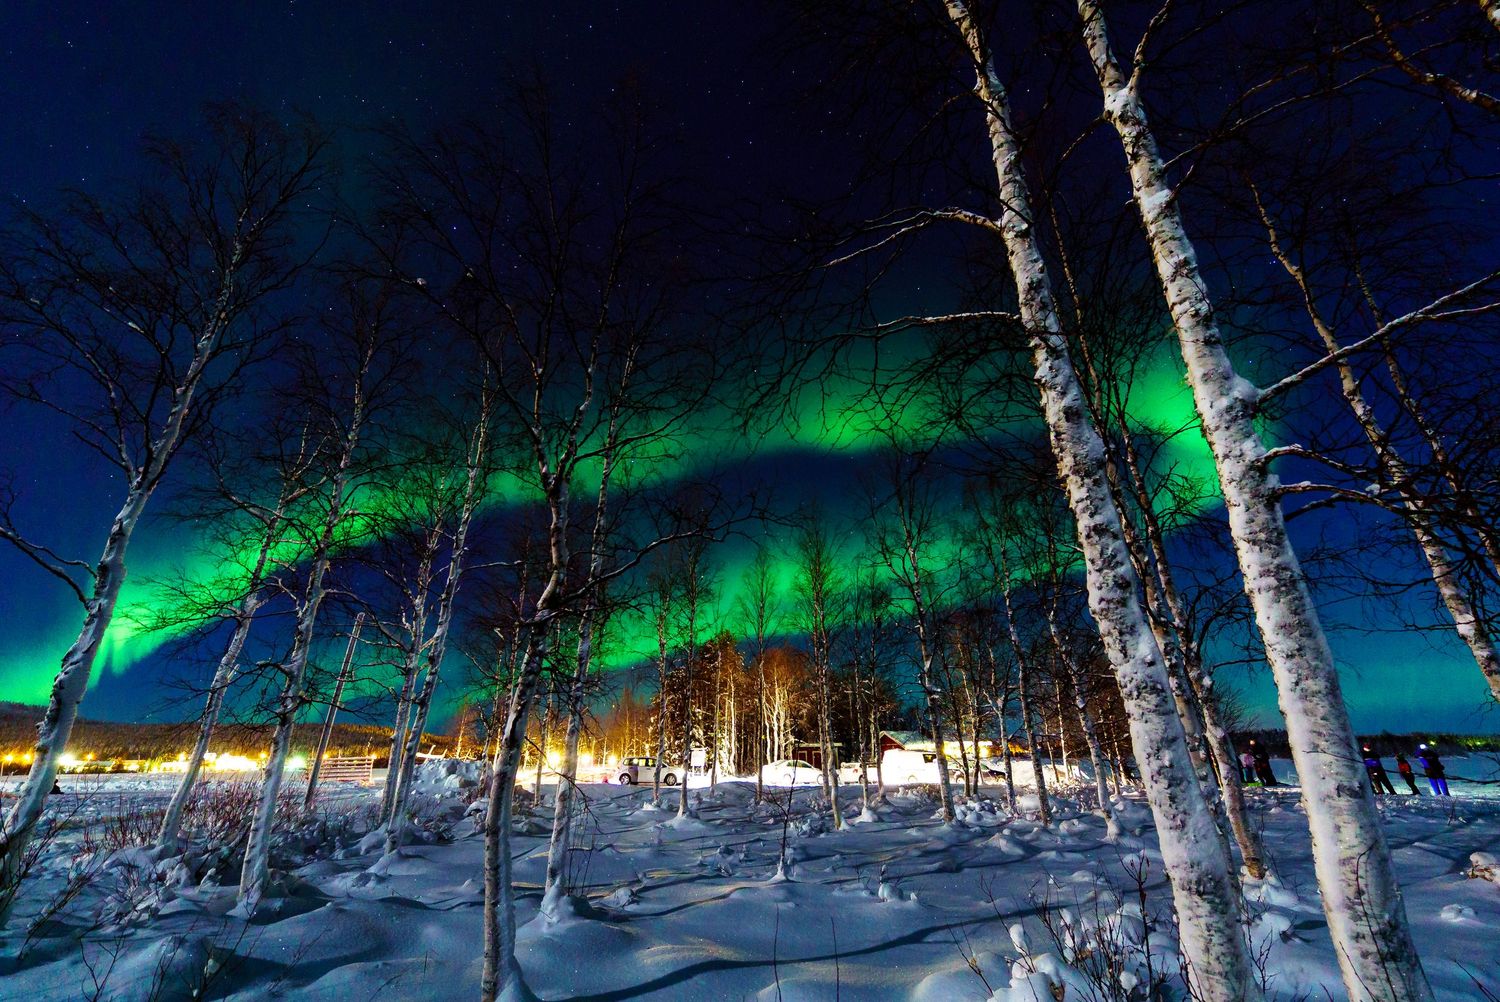
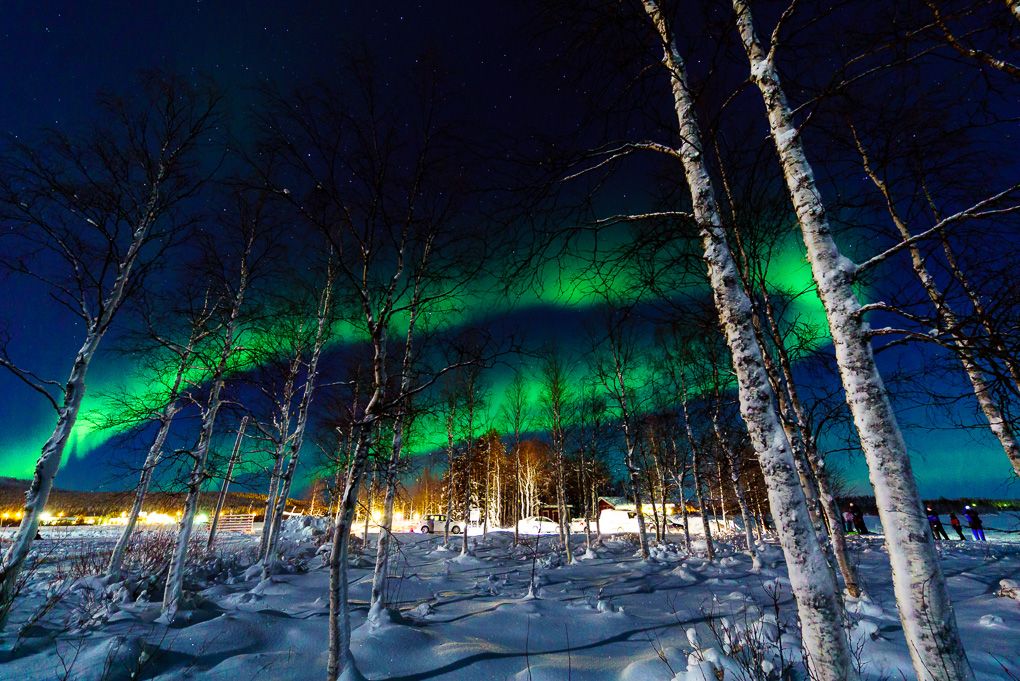
One of my photographs, showing the aurora above snow-covered trees, was taken with these settings:
- Focal length: 14mm
- Aperture: f/4
- Shutter speed: 2.5 seconds
- ISO: 3200
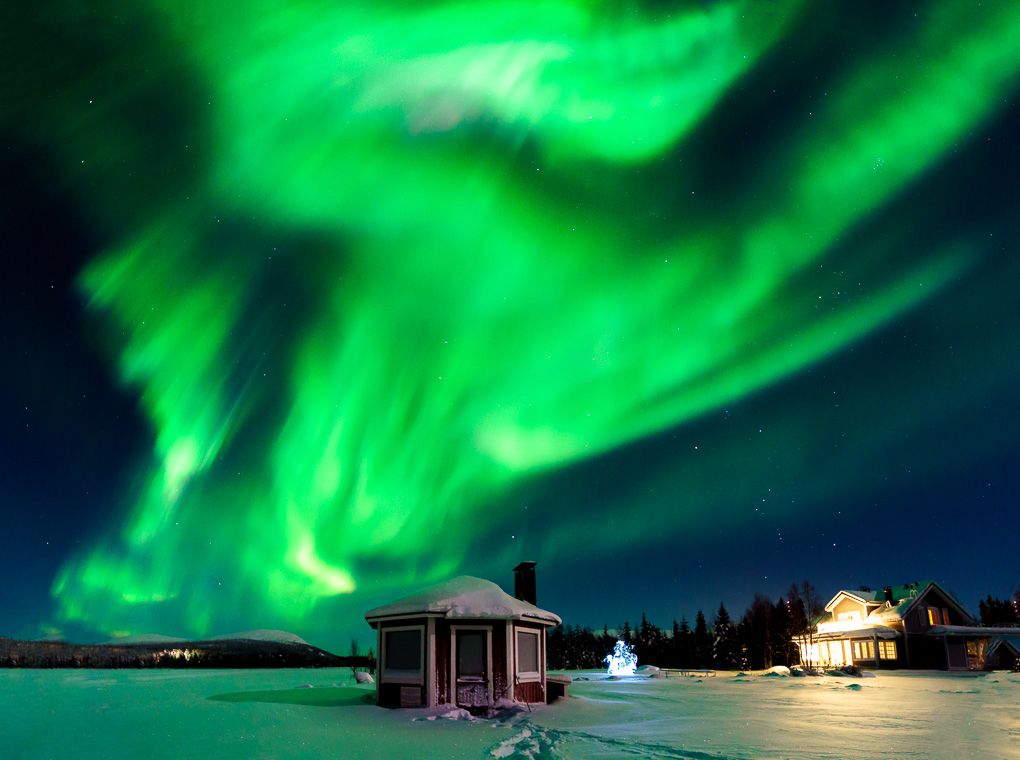
The photograph still looks good, but hindsight is powerful. When the aurora became particularly strong and moved quickly, 2.5 seconds was sometimes too long. The exposure captured plenty of light, but some of the finer structure in the aurora became blurred.
If I were photographing the same display today, I would raise the ISO and shorten the exposure. Modern cameras and noise-reduction software cope far better with high ISO files than the equipment and software available to me in 2016.
Suggested starting settings for the Northern Lights
There is no single perfect setting because auroras vary enormously in brightness and speed, but a useful starting point is:
- Aperture: f/2.8 or wider
- Shutter speed: approximately 1–4 seconds
- ISO: approximately 1600–6400
- Focus: manual, checked carefully using a bright star or distant light
- File format: RAW
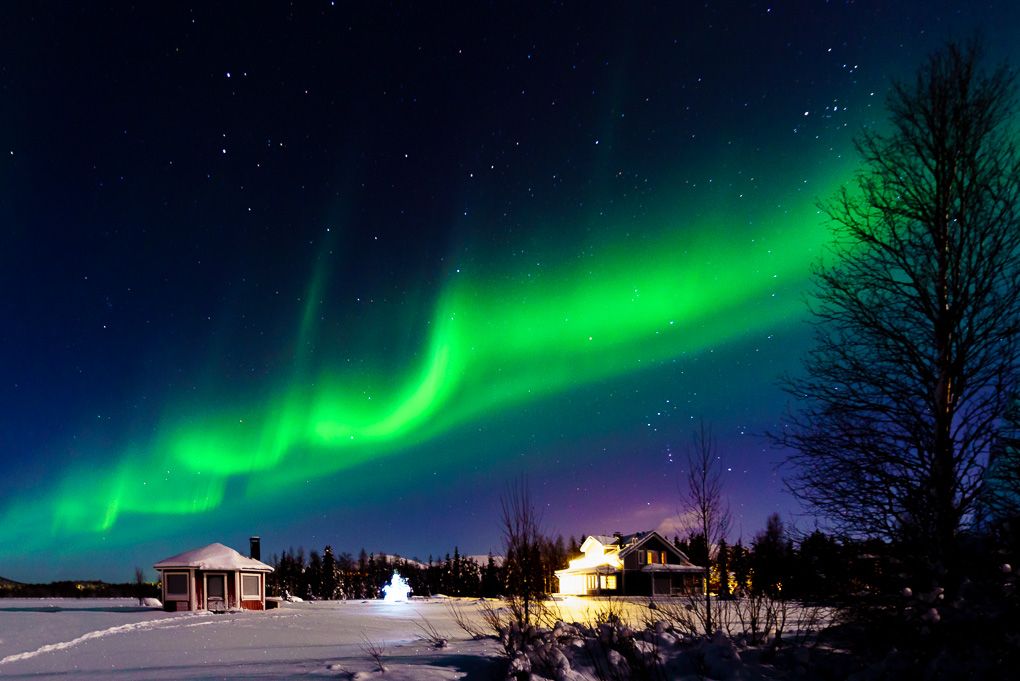
A faint or slow aurora may need a longer exposure. A bright, fast-moving display may require a shutter speed of one second or faster to retain its shape.
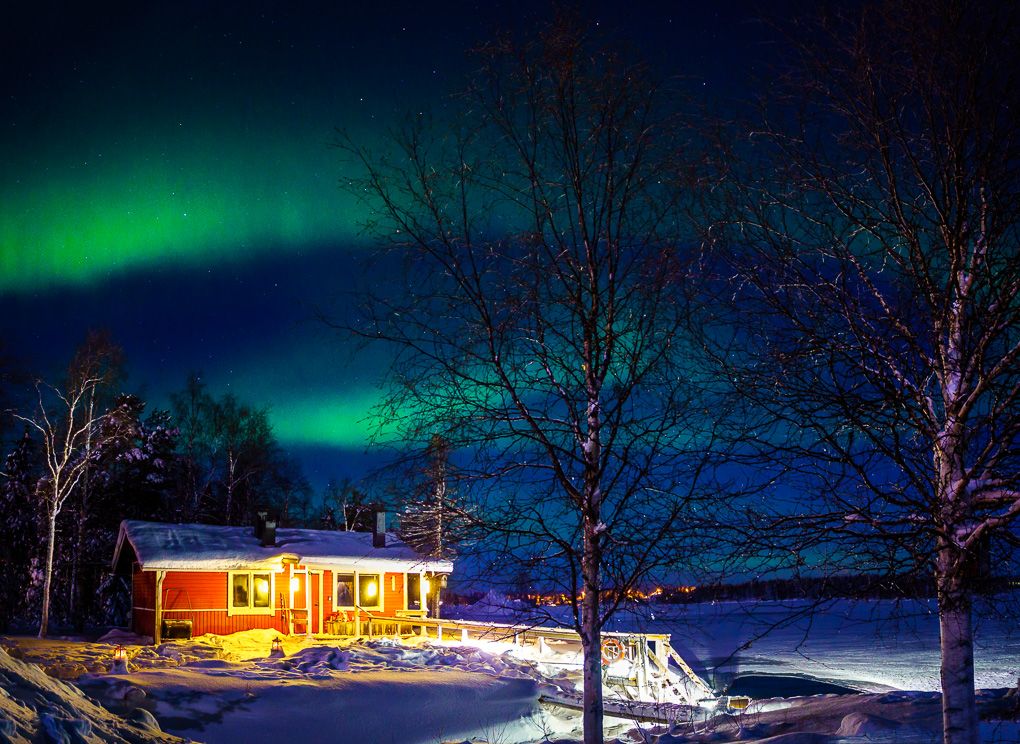
The foreground matters too. Snow-covered trees, cabins and people give the sky scale and make the image feel like a place rather than simply a patch of colour.
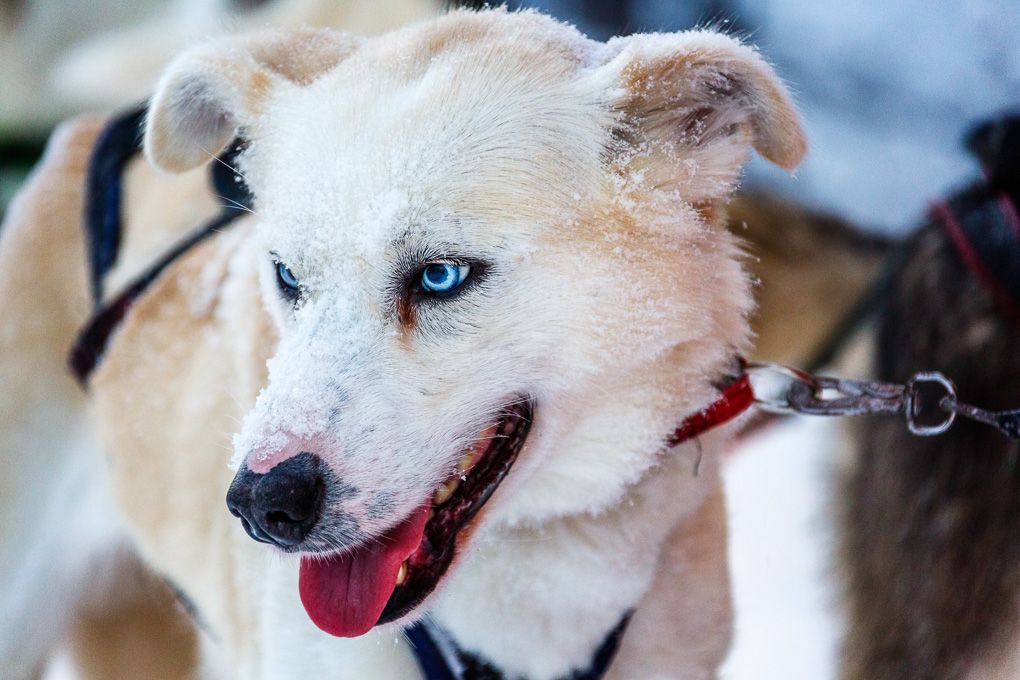
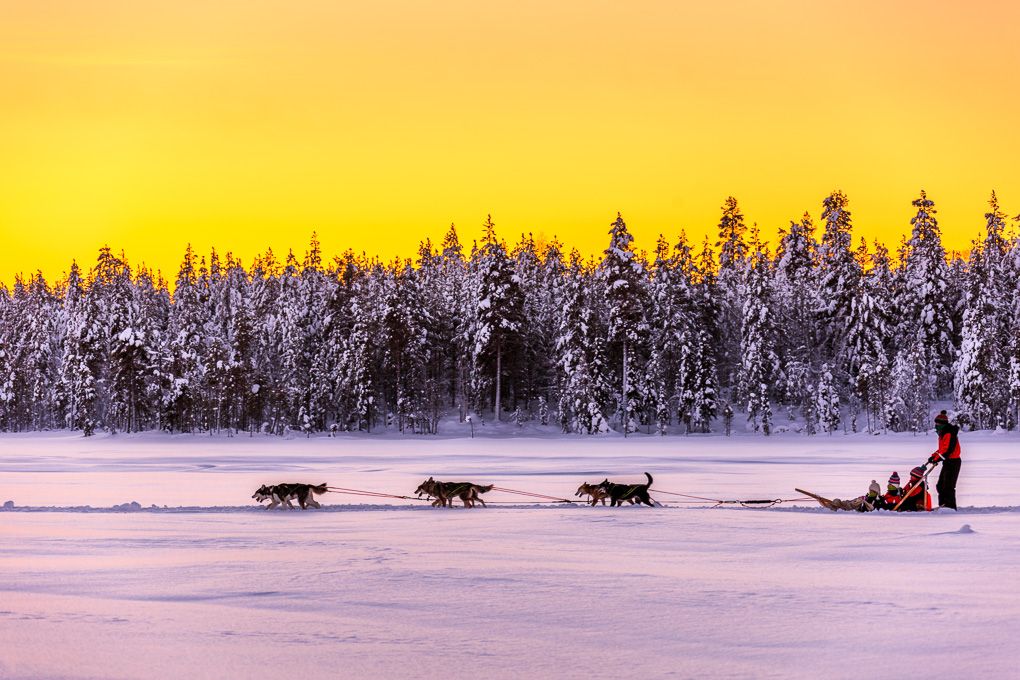
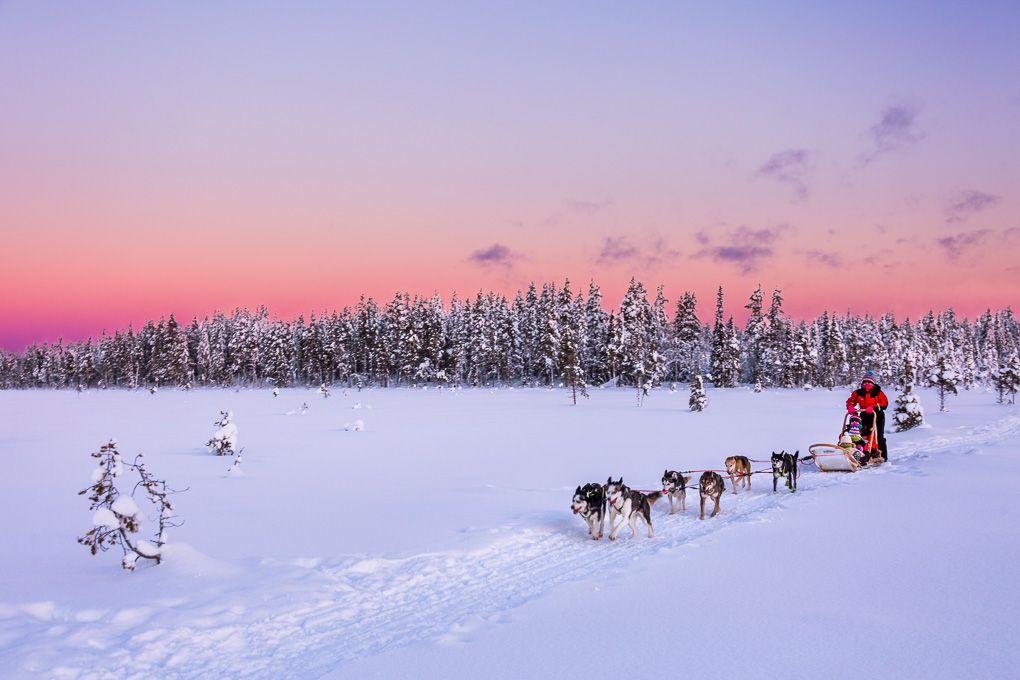
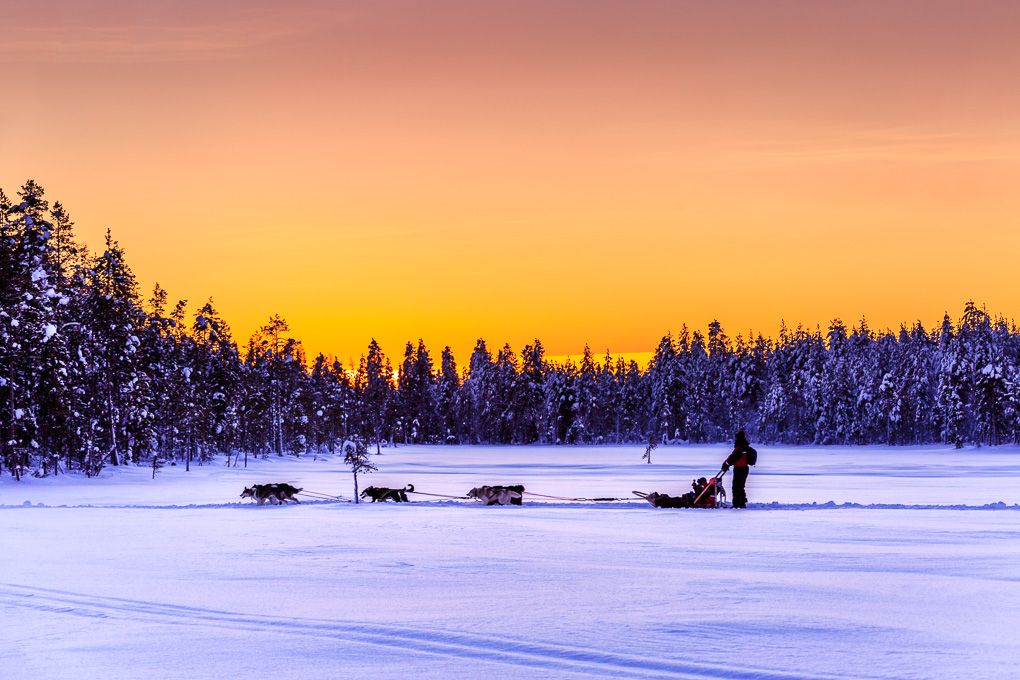
2. Husky excursion photography
A husky excursion changes from calm anticipation to fast action in seconds.
I wanted the images to show the energy of the dogs, the movement of the sledge and the experience of travelling through the snow, not just static portraits before departure.
For moving teams, I aimed for a shutter speed of at least 1/500 second. Today, if the available light allowed, I would be inclined to work closer to 1/1000 second for the fastest moments.
Useful photographs included:
- Wide images showing the team within the landscape
- Low-angle photographs that gave the dogs more visual impact
- Details of harnesses, paws and snow
- Riders reacting to the experience
- Images with space around the subject for marketing text
- Both horizontal and vertical variations
For commercial work, the complete sequence matters. A tourism business needs more than one dramatic hero photograph; it needs a collection capable of explaining the experience across websites, brochures and social media.
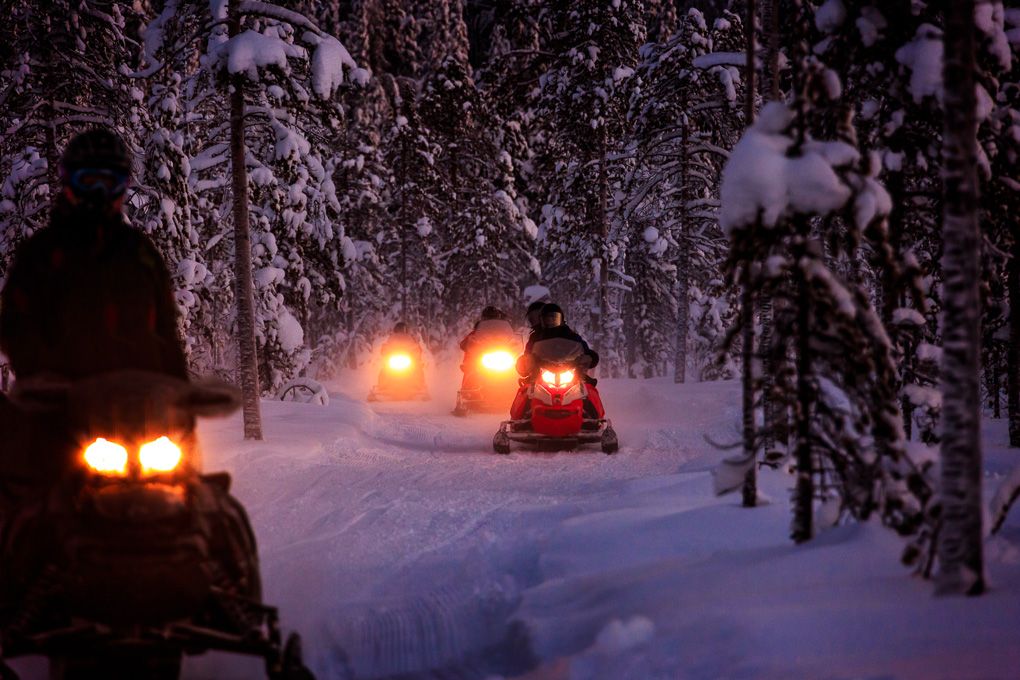
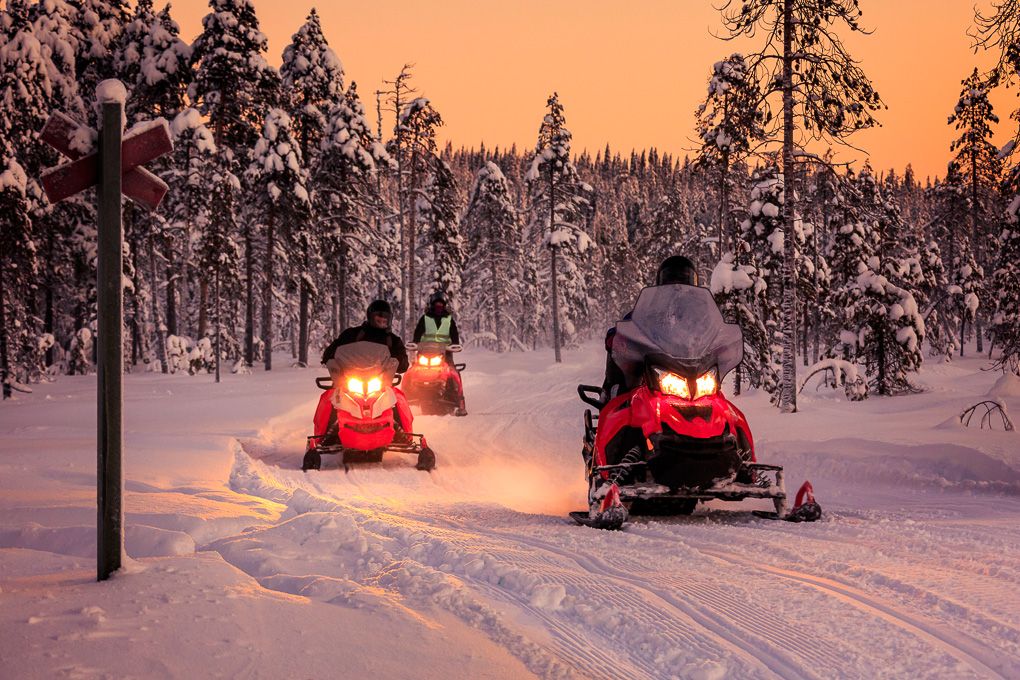
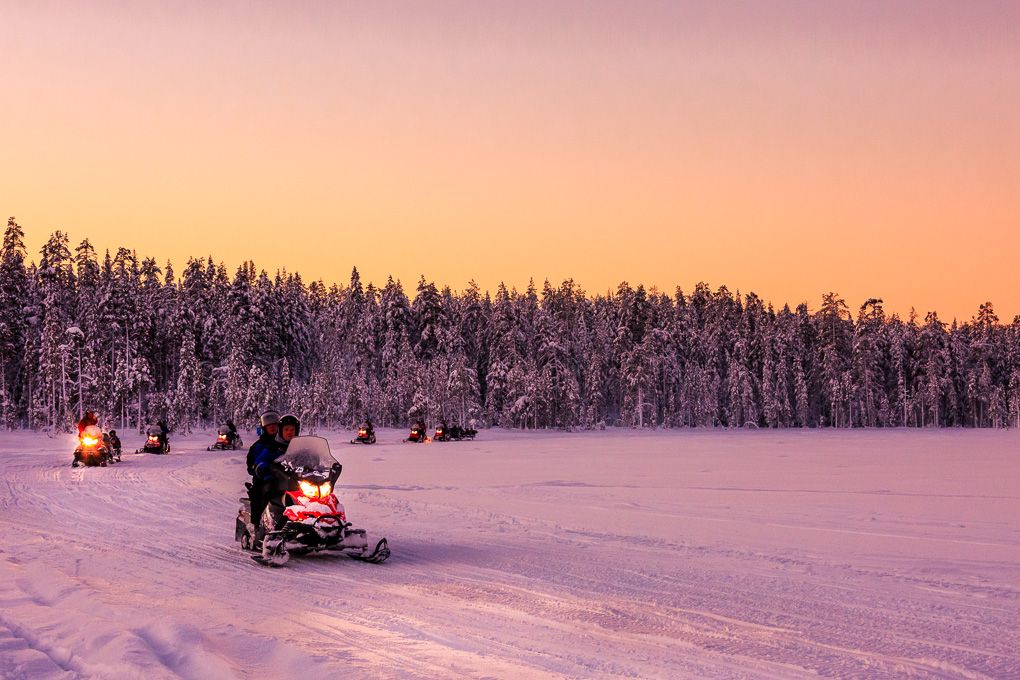
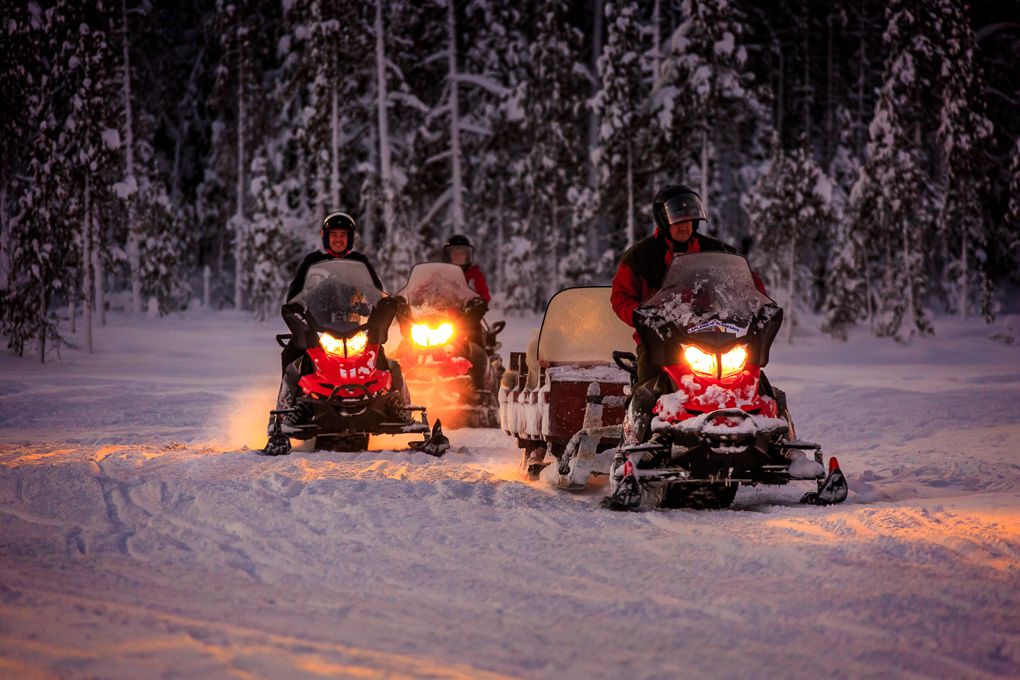
3. Photographing snowmobiles
Snowmobiles introduced another combination of speed, low light and unpredictable snow spray.
For sharp action, a shutter speed between approximately 1/500 and 1/1000 second is a sensible starting point. When experimenting with a sense of movement, a slower panning exposure around 1/60 to 1/100 second can create background blur while retaining some sharpness in the rider.
Positioning is particularly important. I looked for bends in the trail, areas where the snowmobiles would throw up snow and sections where headlights would be visible against darker trees.
Safety and communication must come first. Riders need to know where the photographer will be, and the photographer must remain well outside their route.
Snow on the front element was a constant problem, so keeping a clean microfibre cloth accessible was essential. There is little value in carrying one if it is buried underneath several thermal layers.
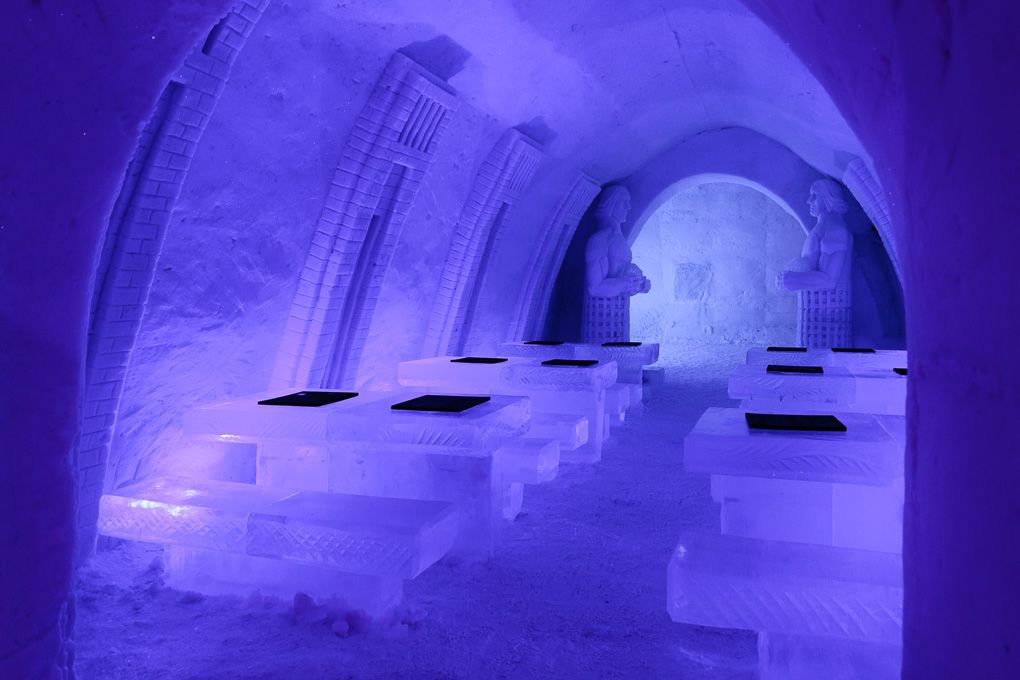
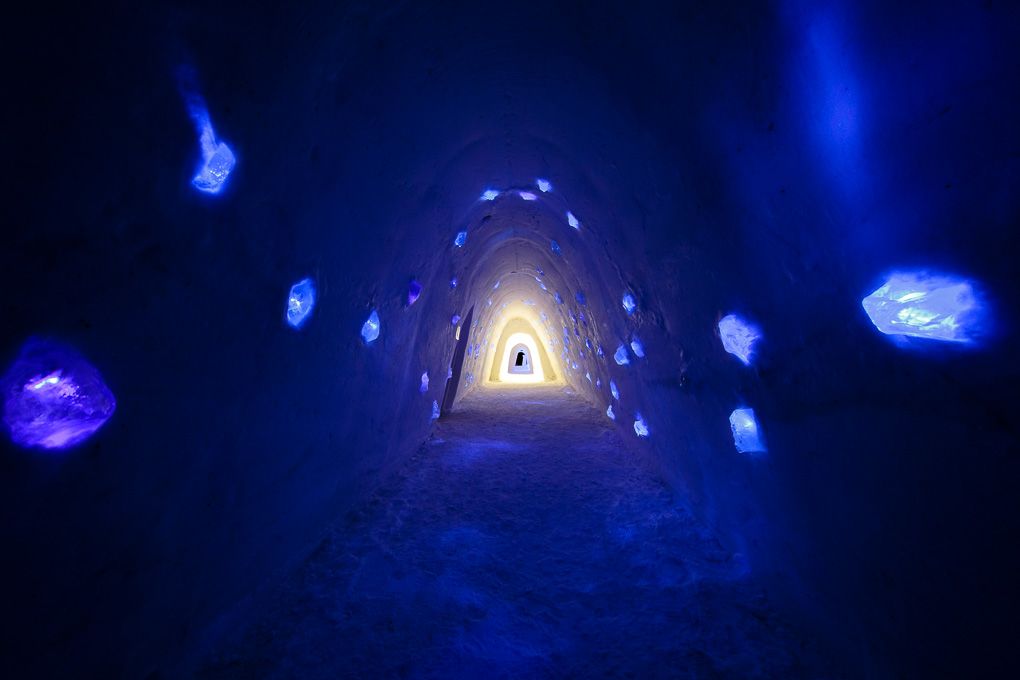
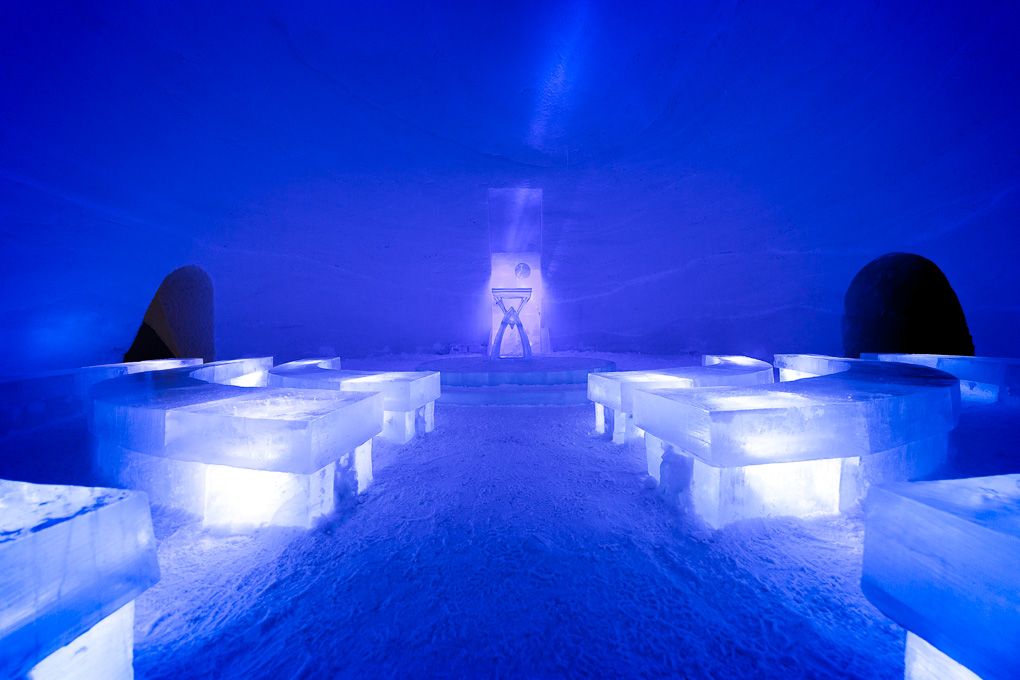
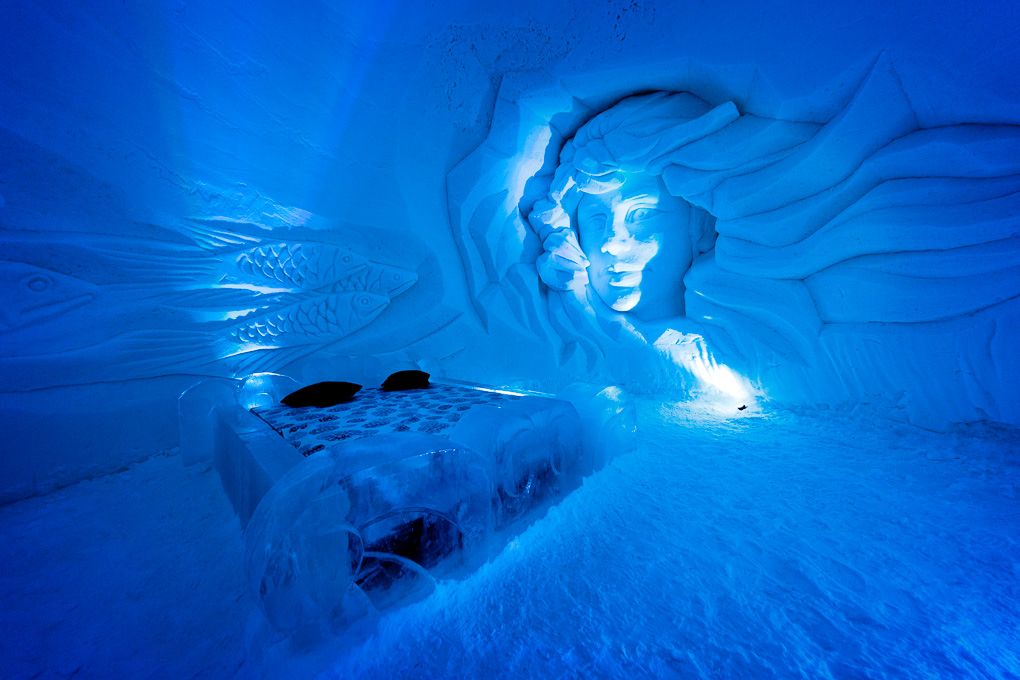
4. Ice structures and low-light interiors
The ice interiors offered a completely different atmosphere: slower, quieter and more controlled, but still technically demanding.
Coloured lighting reflected through the ice created a mixture of blue, purple, and warmer tones. Automatic white balance provided a workable starting point, but the final colour needed careful adjustment when processing the RAW files.
Wide lenses were particularly useful for showing tunnels, arches and the scale of the structures. I also looked for symmetry, repeating shapes and illuminated passageways that led the viewer through the frame.
A tripod can help when the space and visitor numbers allow. It makes it possible to use a lower ISO and smaller aperture, but it should never block a public route or interfere with the experience.
The greatest problem was moving between the freezing exterior and relatively warmer internal spaces. That leads to one of the biggest practical lessons from the whole trip: condensation management.
5. Winter villages, accommodation and blue hour
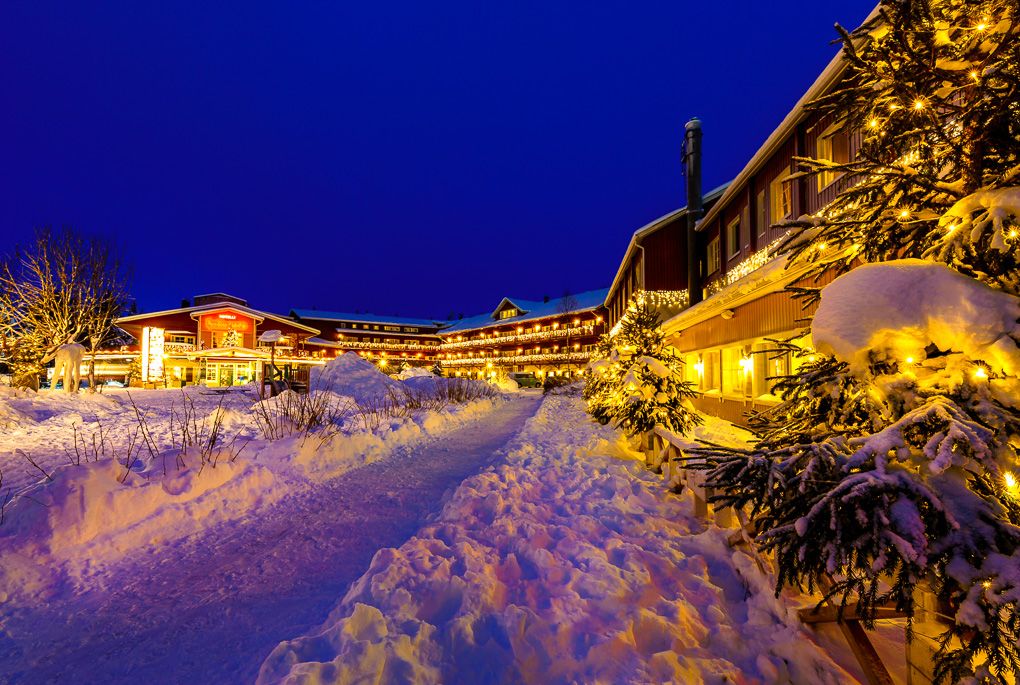
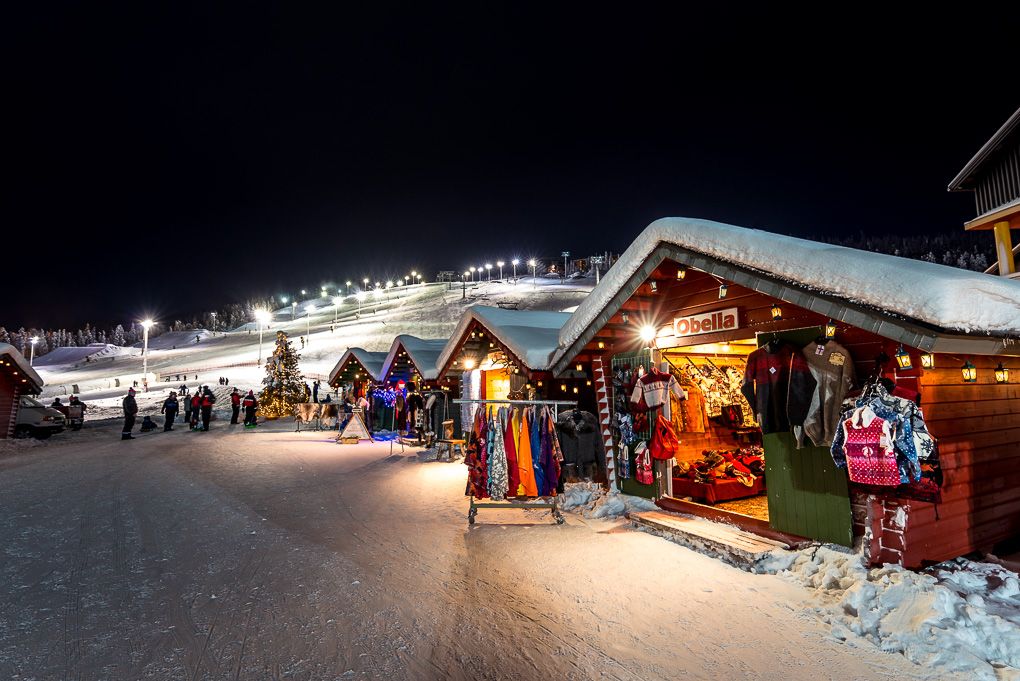
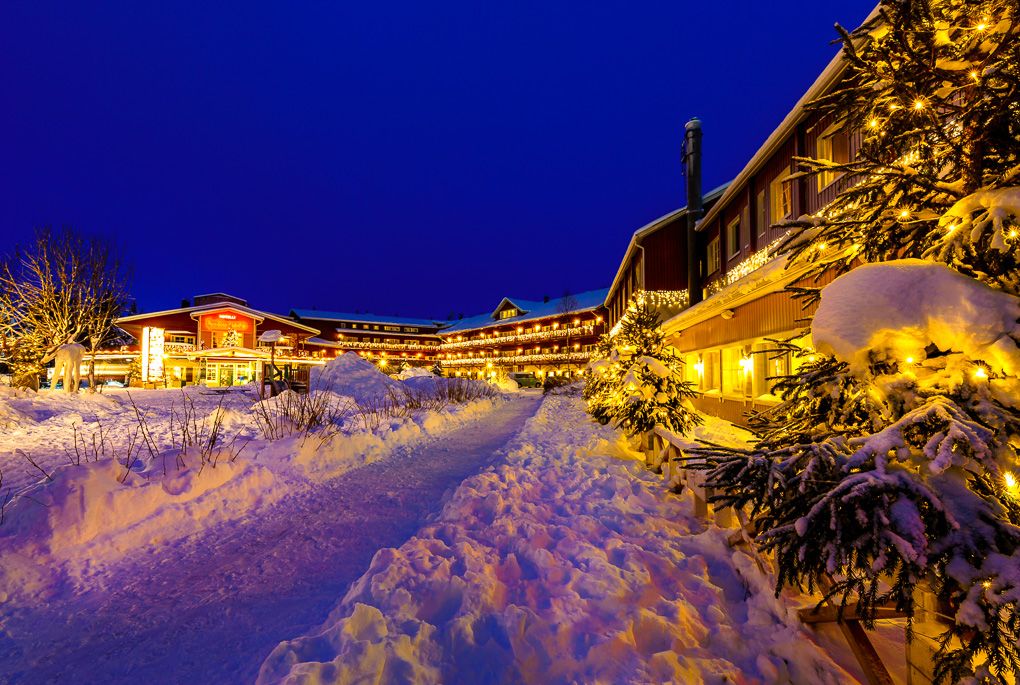
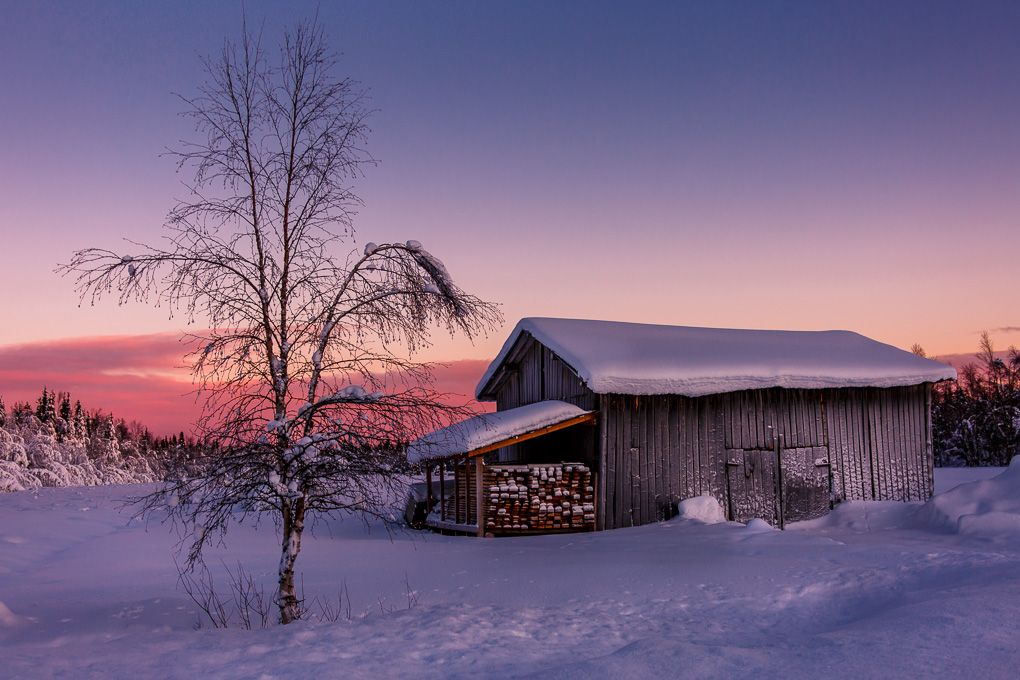
Snow-covered buildings and warm window light look particularly atmospheric during blue hour - the period when some colour remains in the sky but artificial lights have become visible.
The contrast between cold blue snow and warm yellow lighting creates a strong sense of place. These scenes also provide useful supporting imagery for tourism marketing because they show where visitors stay and what the destination feels like outside the headline activities.
I photographed wider views to establish the environment, then moved closer for cabins, lighting, paths and architectural details.
Snow can confuse camera metering, so I checked the histogram and highlight warnings rather than relying solely on the image displayed on the back of the camera. The aim was to keep the snow looking bright without losing all its texture.
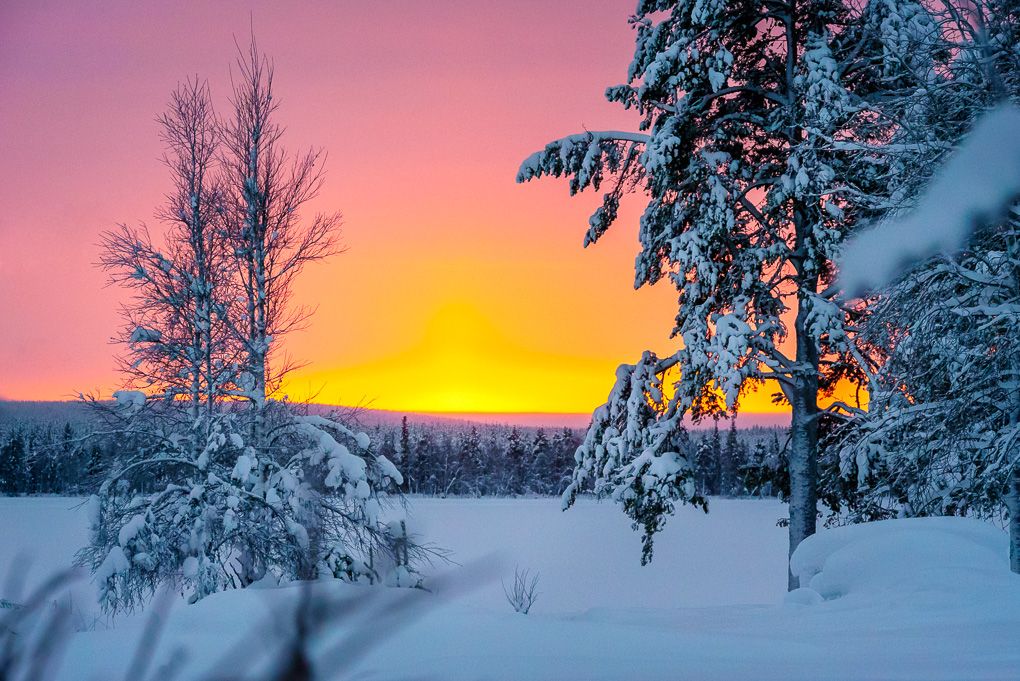
6. Snow-covered landscapes
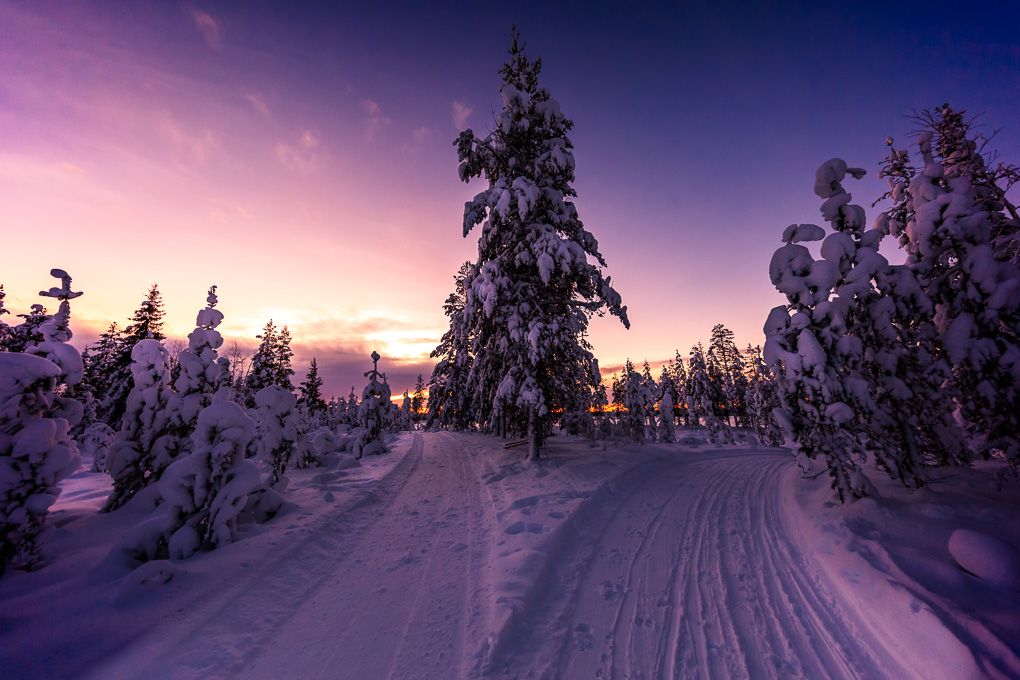
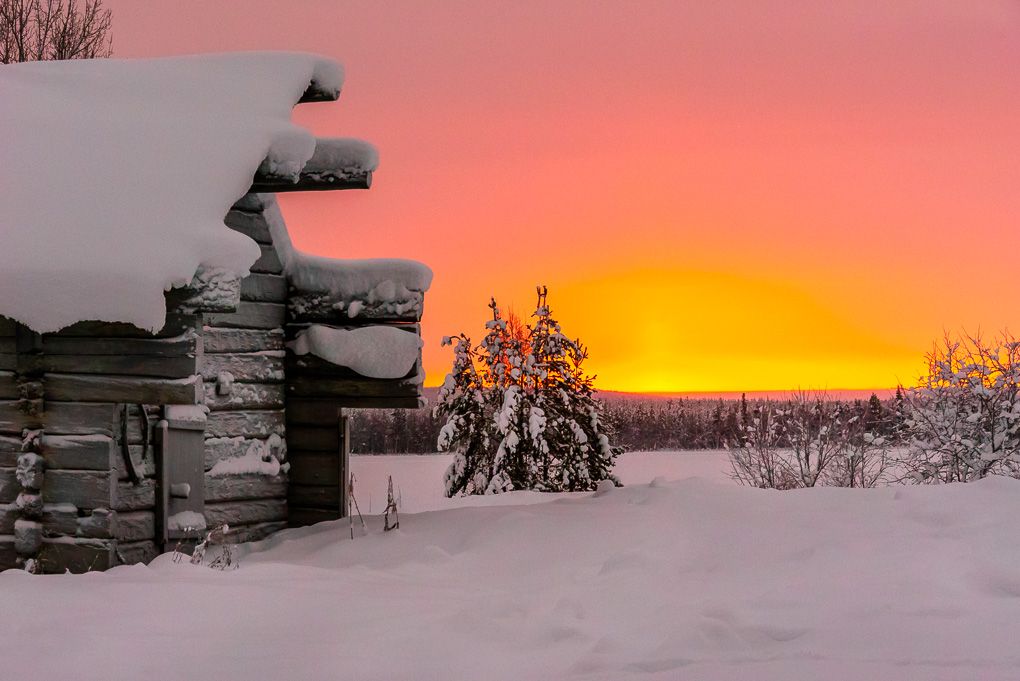
Some of my favourite images from the assignment were not tied to a particular excursion. They were quieter photographs of forests, tracks, frozen spaces and changing winter light.
Tracks through the snow make strong leading lines, while isolated trees can provide scale and structure in an otherwise minimal landscape.
For scenes without fast movement, I could use a lower ISO and an aperture around f/8 to retain detail through more of the image. A tripod was useful when conditions allowed, although handling one while wearing thick gloves was not always particularly elegant.
I would resist removing every cool tone during editing. Snow in shadow genuinely can look blue, especially during twilight. Correcting it until it becomes completely neutral can remove the atmosphere that made the scene appealing in the first place.
For another example of photographing severe winter conditions and dramatic landscapes, see my Iceland photography guide.
7. People and festive experiences
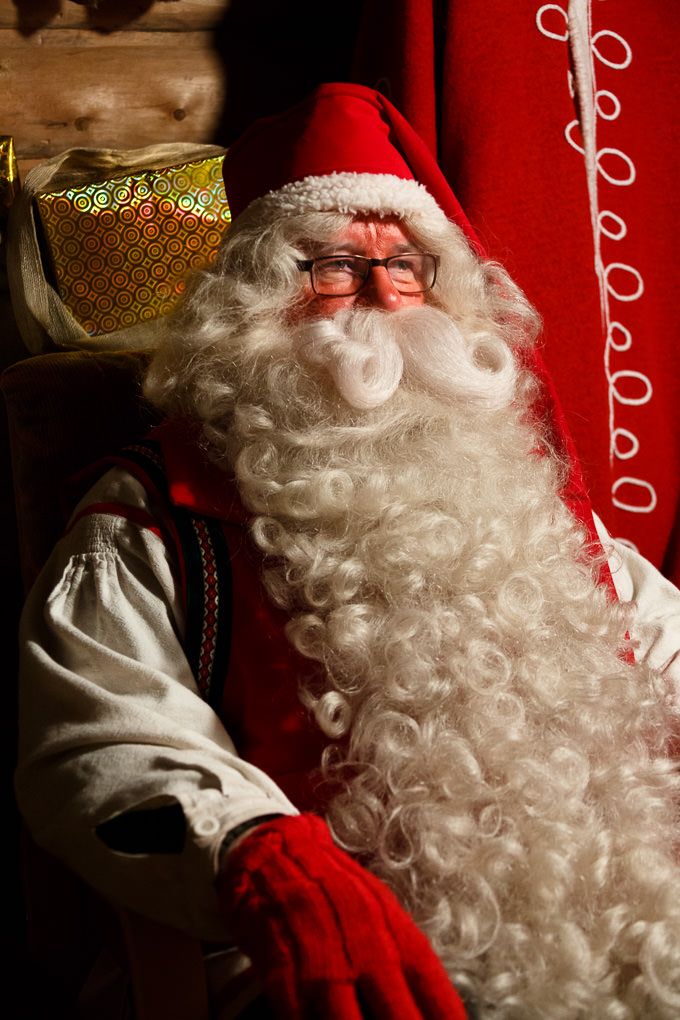
Lapland is not only about landscapes. The people taking part in the experiences are what make tourism photography relatable.
Festive activities, warm lights and recognisable characters created opportunities for portraits, reactions and environmental photographs. A wider aperture helped separate people from busy backgrounds and made the most of the limited light.
The strongest images were not necessarily tightly posed portraits. Small interactions, anticipation and genuine reactions often communicated more about the experience.
When photographing for a travel brand, it is important to create a mixture of:
- Recognisable destination or activity images
- Genuine human reactions
- Wider environmental scenes
- Close details
- Clean compositions with room for text
- Different orientations and crops
I followed the same commercial principles on later projects, including my TUI and National Geographic excursion photography assignment in Portugal.
Protecting camera equipment in Arctic cold
The cold affected almost every part of the shoot.
Batteries
Battery life dropped noticeably, so I carried several spares. I kept them in an inside pocket, close to disposable hand warmers, to prevent them becoming as cold as the batteries in the cameras.
A battery that appears exhausted in extreme cold may recover some charge once it warms up, so I rotated batteries rather than assuming every cold battery was completely empty.
Condensation
Fogging and condensation were constant concerns.
The biggest risk came when taking very cold equipment directly into a heated building or vehicle. Moisture could quickly form on the camera and lens.
A better routine is to place the camera in a closed bag before going inside and allow it to warm gradually. Keeping the bag closed gives the moisture a chance to form on the outside of the bag rather than immediately on the equipment.
Frequent lens changes should also be avoided while the equipment is adjusting to a significant temperature change.
Clothing and dexterity
I struggle with extreme cold, so I bought thermal base layers, insulated gloves, balaclavas and just about every other thermal item I could find.
Warmth is not only a comfort issue. Once your hands become painfully cold, changing settings, replacing batteries and operating small camera controls becomes much more difficult.
A pair of thinner liner gloves underneath insulated outer gloves provides a useful compromise: protection while moving between locations, with enough dexterity for short periods of camera operation.
What I would do differently today
Looking back, the biggest change would be how I photographed the Northern Lights.
I was trying to avoid excessive ISO noise, partly because noise reduction was much less capable in 2016. As a result, I sometimes accepted a longer shutter speed when I should have prioritised retaining detail in the moving aurora.
Today, I would:
- Use a wide lens with an aperture of f/2.8 or faster
- Raise the ISO more confidently
- Shorten the shutter speed when the aurora became active
- Check fine detail at high magnification during the shoot
- Carry more batteries than I thought I needed
- Use a more disciplined routine for moving equipment indoors
- Leave the bulky 28–300mm lens at home
It is easy to judge an older photograph using current knowledge and technology. The important thing is to understand why a result could have been better and apply that lesson to the next assignment.
What makes effective Lapland tourism photography?
Effective Lapland photography needs to show both the environment and the visitor experience.
A complete commercial library should include landscapes, activities, people, accommodation, details and changing weather or light. It should also give marketing teams options for different platforms, crops and campaigns.
During this five-day assignment, I delivered more than 500 photographs covering a wide variety of experiences. Producing that volume required planning, quick decisions and the ability to adapt to conditions that changed throughout the day.
That combination of visual storytelling and commercial awareness was developed throughout my nine years as Global Photography Manager at TUI.
FAQ
What camera settings should I use for the Northern Lights?
Start with a wide aperture such as f/2.8, a shutter speed between approximately one and four seconds and an ISO between 1600 and 6400. Treat these as starting points. A bright, rapidly moving aurora needs a faster shutter speed than a faint or slow display.
What is the best lens for Lapland photography?
A wide-angle lens is valuable for the Northern Lights, landscapes and ice interiors. A mid-range zoom is useful for general destination photography, while a longer lens can help with distant action and details. For aurora photography, an aperture of f/2.8 or wider is preferable.
How do you stop camera batteries draining in extreme cold?
Carry several spares and keep them in an inside pocket where they remain warmer. Rotate cold batteries because they may regain some apparent charge after warming up.
I used hand warmers in my pockets and camera bag to keep the batteries warm.
How do you prevent condensation on a camera in Lapland?
Place the cold camera in a closed camera bag before entering a warm building or vehicle. Let it warm gradually before opening the bag. Avoid changing lenses while the equipment is adjusting to the temperature difference.
Do I need a tripod for Lapland photography?
A tripod is extremely useful for the Northern Lights, night scenes and low-light interiors. It is less useful when photographing fast-moving excursions, where mobility and a fast shutter speed are more important.
Can you photograph the Northern Lights with a phone?
Recent phones with a stable night mode can capture an aurora, particularly when supported against a solid surface or mounted on a small tripod. A dedicated camera still provides greater control over shutter speed, focus, aperture and RAW processing.
Need photography for a winter destination or experience?
I provide professional travel, tourism and excursion photography for destinations, tour operators, hotels, attractions and activity providers across the UK and internationally.
With more than 16 years of professional photography experience, including nine years as Global Photography Manager at TUI, I understand how to create imagery that is visually strong, authentic and genuinely useful across websites, advertising, brochures, PR and social media.
If you need a photographer for a winter campaign, destination, excursion or tourism experience, get in touch to discuss your project.
About Lee Charlton
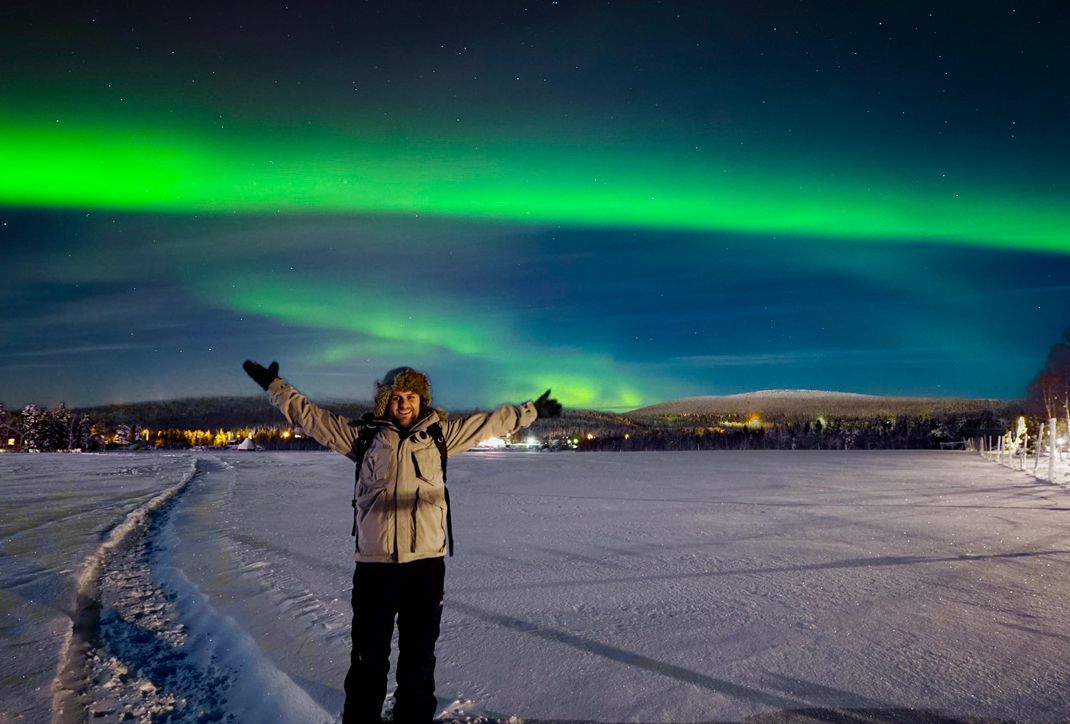
Lee Charlton is a multi-award-winning commercial photographer with more than 16 years of professional experience.
Before launching Lee Charlton Photography, Lee spent 17 years with TUI, including nine years as Global Photography Manager. As the company’s sole in-house photographer, he created destination, excursion, hotel, event and campaign photography for a global organisation of approximately 70,000 employees.
His work has been used across international websites, travel brochures, in-resort materials, advertising, editorial content and social media. Today, Lee provides professional travel and tourism photography for destinations, attractions, hotels, tour operators and tourism brands throughout the UK and internationally.