A five-day winter travel photography assignment for TUI
In February 2020, I spent five days photographing Iceland while working for TUI. The assignment took me from Reykjavík to waterfalls, frozen landscapes, underground experiences and adventure excursions.
Every photograph in this guide was taken by me during that trip.
This is not intended to be a definitive list of every famous Icelandic photography location. I did not visit places such as Jökulsárlón, Diamond Beach or Kirkjufell on this assignment, so I am not going to recommend them second-hand. These are the places and experiences I actually photographed, what made them interesting and what I learned while working in Iceland’s winter conditions.
As a commercial travel and tourism photographer, I also needed to capture more than landscapes. TUI required a varied collection showing landmarks, excursions, activities, food and the atmosphere of the destination.
Is Iceland good for photography in winter?
Yes. Iceland in winter offers snow-covered landscapes, frozen waterfalls, soft daylight and dramatic weather, but conditions can be challenging. Short days, strong winds, spray, ice and low-contrast skies mean photographers must work quickly and adapt rather than wait for perfect light.
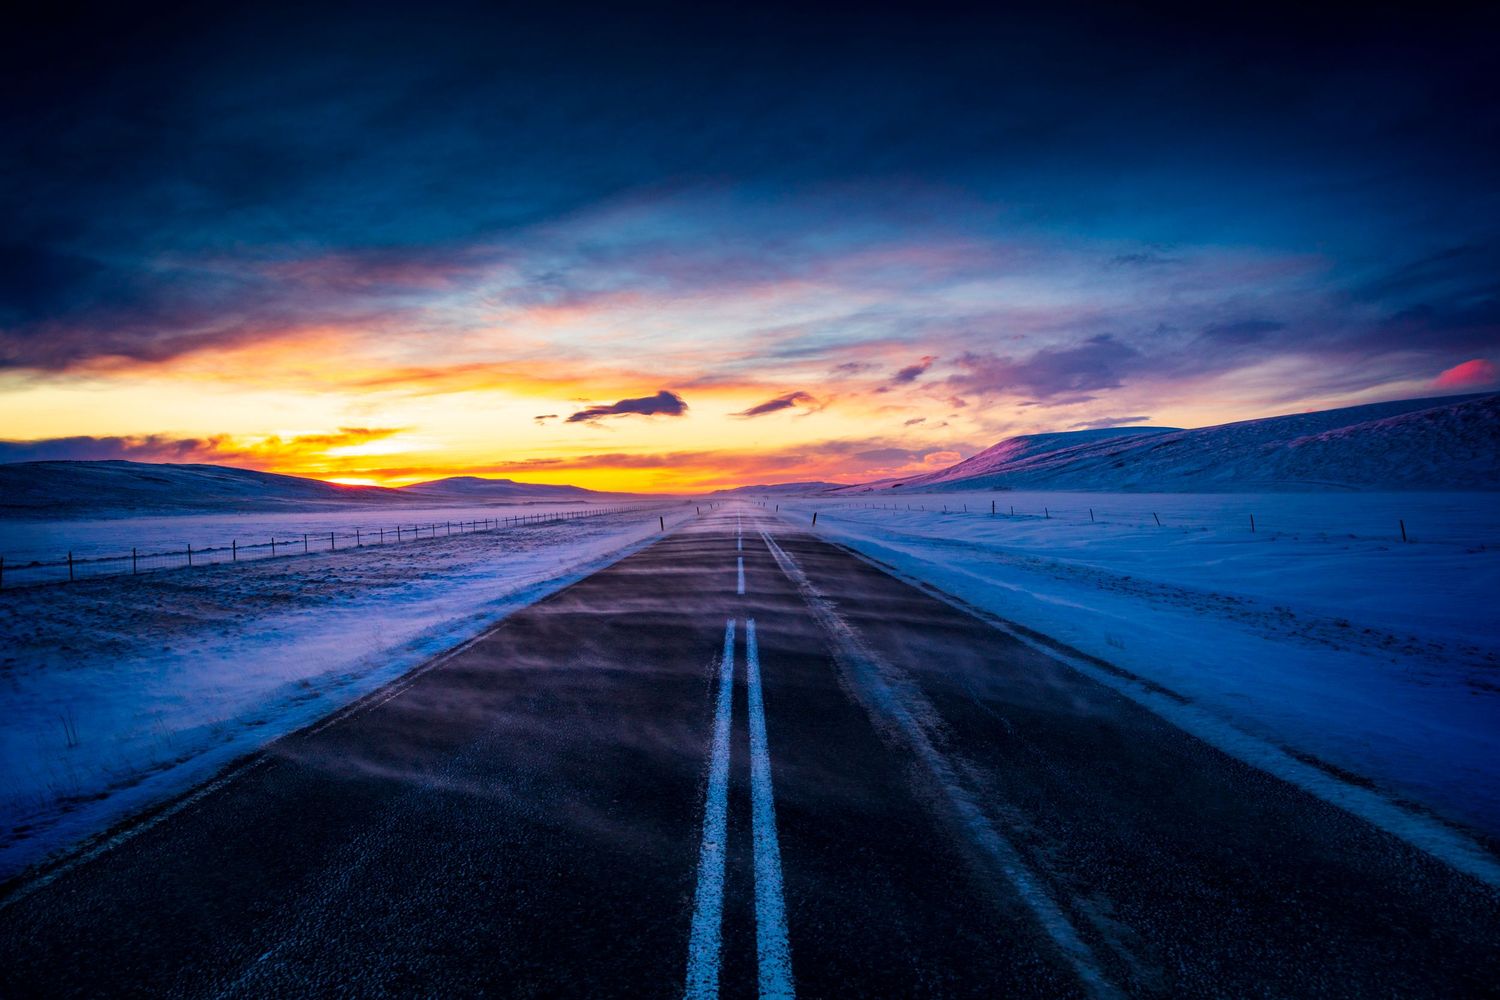
During my February assignment, thick cloud occasionally blended almost completely into the snowy landscape. That made it difficult to create separation between the land and sky, but it also produced quiet, minimal photographs that would have looked very different in summer.
The 13 Iceland locations and experiences I photographed:
- Sólheimasandur plane wreck: Scale, isolation and silhouettes
- Reynisfjara: Black sand, waves and basalt columns
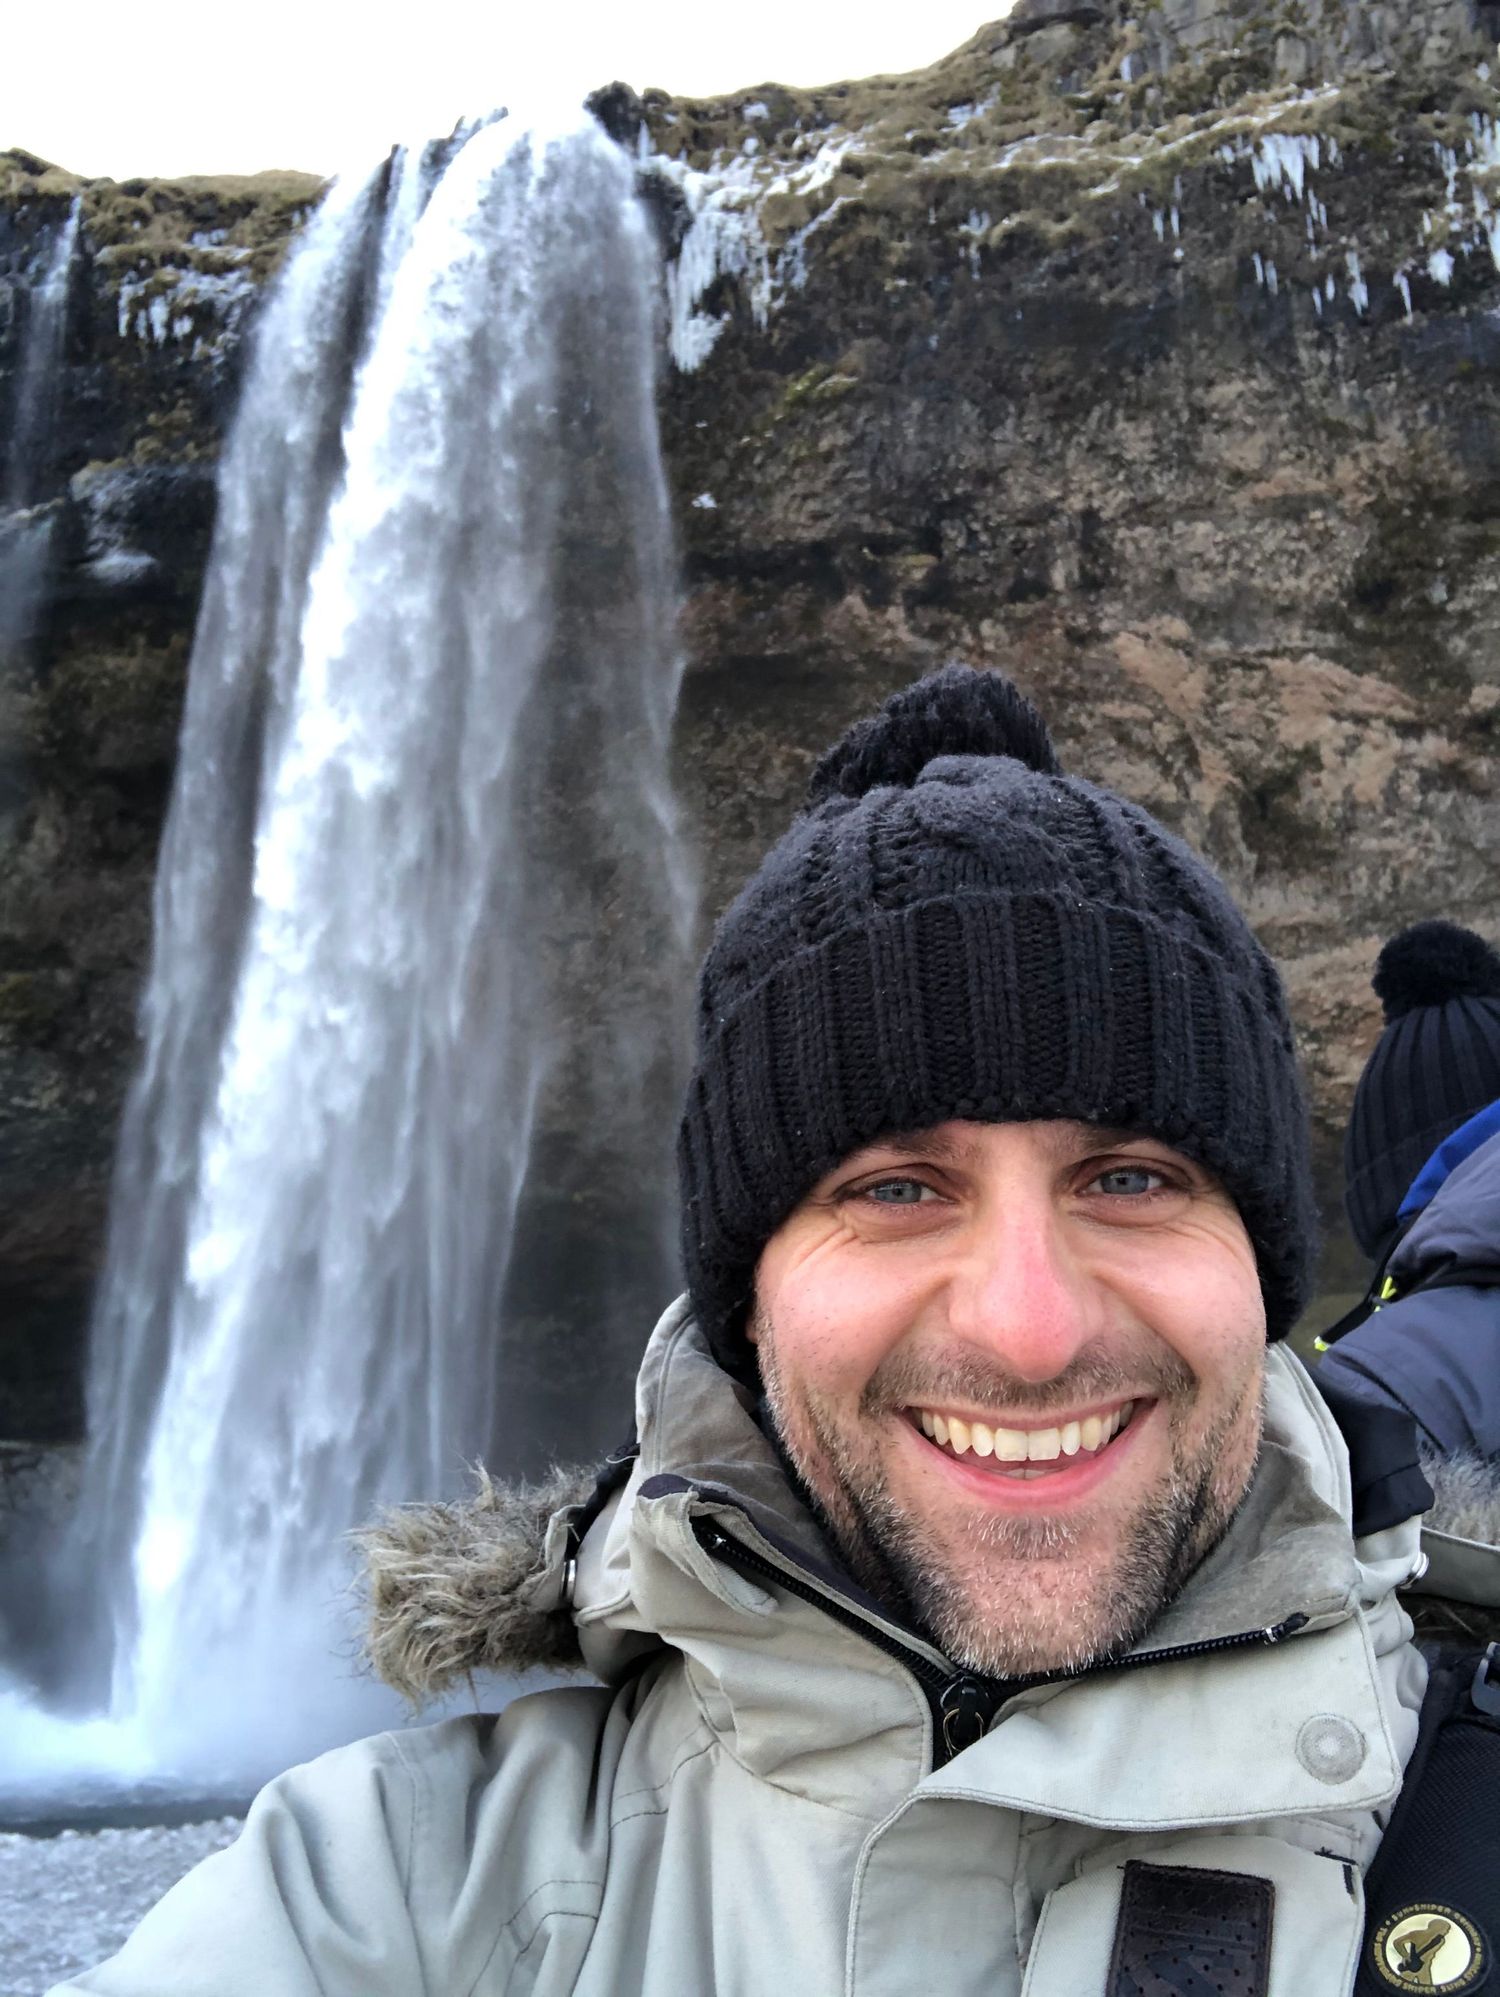
- Skógafoss: Waterfall scale and winter landscapes
- Seljalandsfoss: Wide waterfall compositions
- Hraunfossar: Water, snow and smaller landscape details
- Gullfoss: The power and scale of Icelandic waterfalls
- Perlan: Reykjavík panoramas
- Hallgrímskirkja: Architecture and city views
- Into the Glacier: Blue ice and low-light photography
- Icelandic horses: Environmental animal portraits
- ATV excursion: Action and adventure photography
- Raufarhólshellir Lava Tunnel: Colour, texture and underground light
- Le Kock: Food, people and destination atmosphere
My camera equipment in Iceland
I photographed the assignment using a Canon EOS 5D Mark IV and versatile zoom lenses, principally in the 24–105mm range. Equipment for a fast-moving commercial trip needs to cover landscapes, people, details and action without constant lens changes.
I have deliberately not presented exact exposure settings as though they were taken from the image files. The suggested settings below are practical starting points based on my professional experience, not the confirmed EXIF data for every photograph.
Conditions should always determine the final exposure.
Photographing snow beneath thick cloud
One of the most difficult conditions during the trip was heavy cloud over a snow-covered landscape. With very little difference in brightness or colour between the ground and sky, scenes could look almost flat.
A few things helped:
- I looked for dark rocks, people, vehicles or buildings to give the composition contrast.
- I checked the histogram rather than trusting the camera preview alone.
- I protected detail in the brightest snow while retaining enough information to recover shadows.
- I used tracks, fences and changes in terrain as leading lines.
- I accepted that some scenes worked better as quiet, low-contrast photographs instead of trying to manufacture dramatic light in editing.
This is where experience matters. Travel assignments do not always happen during golden hour, and a professional still needs to deliver useful images when the conditions are less cooperative.
1. Sólheimasandur plane wreck
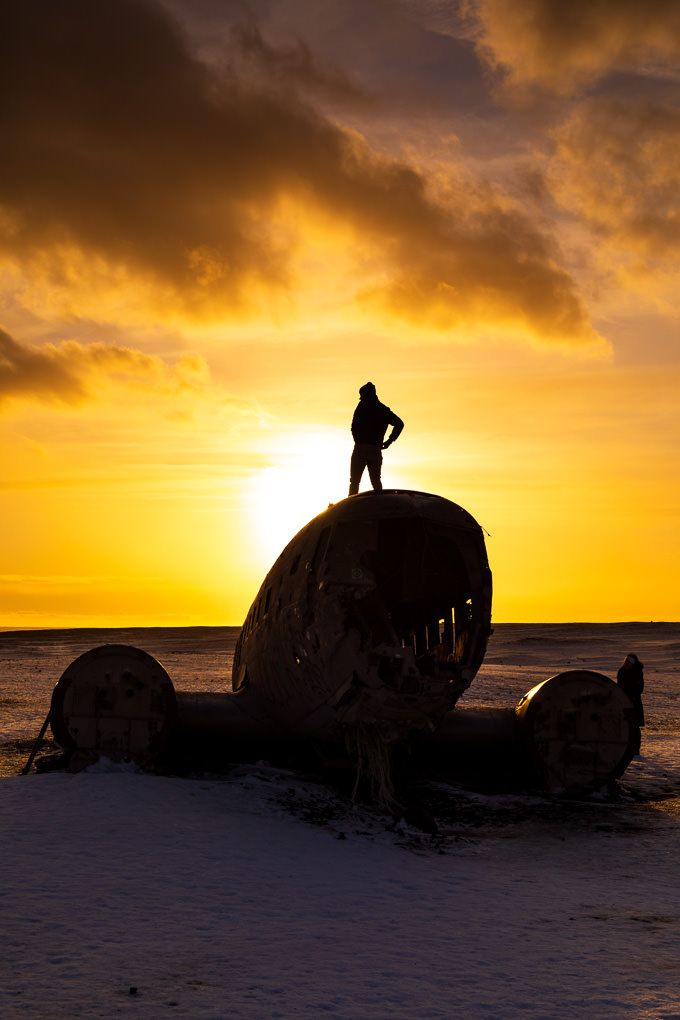
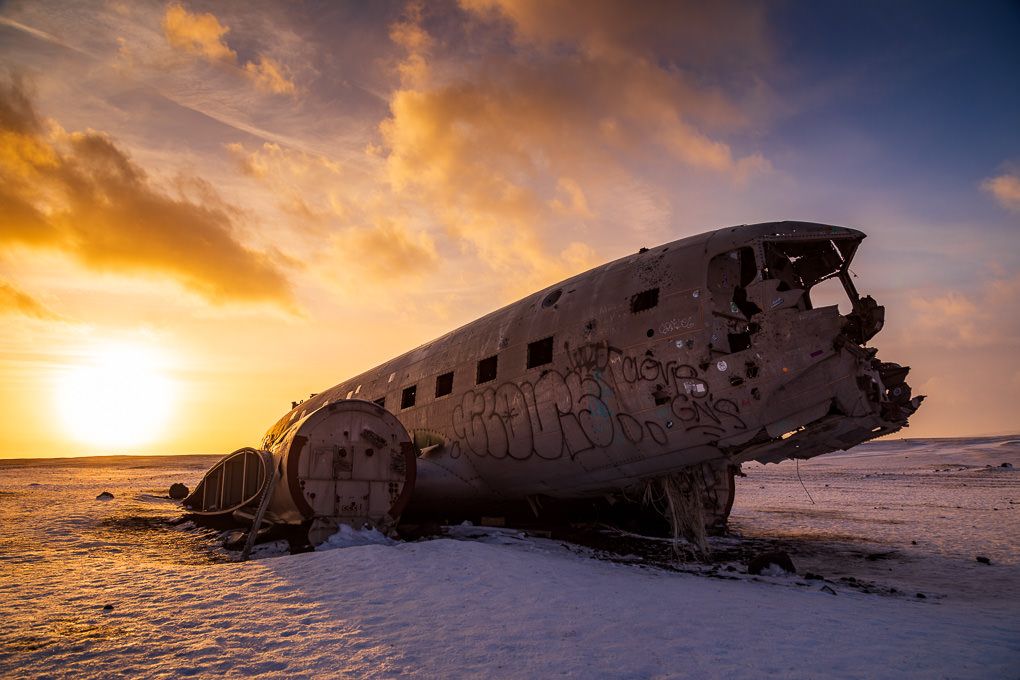
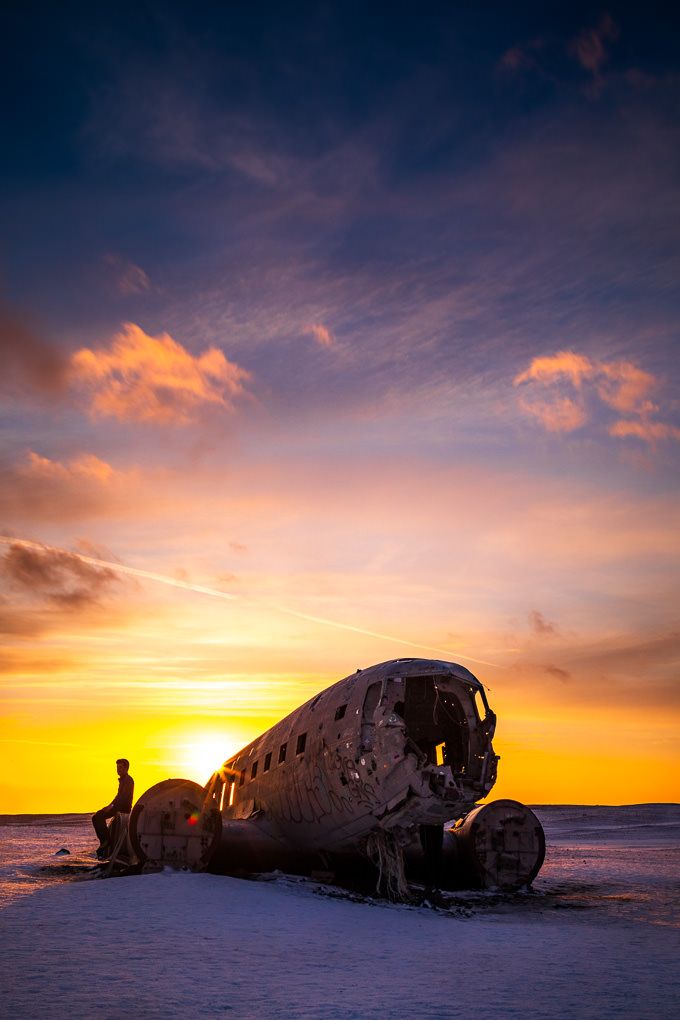
The abandoned aircraft at Sólheimasandur sits on an enormous expanse of black sand. Its isolation is what makes it visually powerful: a damaged silver structure surrounded by an almost empty landscape.
My favourite compositions used the open space rather than trying to fill every part of the frame. A person near the wreck provided scale, while shooting from a lower position made the aircraft feel more imposing.
A wide-angle lens is useful, but it is not the only option. A longer focal length can compress the landscape and isolate details in the metal. If you visit, allow enough time to reach the wreck and return safely rather than treating it as a quick roadside photograph.
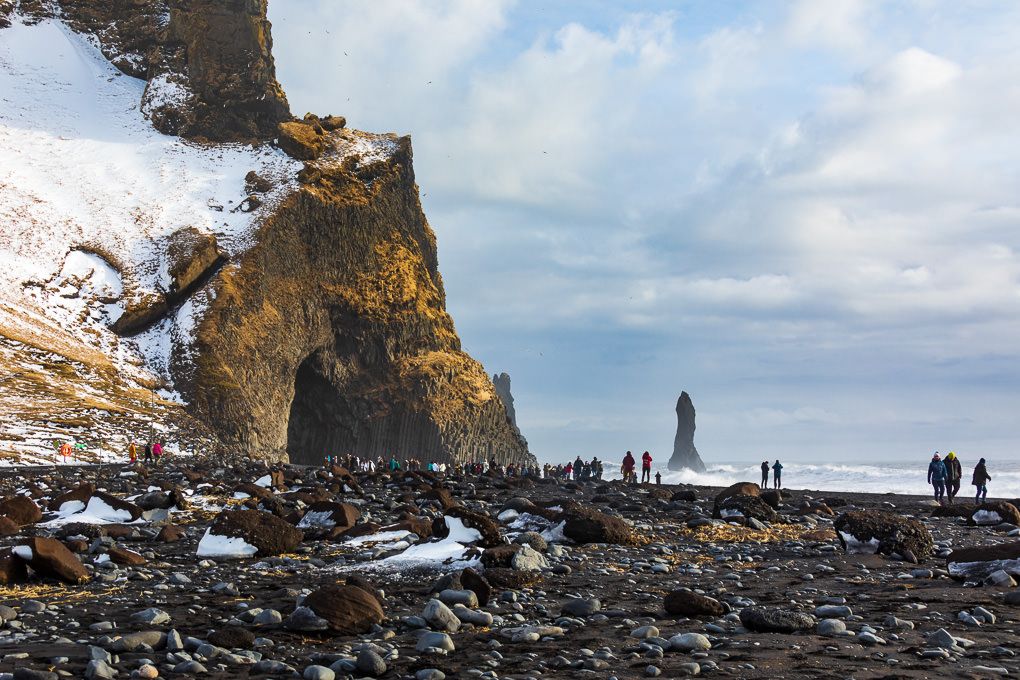
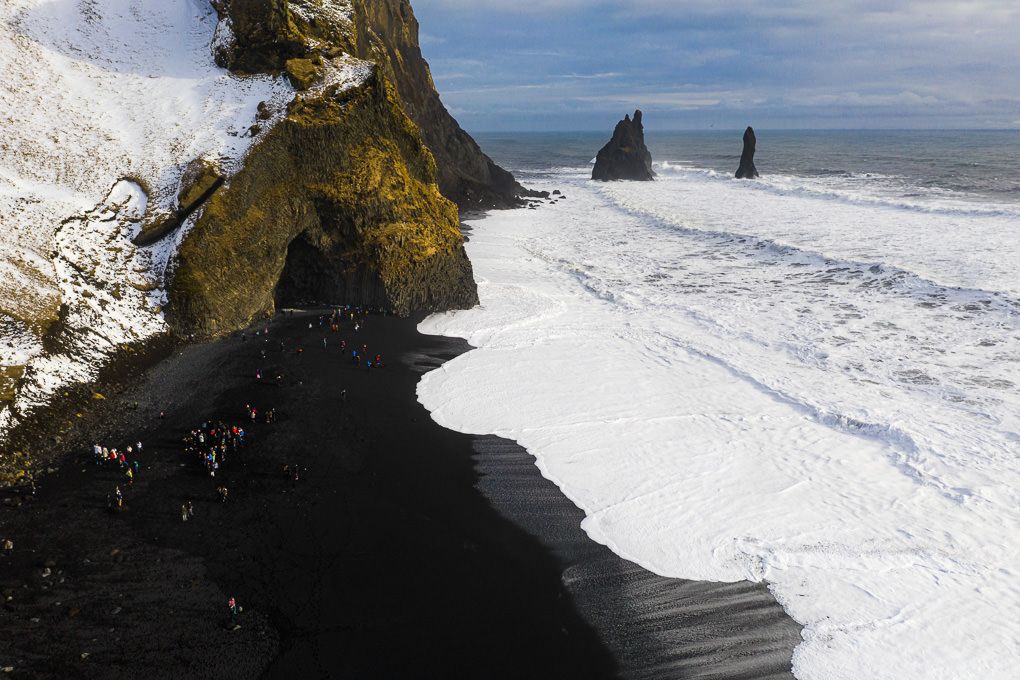
2. Reynisfjara Black Sand Beach
Reynisfjara was one of the most dramatic and most dangerous locations on the trip.
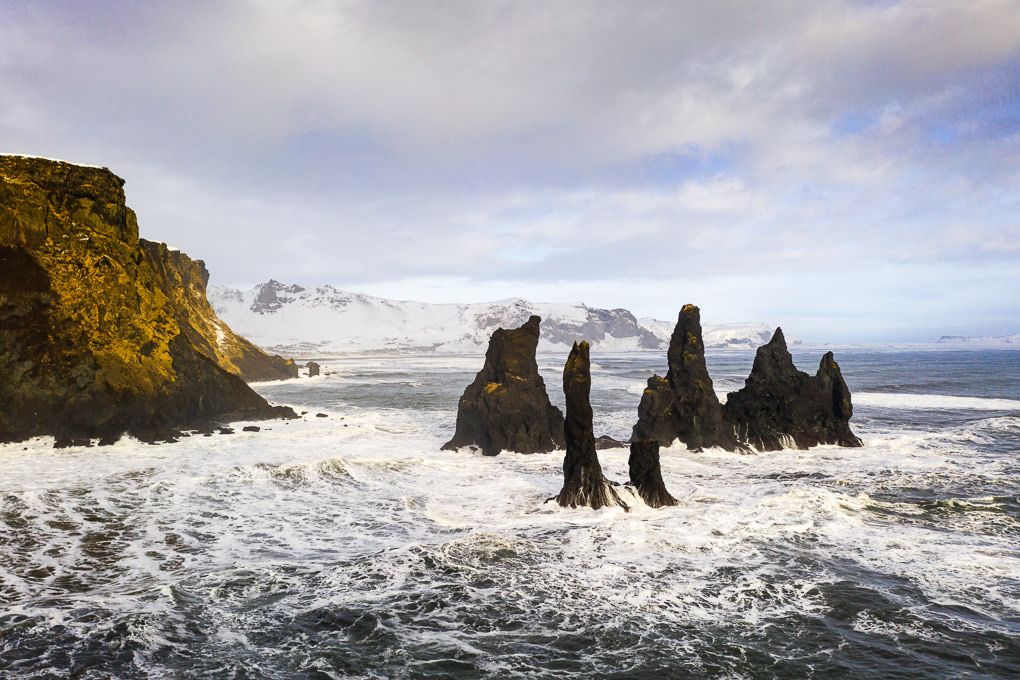
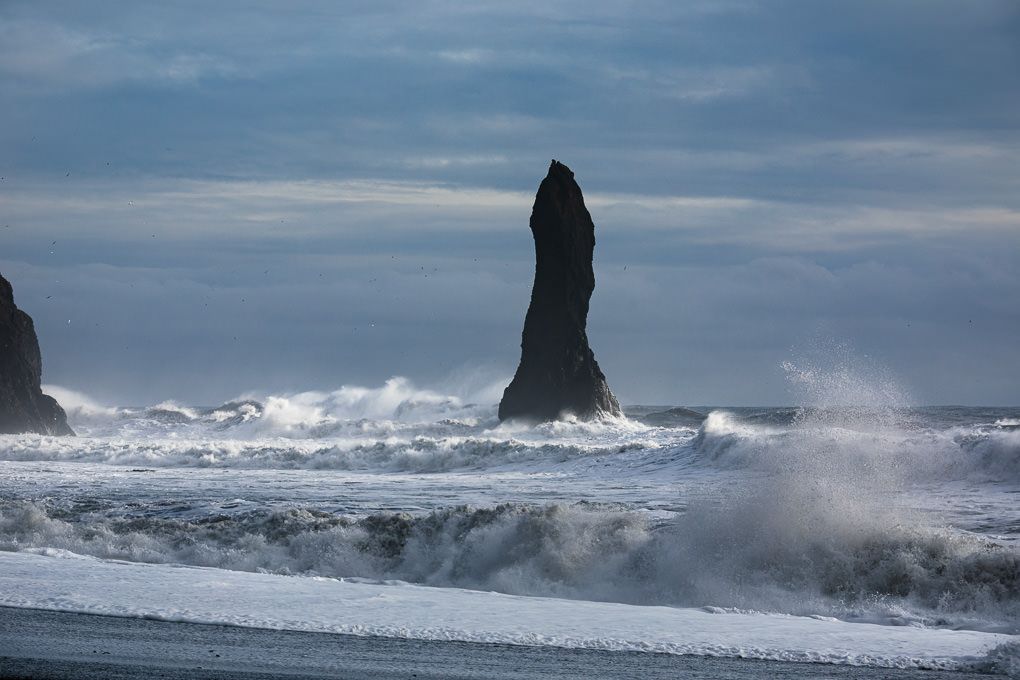
The black sand, white water and basalt columns create powerful natural contrast, even under grey skies. Waves can form leading lines through the foreground, while the cliffs and sea stacks provide structure in an otherwise open scene.
It was here that my guide was knocked over by a rogue wave. Thankfully, she was fine, although she was completely soaked. It was an immediate demonstration of how quickly the sea can reach much farther up the beach than expected.
No photograph is worth standing close to the water. Do not turn your back on the sea, and follow the beach’s warning-light system and marked safety zones. Visit Iceland describes Reynisfjara as one of the country’s most dangerous locations because of its powerful sneaker waves and currents.
Safety information: https://www.visiticeland.com/article/reynisfjara-black-sand-beach-is-dangerous/
Photographically, I would prioritise a safe position farther back and use a longer lens if necessary. The extra distance can actually improve the composition by layering the beach, water and sea stacks.
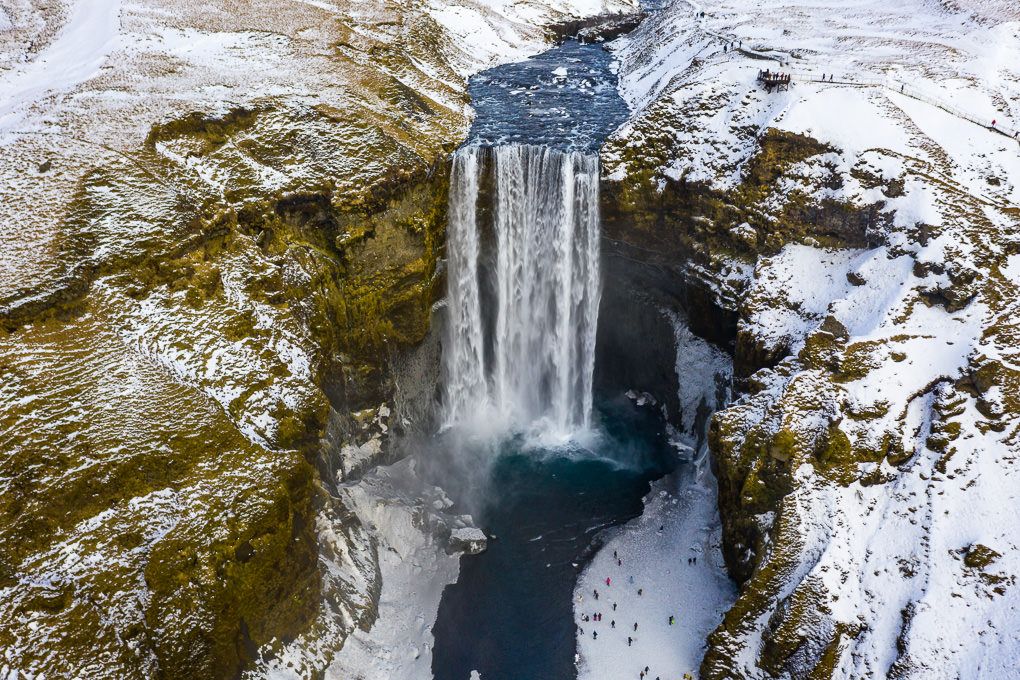
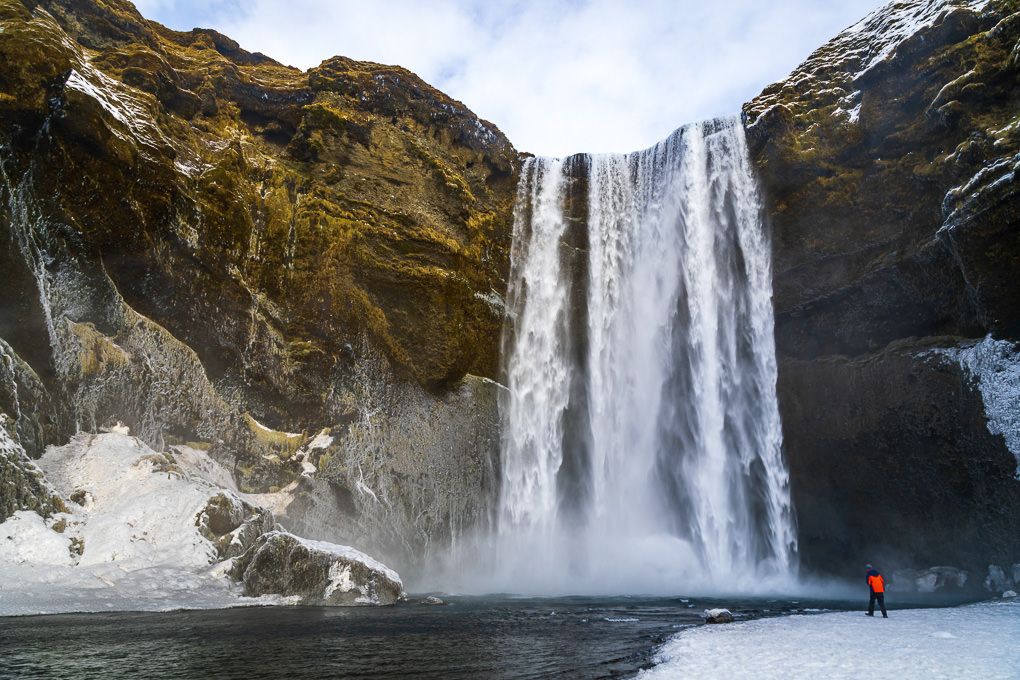
3. Skógafoss Waterfall
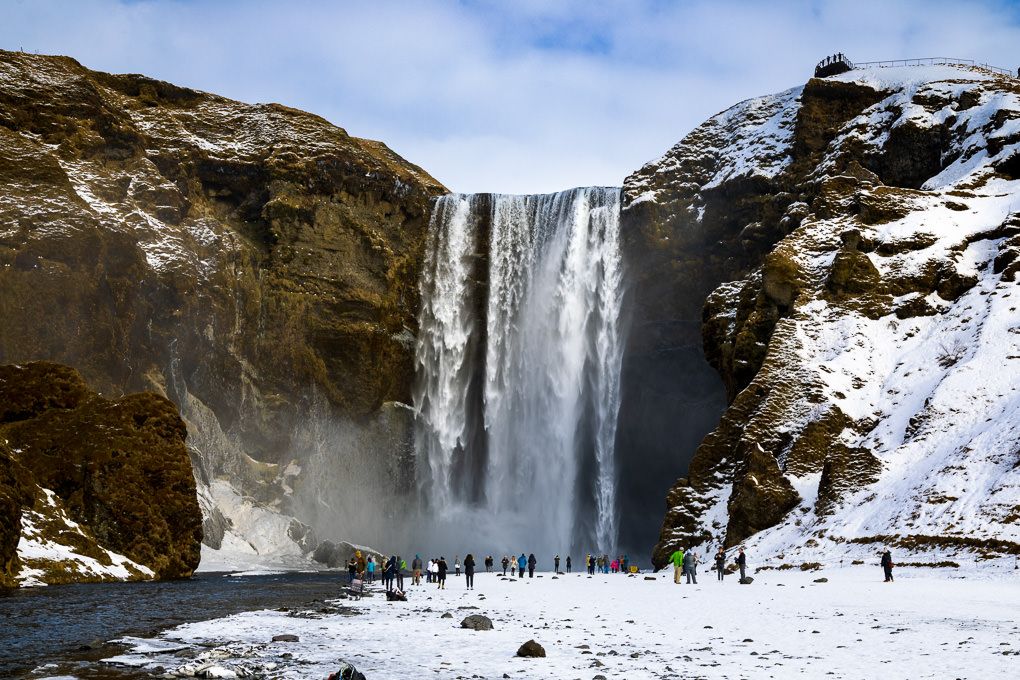
Skógafoss is difficult to make look small. The waterfall drops in one clean wall of water, while spray fills the foreground and constantly changes the atmosphere.
Including a person in the frame helps communicate its scale. A faster shutter speed preserves the texture and force of the water, while a slower exposure creates a softer result. Neither is automatically better; it depends on whether you want the photograph to show power or movement.
Spray is the practical challenge. Keep a lens cloth accessible and check the front element regularly because a few water droplets can ruin an otherwise strong frame.
4. Seljalandsfoss Waterfall
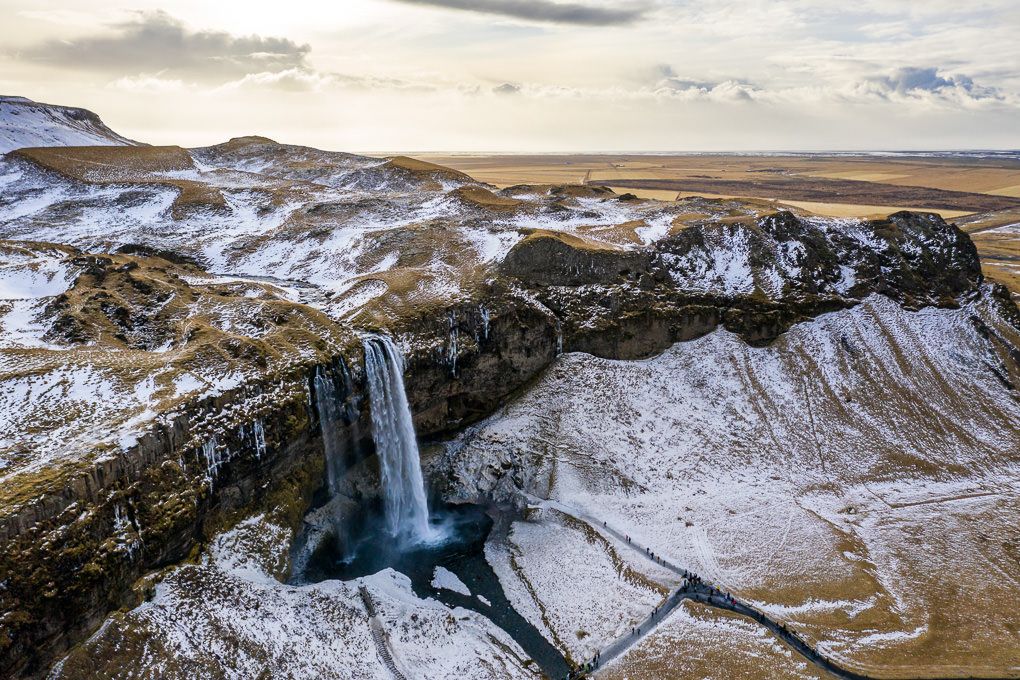
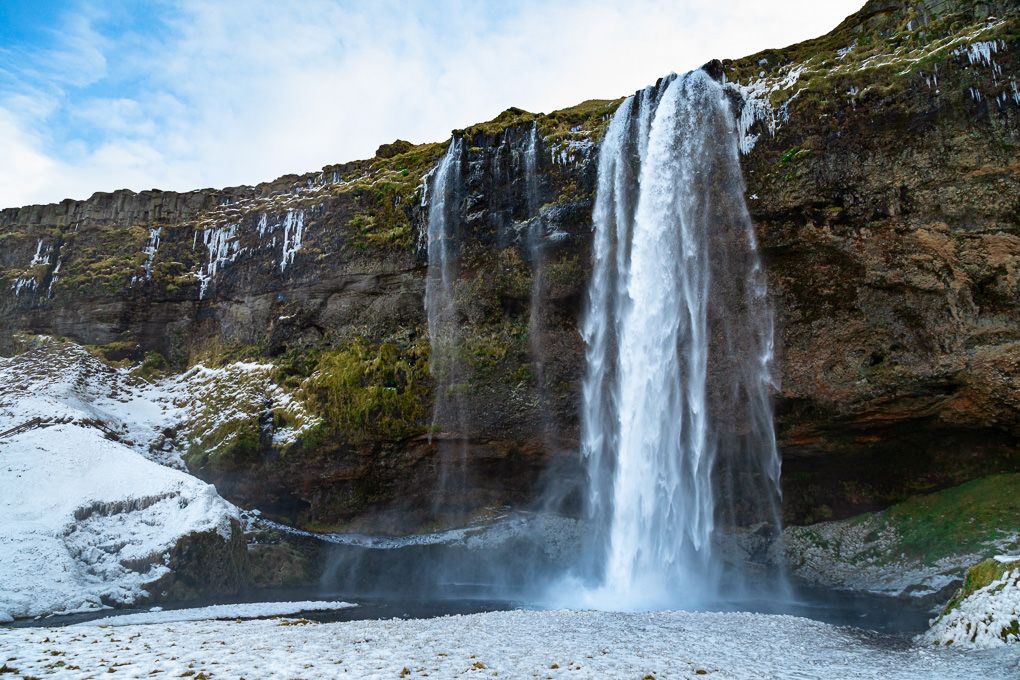
Seljalandsfoss offers a different photographic problem. Its narrow drop and surrounding cliff require careful framing, particularly when using a wide lens.
I looked for compositions that showed the waterfall in its wider landscape rather than concentrating only on the water. In winter, icy paths and spray can make access difficult, so footwear and attention to local closures are more important than chasing a particular viewpoint.
A wide-angle lens helps include the cliff and foreground, but make sure the waterfall does not become an insignificant white line in the frame. A person or recognisable feature can again help show scale.
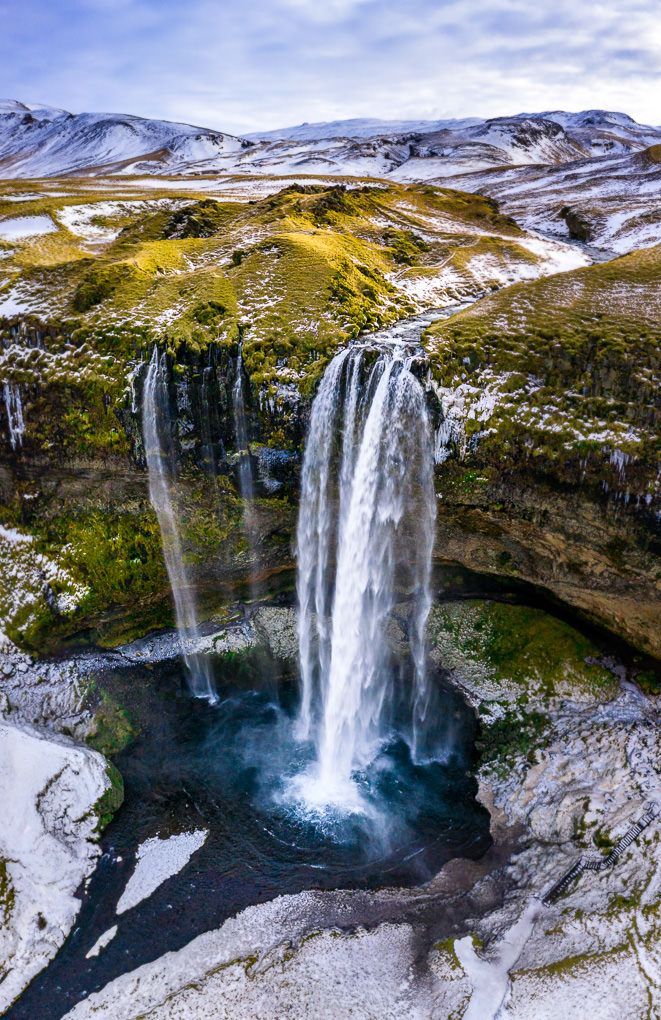
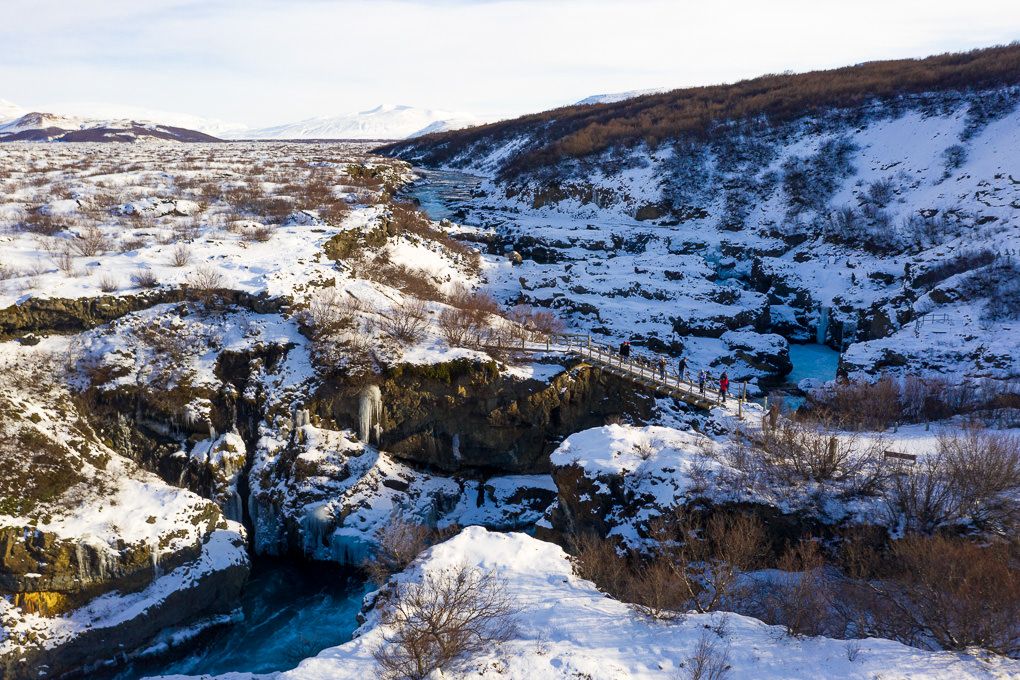
5. Hraunfossar Waterfalls
Hraunfossar is less about a single monumental drop and more about patterns. Numerous streams emerge through dark lava rock, creating layers of water, snow and texture.
This was a good place to slow down and look for smaller compositions. Instead of photographing the whole scene repeatedly, I isolated individual streams and used the darker rock to separate the white water from the snowy surroundings.
A polarising filter can help manage reflections, but it should be adjusted carefully. Removing every reflection can make water look lifeless.
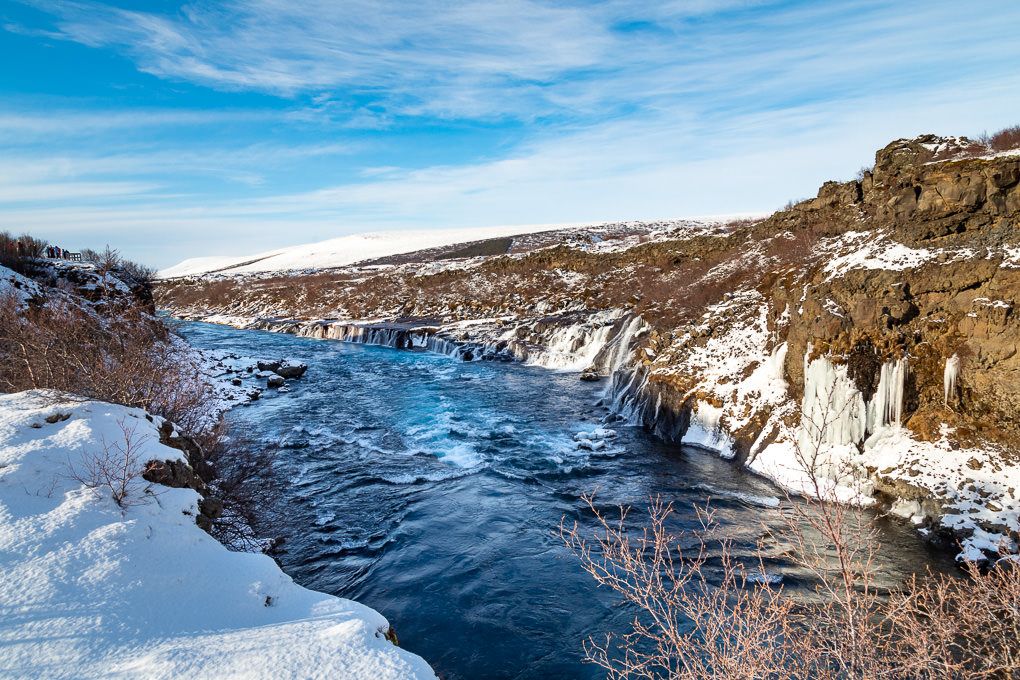
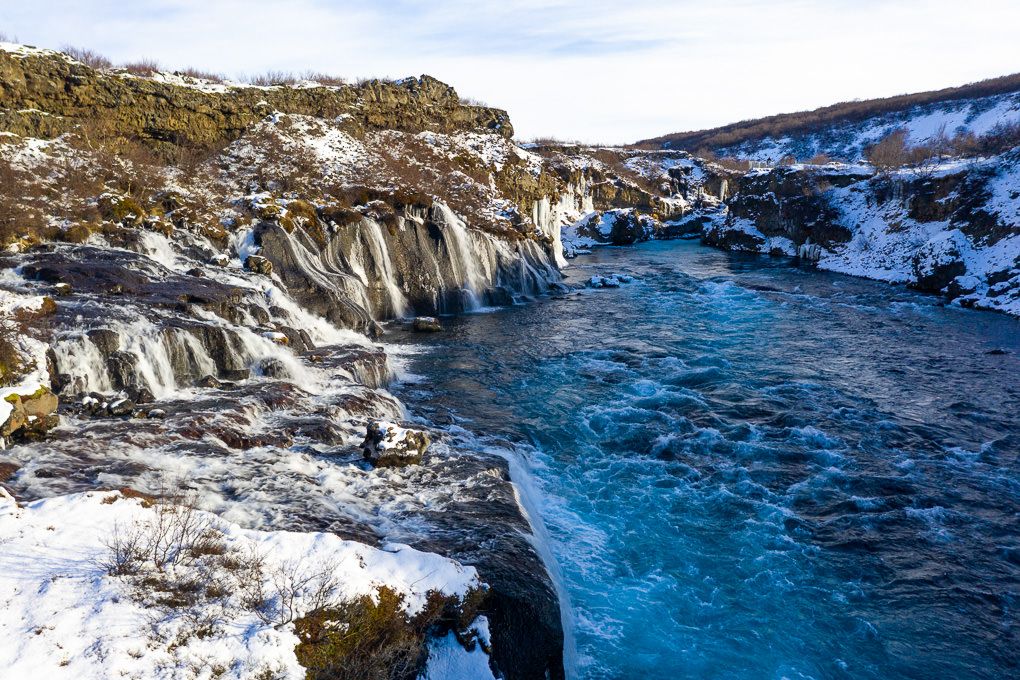
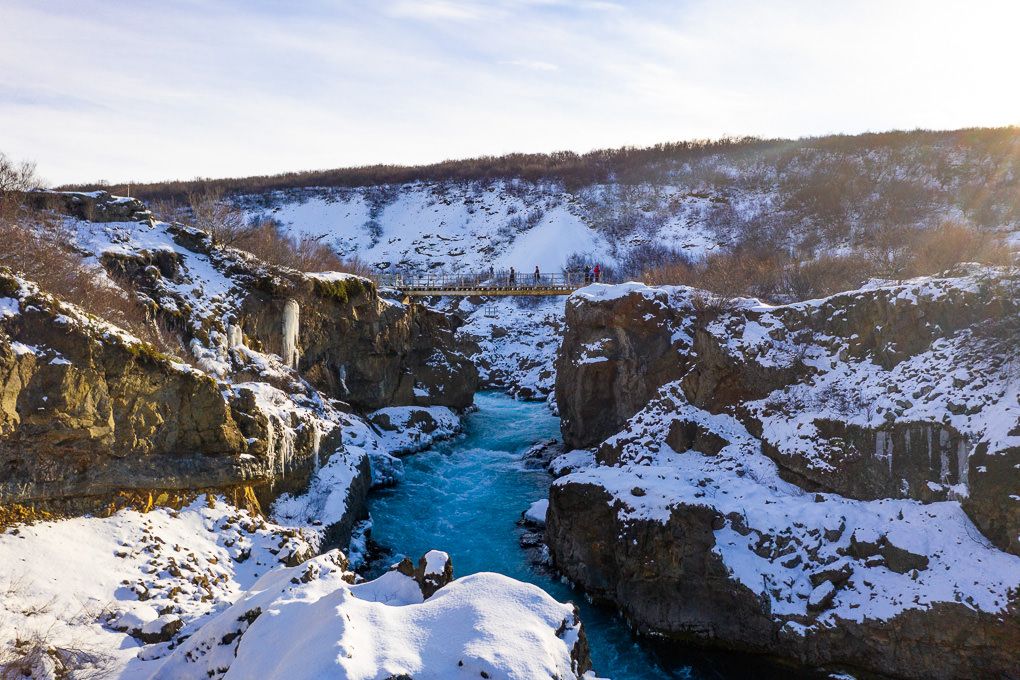
6. Gullfoss
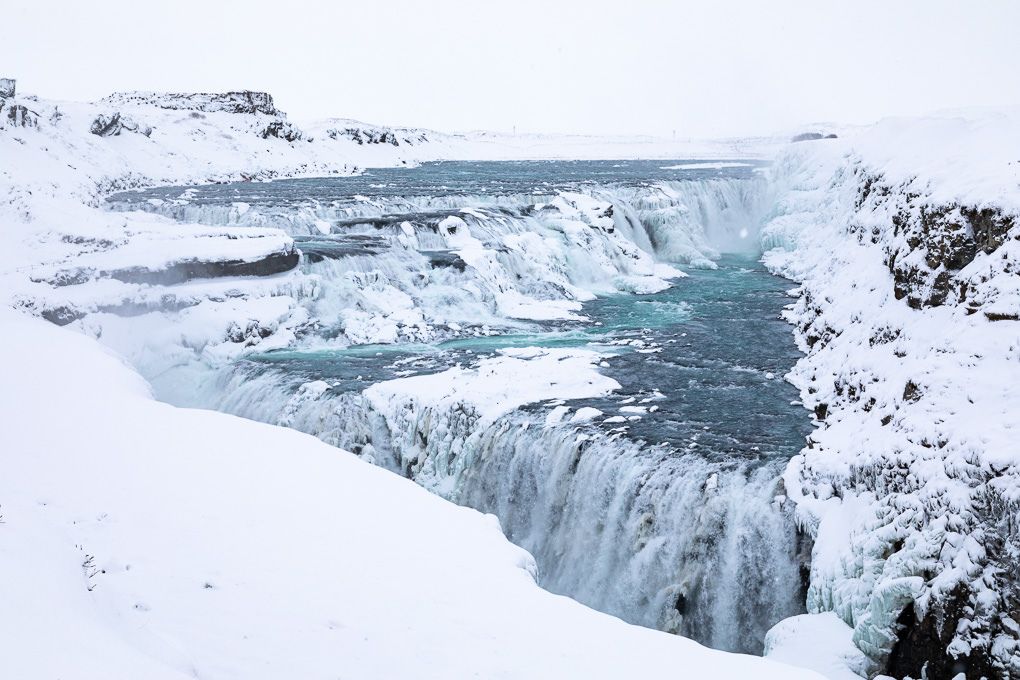
Gullfoss is one of those locations where the physical experience is difficult to communicate in one photograph. The waterfall turns and drops into a canyon, so choosing a viewpoint that explains its shape is important.
A wider composition establishes the river, falls and surrounding landscape. Tighter frames can concentrate on spray, ice and the force of the water.
Winter conditions can create very bright snow alongside deep shadows in the canyon. Check highlights carefully and consider bracketing exposures if the contrast exceeds what the camera can capture in one frame.
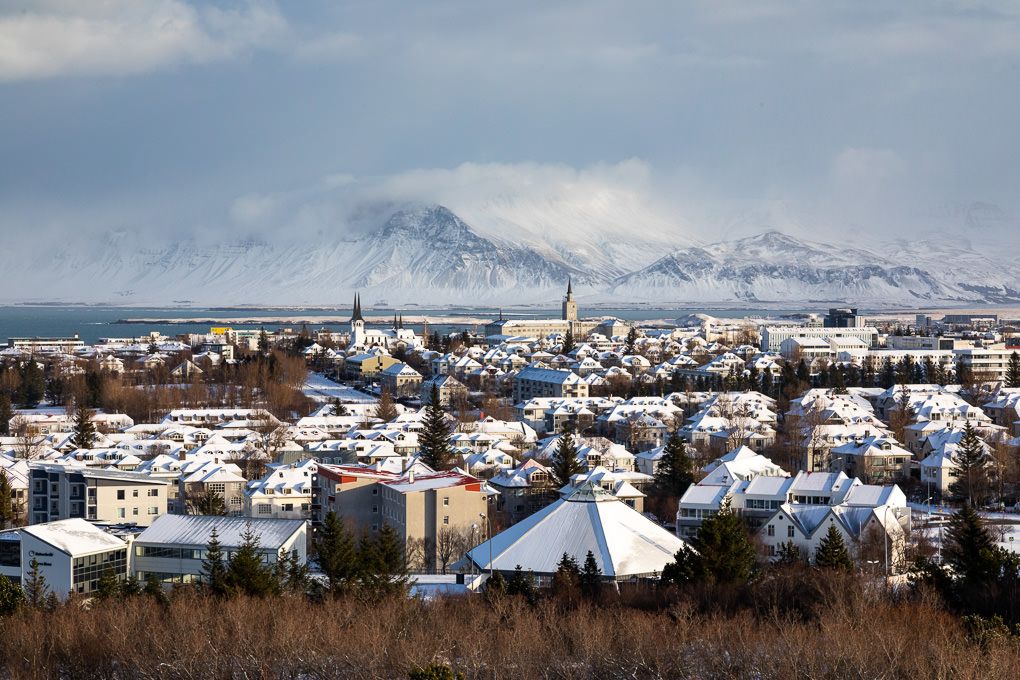
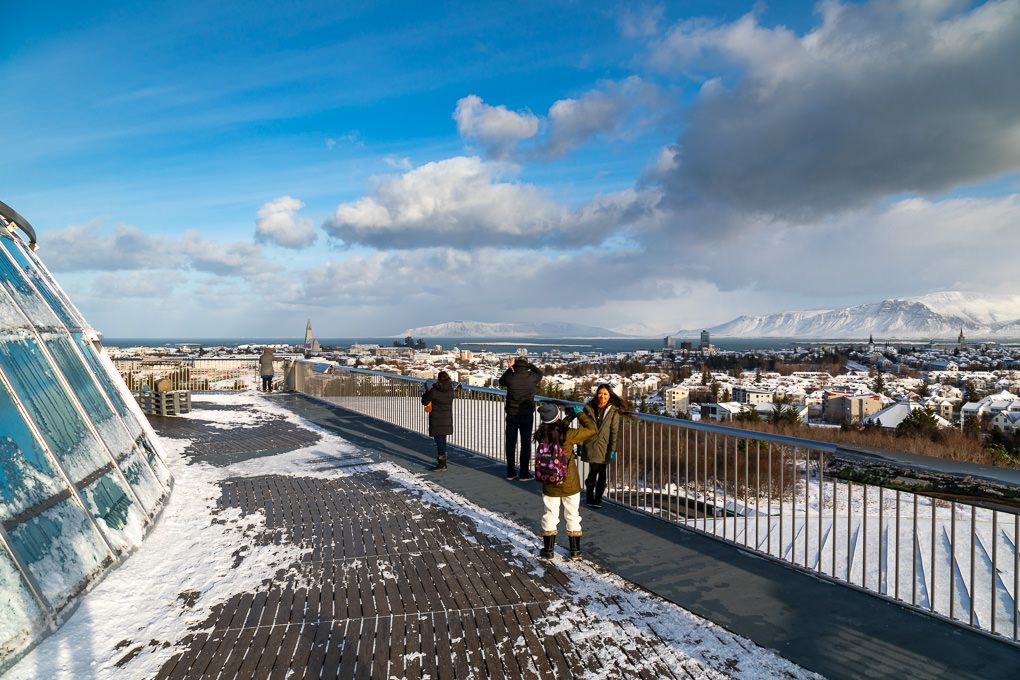
7. The view from Perlan, Reykjavík
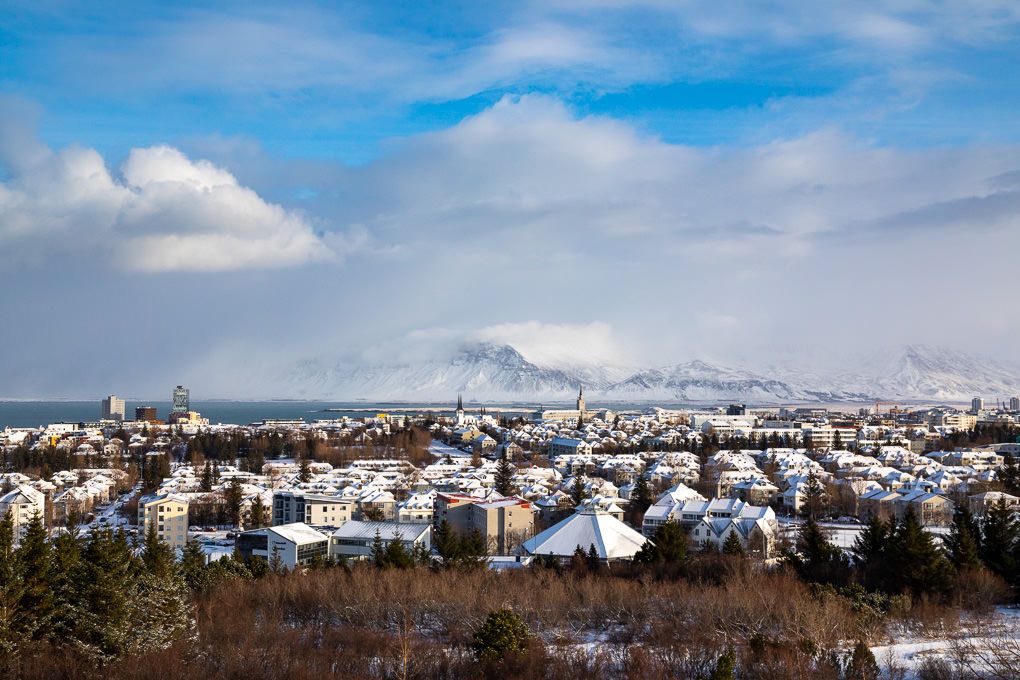
Perlan provides an elevated view across Reykjavík, making it useful for establishing photographs of the city and its surrounding landscape.
A panoramic composition can show the relationship between Reykjavík’s colourful buildings, the coast and distant mountains. Blue hour is particularly effective because the remaining daylight balances with the city’s artificial lights.
Reflections can be a problem when photographing through glass. Move the lens close to the window, avoid bright clothing reflecting in front of the camera and check the corners of the frame before moving on.
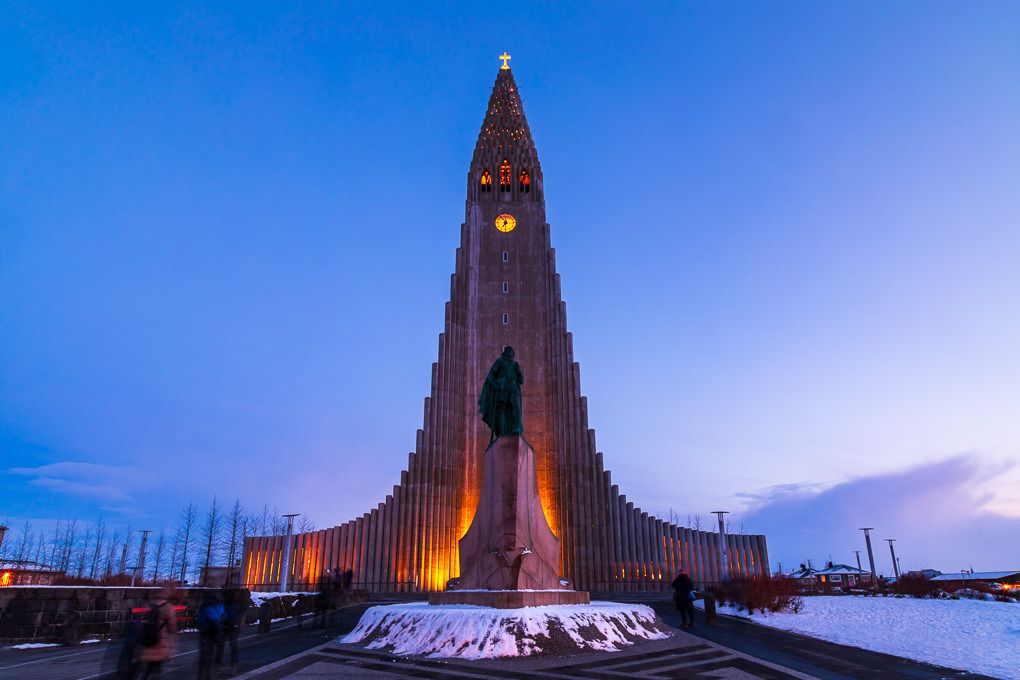
8. Hallgrímskirkja
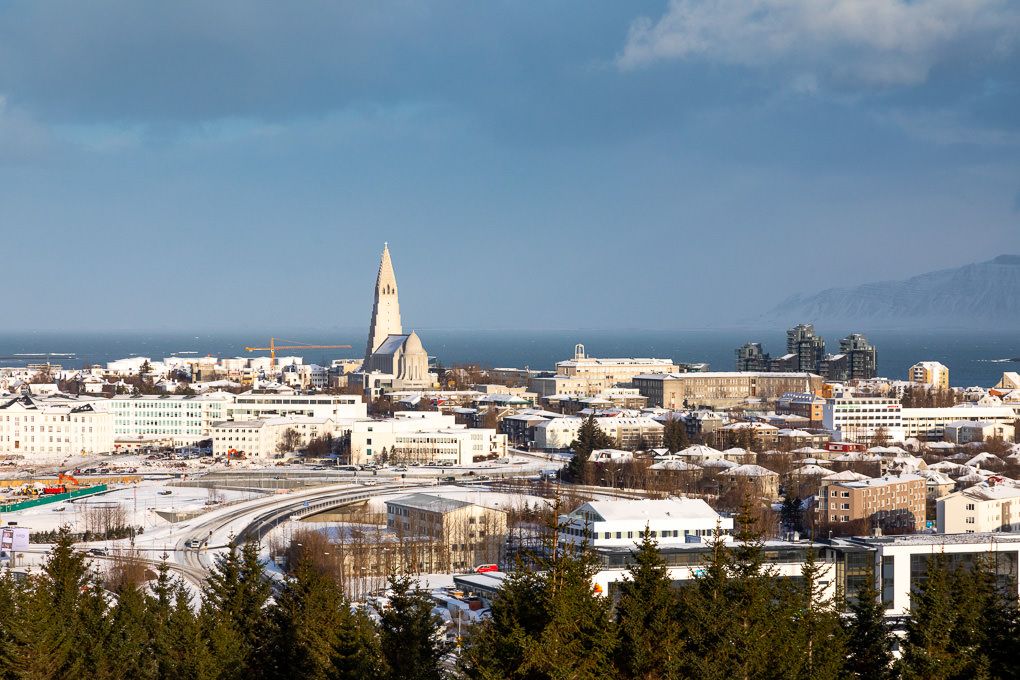
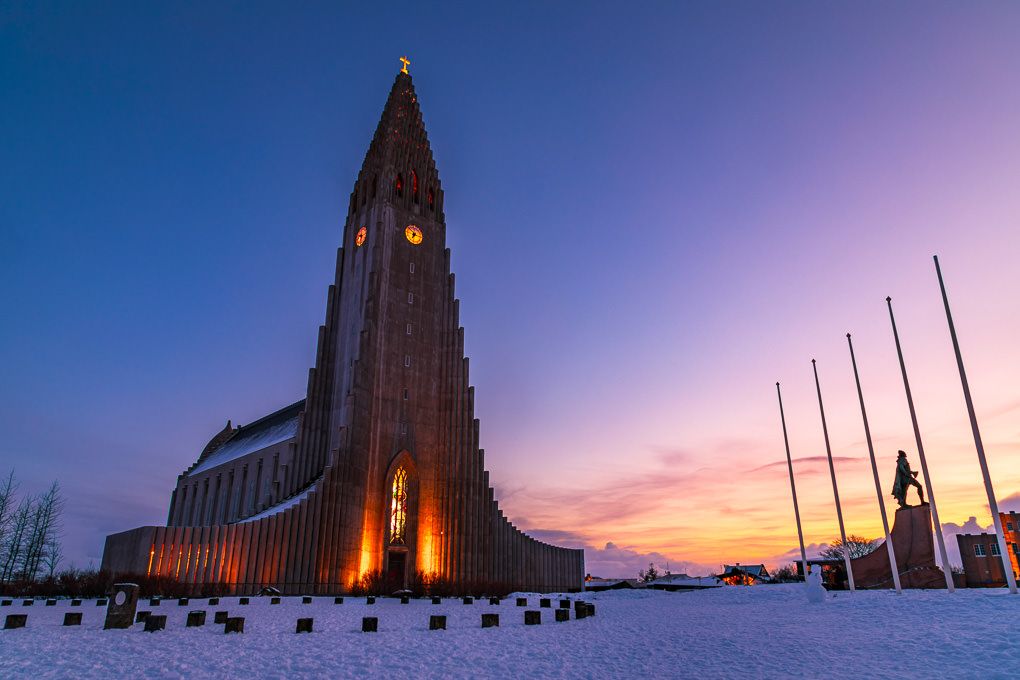
Hallgrímskirkja is one of Reykjavík’s most recognisable buildings. Its clean lines and symmetrical façade make it suitable for architectural compositions, while the tower offers another elevated view over the city.
Photographing directly from the front emphasises symmetry. From closer positions, however, a wide lens can cause vertical lines to converge. Stepping farther back and keeping the camera level will produce a more natural result than relying entirely on perspective correction afterwards.
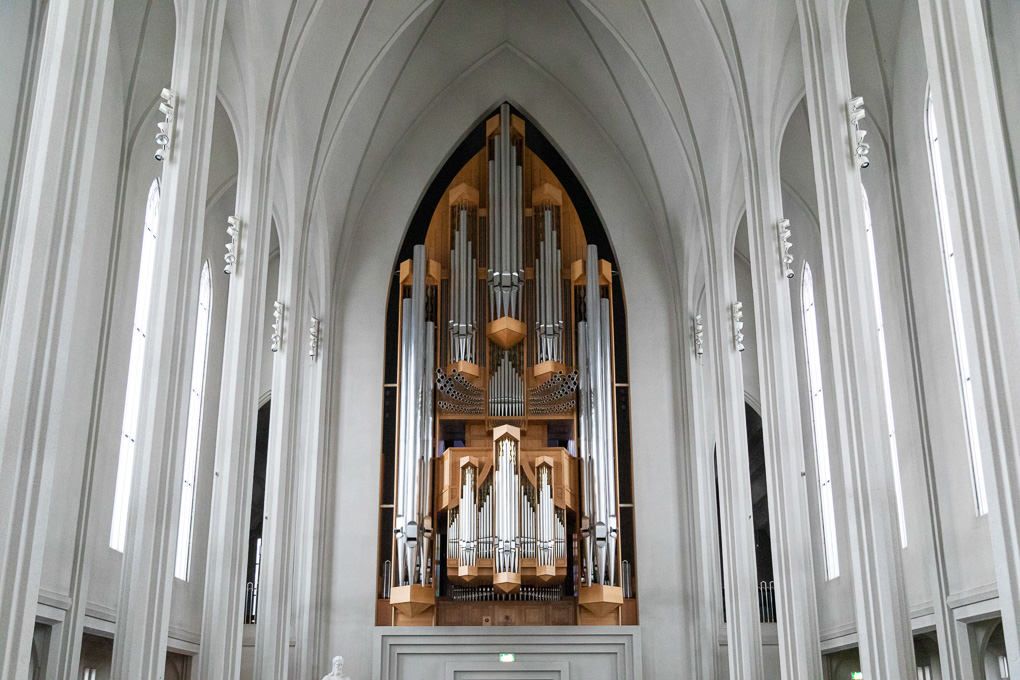
Inside, the pale surfaces and high ceilings create softer, more minimal photographs. Raise the ISO when necessary rather than risk camera shake.
9. Into the Glacier
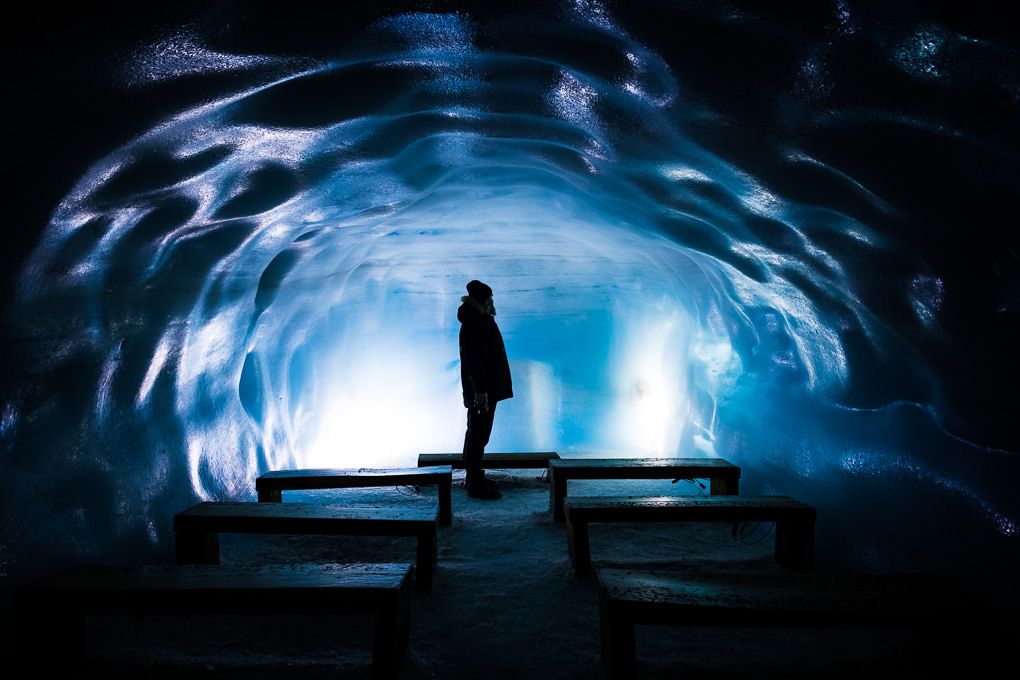
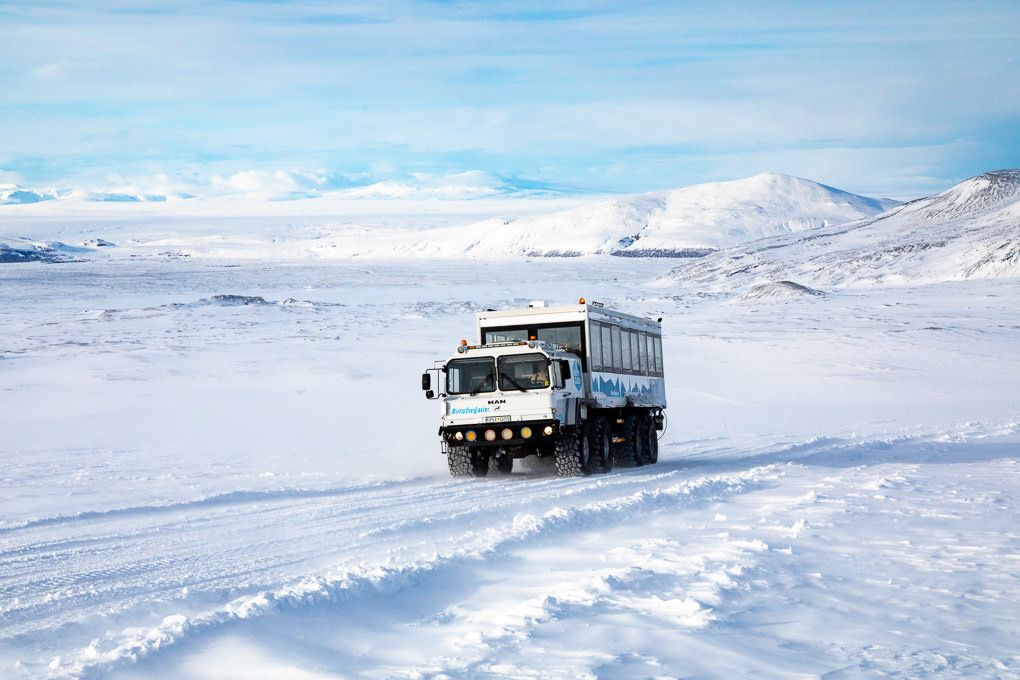
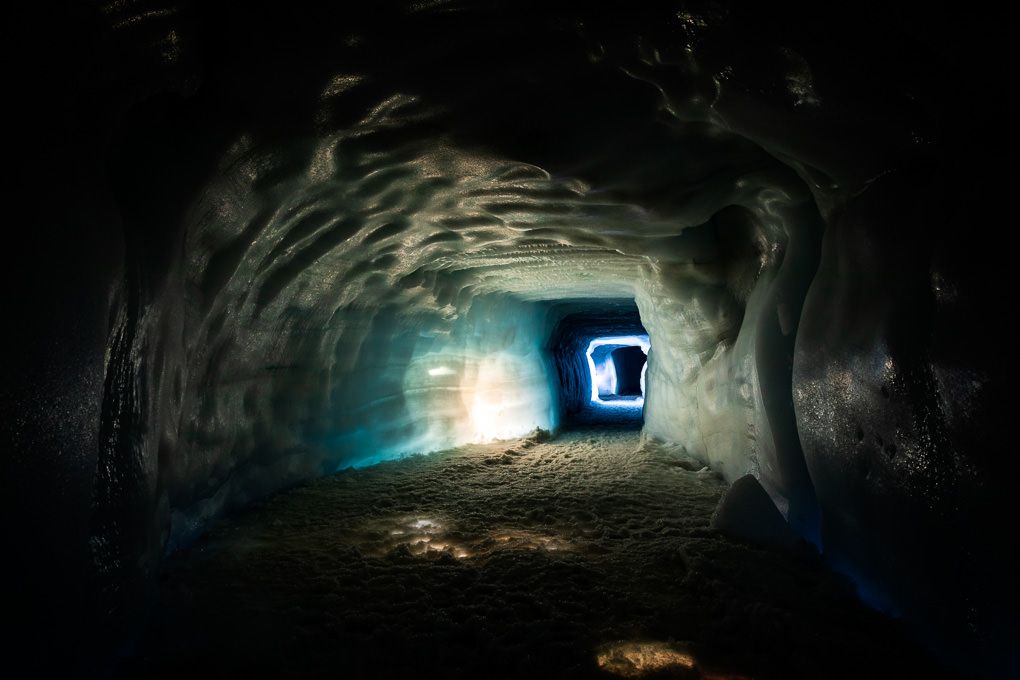
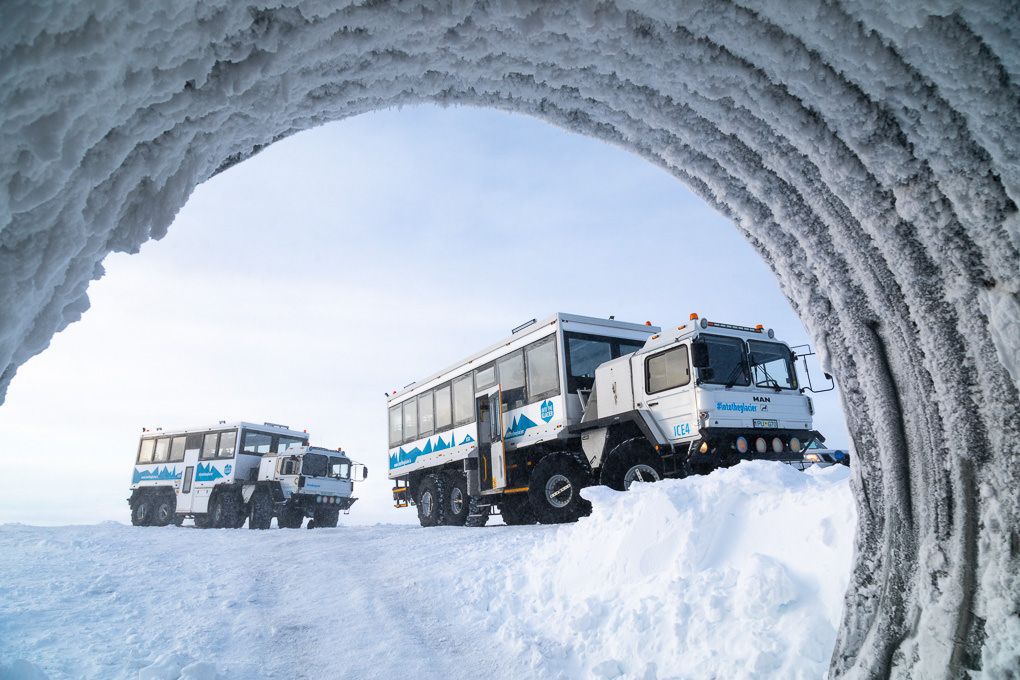
The Into the Glacier experience at Langjökull introduced completely different conditions. Inside the ice tunnels, light levels were low, and the colour of the ice varied according to the artificial lighting and thickness of the surrounding glacier.
Modern cameras can cope well with higher ISO settings, so I would prioritise a shutter speed that produces a sharp image. Stabilise the camera against a solid surface where permitted and look for curves, illuminated passages and people silhouetted against the blue ice.
Trying to remove every blue tone during editing would lose much of the atmosphere. The goal is to keep the ice believable while controlling any strong artificial colour cast.
10. Icelandic horses
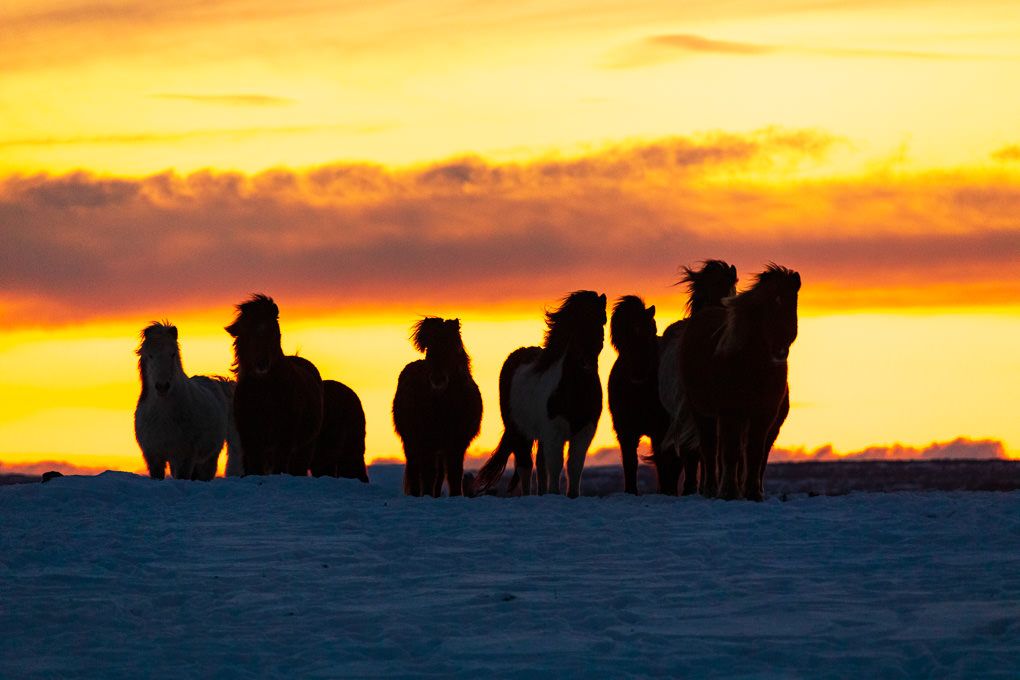
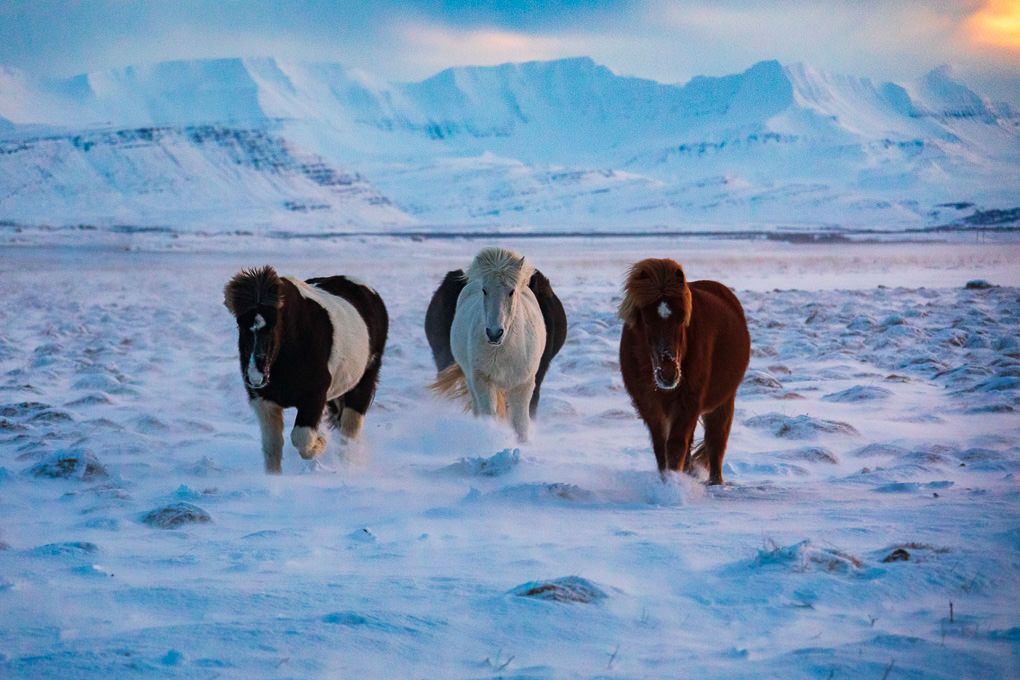
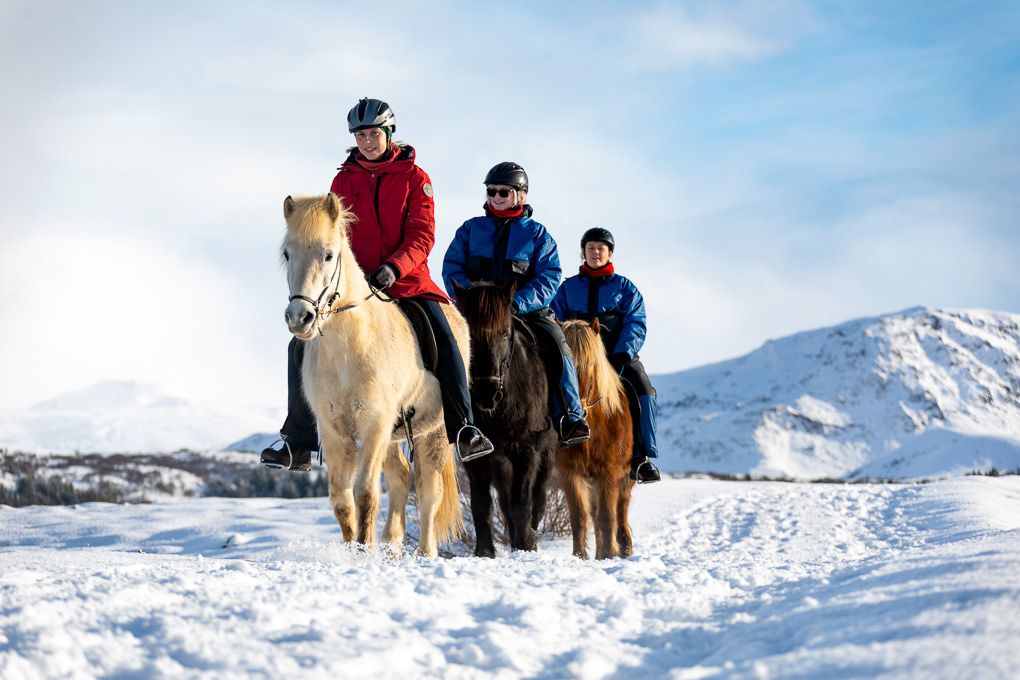
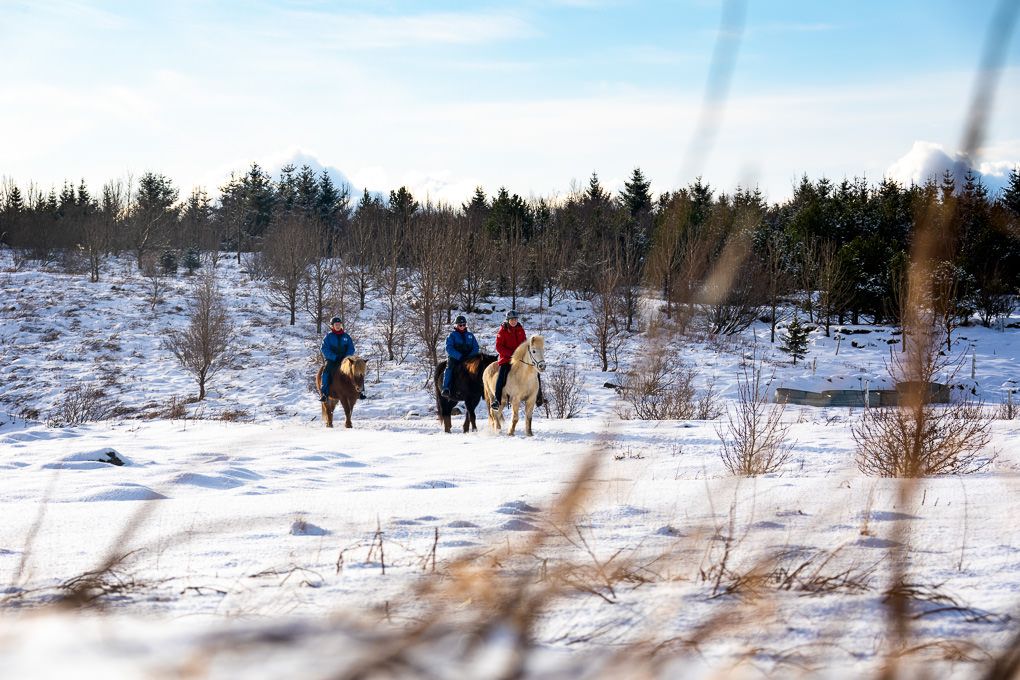
Icelandic horses gave the collection a living, recognisably local subject. Their thick winter coats looked particularly suited to the snowy landscape.
A medium or telephoto zoom allowed me to photograph both portraits and wider environmental scenes without crowding the animals. For moving horses, a faster shutter speed is more important than using the lowest possible ISO.
Always approach animals with permission and follow the guidance of their owners or handlers. A strong travel image should never come at the expense of an animal’s welfare.
11. ATV photography in Iceland
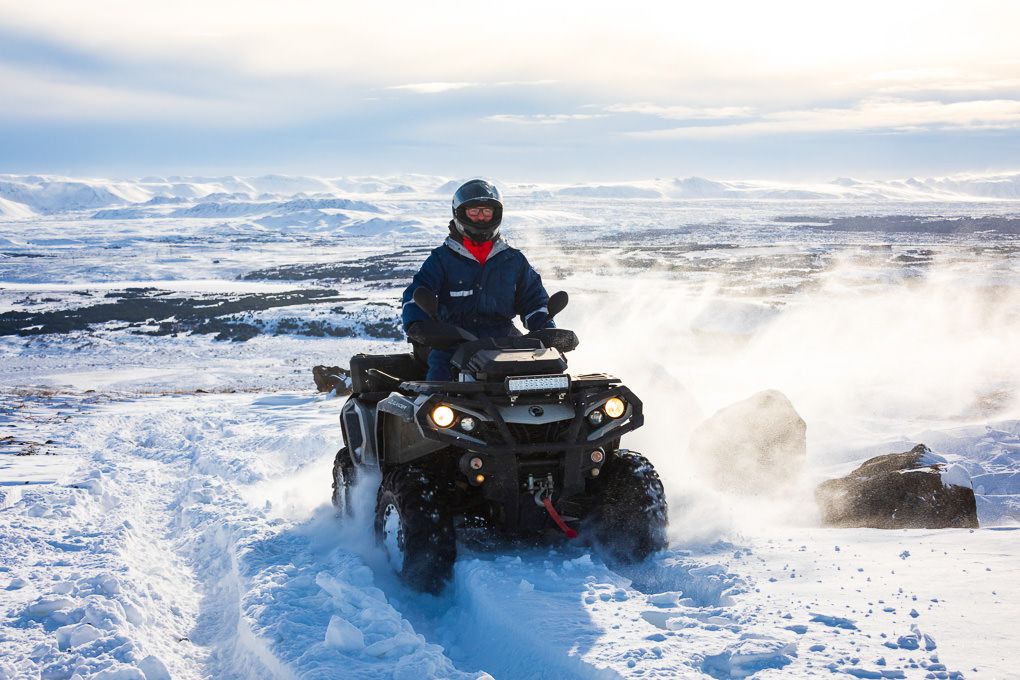
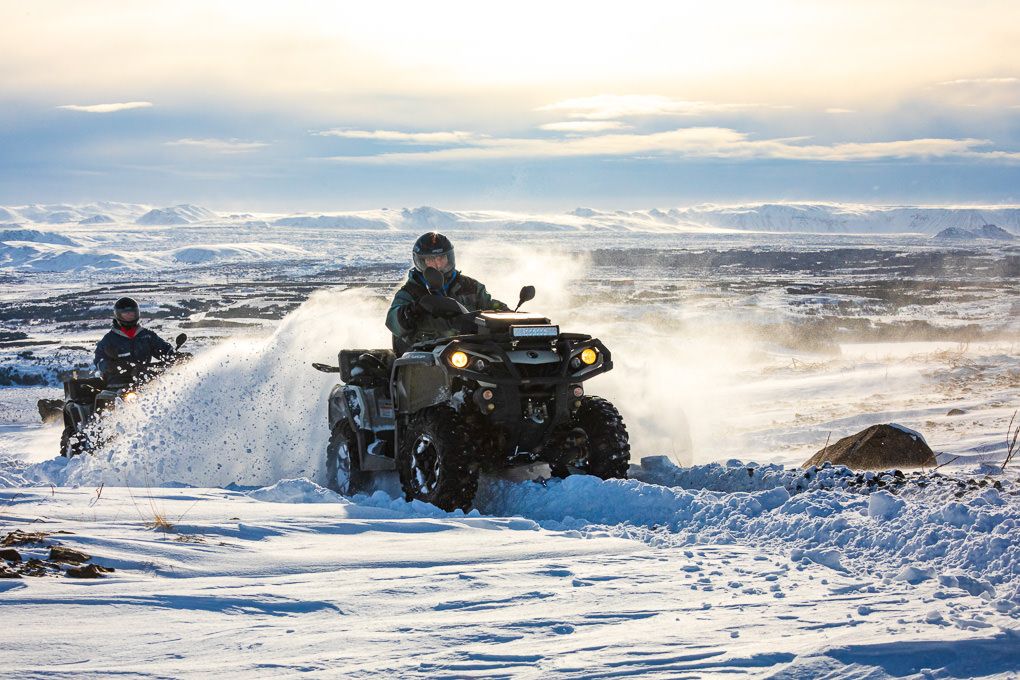
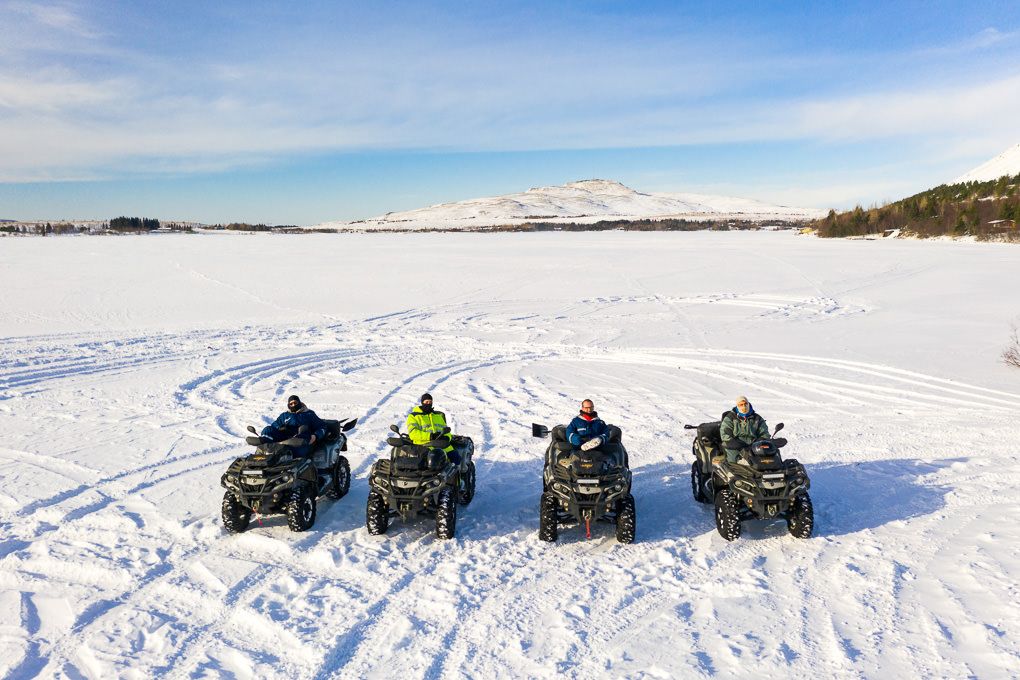
The ATV excursion brought movement and energy into a collection dominated by static landscapes.
For approaching vehicles, continuous autofocus and a fast shutter speed help keep the rider sharp. Burst shooting can be useful, but timing and positioning still matter more than producing hundreds of nearly identical frames.
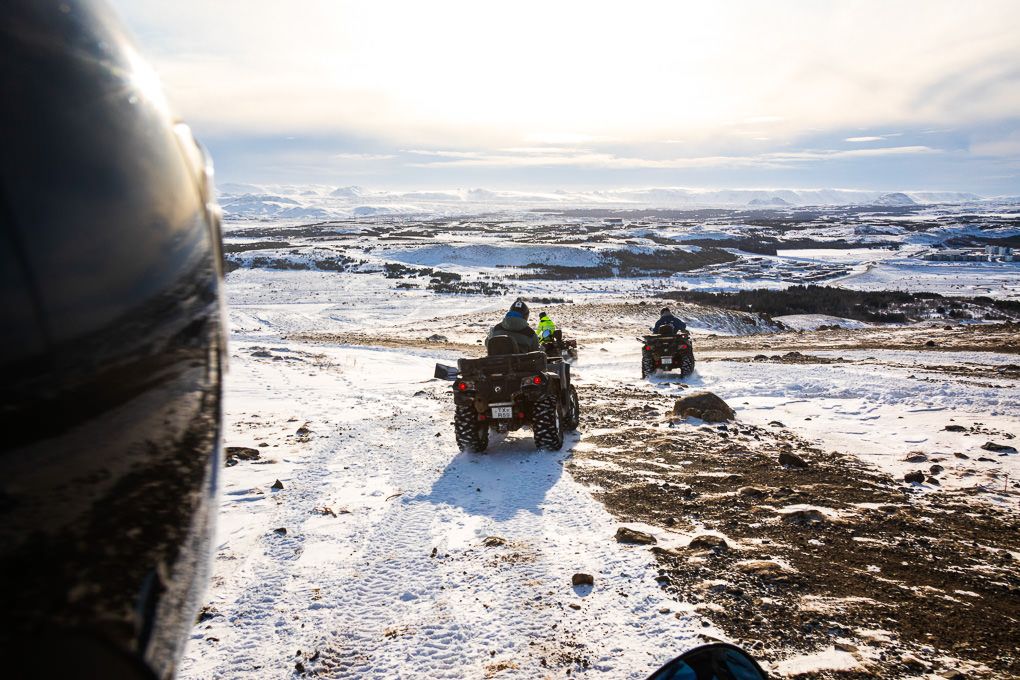
I also photographed wider scenes showing the ATVs within the landscape. For a tourism client, these can be more valuable than tight action photographs because they show customers where the experience takes place.
That distinction is central to commercial excursion photography. The photograph needs to make the experience understandable and appealing, not simply prove that the activity happened.
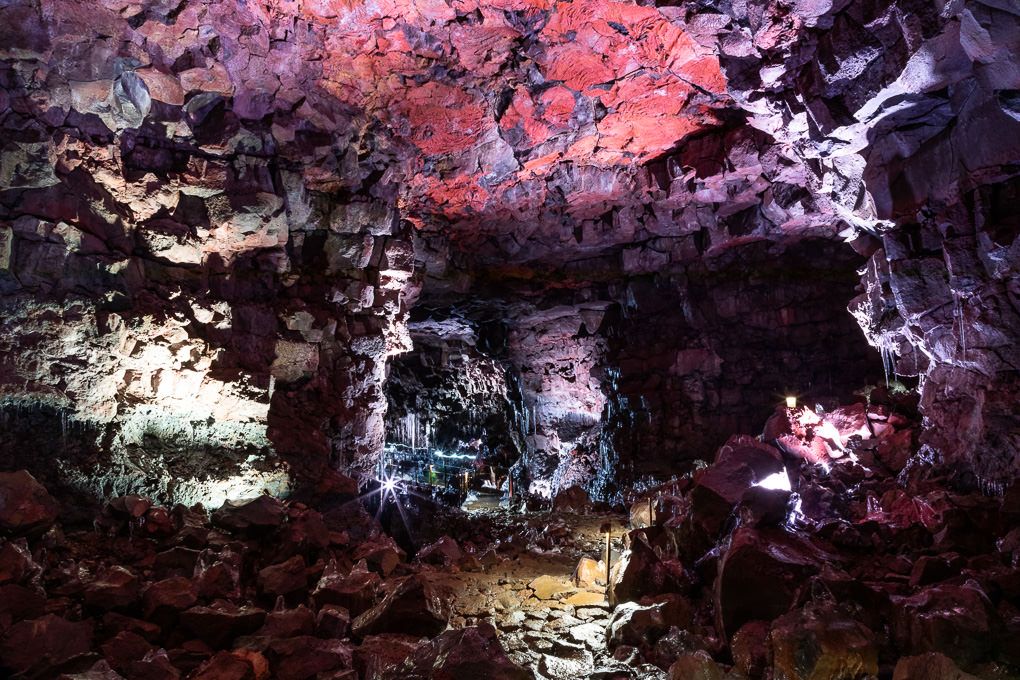
12. Raufarhólshellir Lava Tunnel
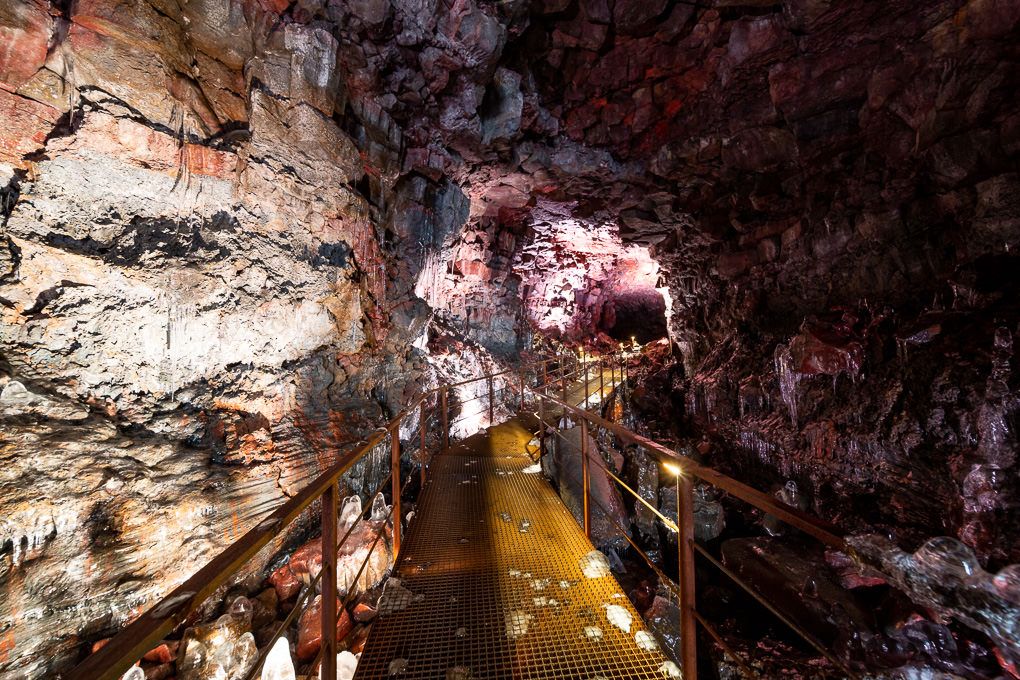
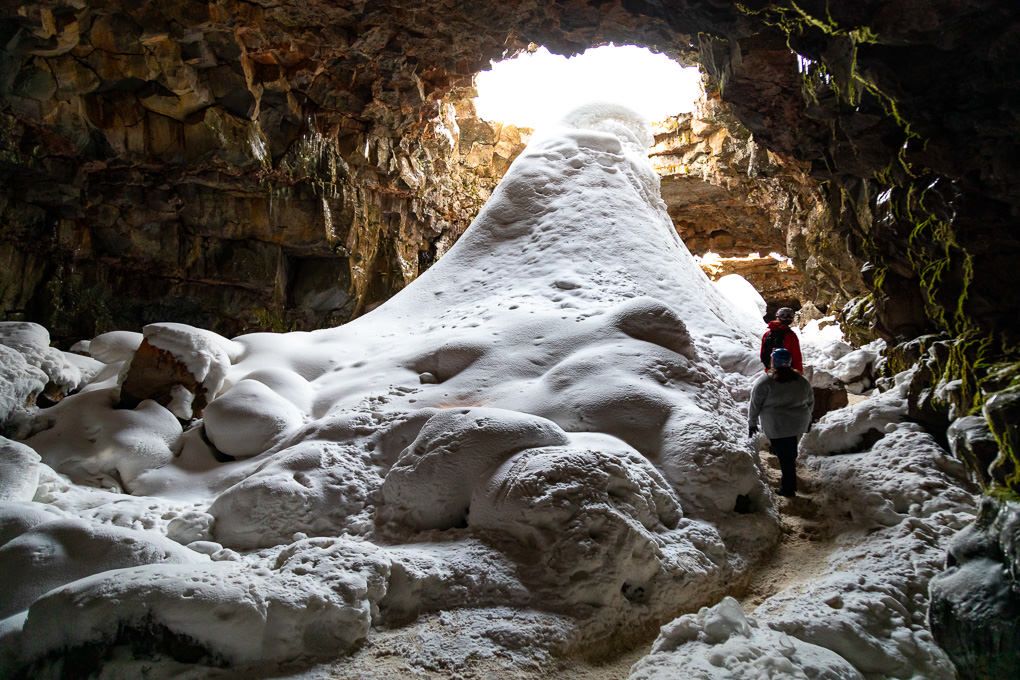
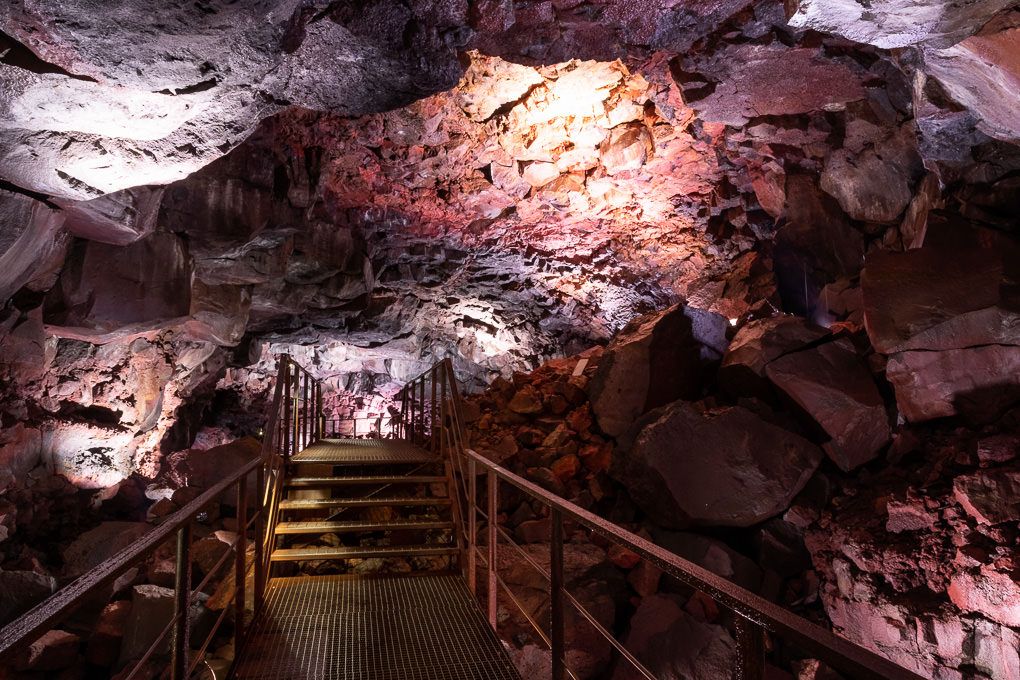
Raufarhólshellir was another low-light location, but its character was very different from the glacier. Warm artificial lighting revealed red, orange and purple tones in the rock, while walkways and openings created strong leading lines.
Exposure can be difficult because illuminated sections sit beside very dark rock. Protecting the highlights gives the file more flexibility during editing.
Rather than brightening every shadow, I prefer to retain some darkness. It preserves the feeling of being underground and prevents the image from becoming flat.
13. Le Kock, Reykjavík
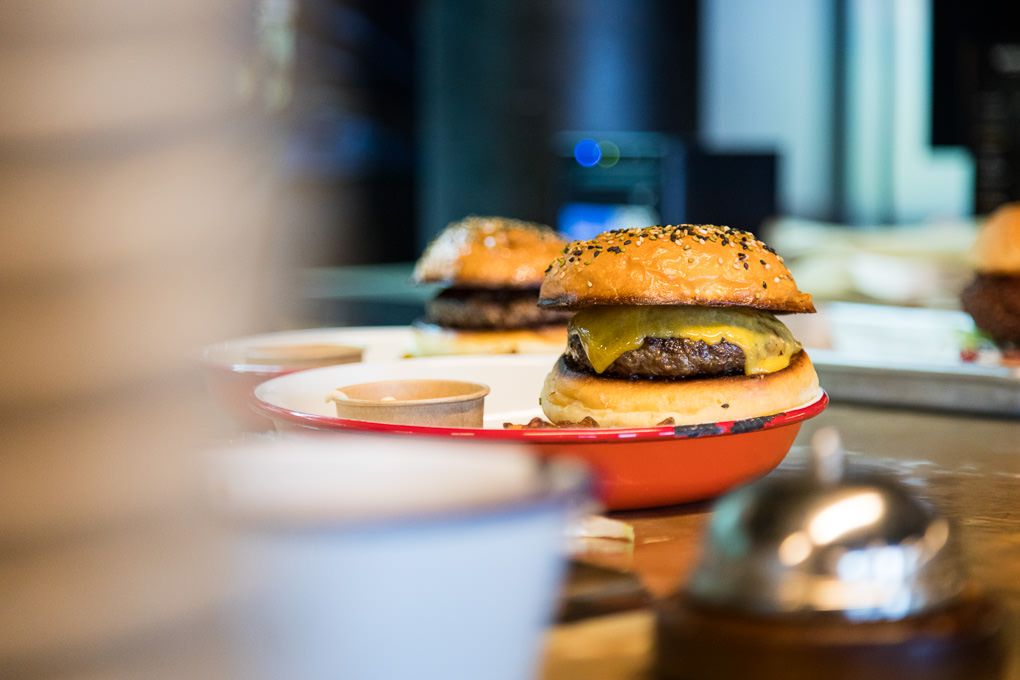
A travel photography assignment should show more than landmarks. Food, interiors and relaxed moments help explain what a destination feels like between excursions.
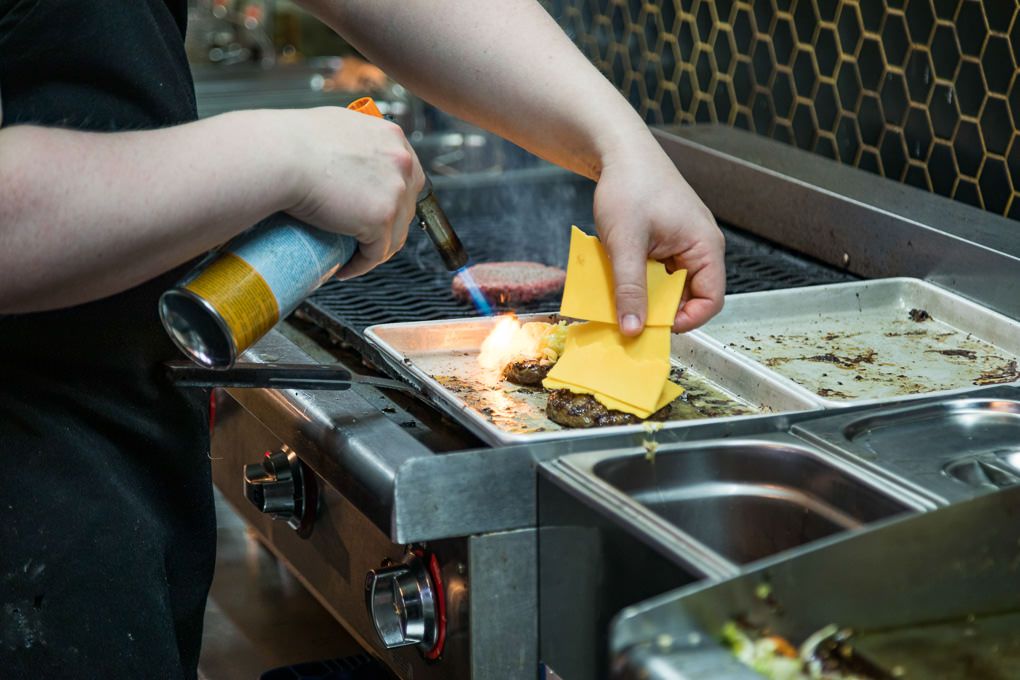
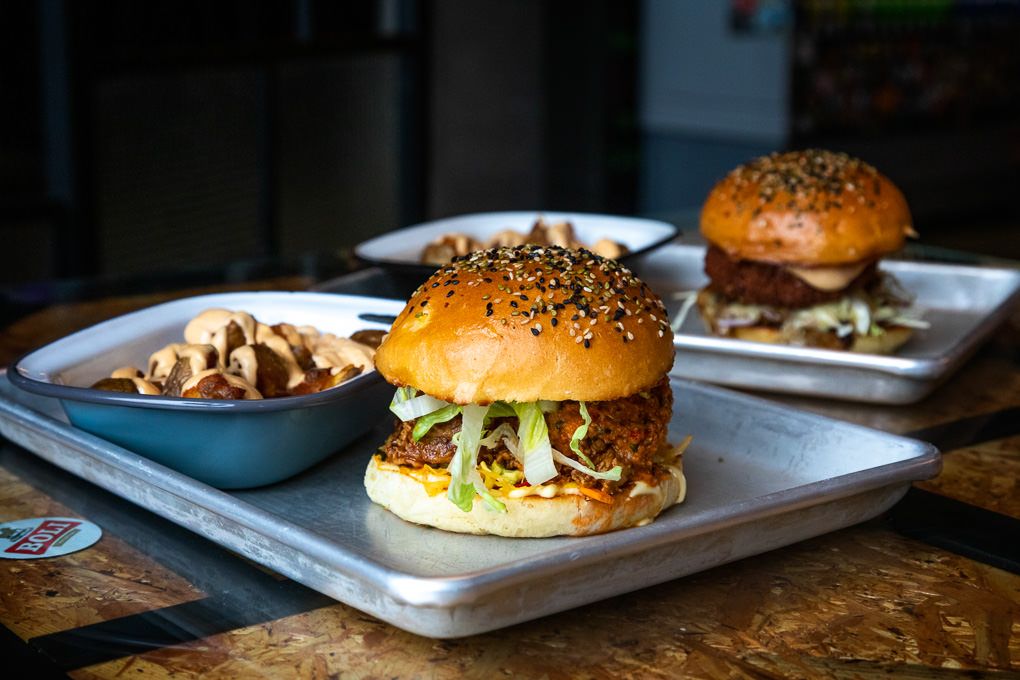
At Le Kock, I photographed the food, kitchen activity and restaurant atmosphere. Window light or the venue’s existing directional lighting can be more flattering than a phone flash or direct on-camera flash.
Including this restaurant in the guide may seem unexpected, but it reflects how commercial destination photography works. A travel brand needs a varied image library encompassing landscapes, activities, accommodation, food, culture and people.
What the Iceland assignment taught me
Five days is a short time in a country with such changeable weather. The assignment reinforced several lessons that continue to shape my travel work:
- Build variety rather than returning with hundreds of similar landscapes.
- Do not rely on perfect weather or golden-hour light.
- Use people to communicate scale and experience.
- Give safety and local restrictions priority over a photograph.
- Capture wide establishing images, medium scenes and small details.
- Photograph the moments between the headline attractions.
- Keep editing believable. Iceland does not need exaggerated colours or artificial skies.
These are lessons I developed throughout my career as a professional travel photographer, including nine years working for TUI and photographing destinations and experiences internationally.
Can you fly a drone in Iceland?
Drone flying is regulated in Iceland, and restrictions can vary according to airspace, protected areas, land access and the specific location.
Some images in this article were captured in February 2020. Their presence must not be interpreted as confirmation that flying is currently allowed at those locations.
Before every flight, check:
- Iceland’s current official drone rules: https://island.is/en/drone-rules
- Iceland’s official drone map: https://island.is/en/drone-map
- Local signs and restrictions
- Protected-area requirements
- Current weather and wind conditions
You can see more examples of my professional drone and aerial photography.
Frequently asked questions
What is the best lens for photographing Iceland?
A versatile standard zoom such as a 24–105mm is an excellent starting point because it covers wide landscapes, details, people and activities. An additional telephoto lens is useful for isolating landscape features and photographing animals or action from a safe distance.
Is February a good time for Iceland photography?
February can produce beautiful snow-covered landscapes, ice formations and soft winter light. The trade-offs include short daylight hours, unpredictable weather, icy access and potentially difficult driving conditions.
Check the Icelandic Meteorological Office at https://en.vedur.is/ and current travel conditions before setting out.
How do you photograph snow without losing detail?
Check the histogram and highlight warnings rather than relying entirely on the rear screen. Snow can confuse camera metering, but the required adjustment changes with the light. Preserve important highlight texture and photograph in RAW to retain more editing flexibility.
Can I photograph Iceland with a smartphone?
Yes. Composition, timing and safety matter more than owning professional equipment. Use the main camera for the best image quality, clean the lens regularly, avoid excessive digital zoom and keep the phone protected from spray and cold.
Are Iceland’s photography locations safe in winter?
Conditions can change quickly. Waves, ice, wind, poor visibility and road closures are genuine risks. Follow warning signs, remain on marked paths and check official weather and travel information. Reynisfjara requires particular care because of its sneaker waves and powerful currents.
How do you protect camera equipment in Iceland’s winter weather?
Carry several clean lens cloths, use a rain cover and keep spare batteries warm inside your clothing. Avoid changing lenses in heavy spray, snow or strong wind. When returning indoors, leave the camera inside its closed bag while it gradually warms up; this helps reduce condensation forming on cold equipment.
Planning travel or tourism photography?
I create destination, excursion, lifestyle and aerial photography for tourism boards, tour operators, attractions, hotels and travel brands in the UK and internationally.
My experience includes nine years working for TUI, including serving as its Global Photography Manager and sole in-house photographer. I understand how to produce a varied, commercially useful image library that can work across websites, campaigns, brochures, editorial content and social media.
Explore my travel and tourism photography portfolio or contact me to discuss a travel photography assignment.
More winter and travel photography
Lapland winter photography: lessons from a TUI assignment
For a road-based photography route closer to home, explore my Scotland campervan road trip
About Lee Charlton
Lee Charlton is a multi-award-winning commercial photographer with more than 16 years of professional experience. He previously spent nine years working for TUI and served as the company’s Global Photography Manager and sole in-house photographer.
His work has included destinations, excursions, hotels, lifestyle campaigns, events and aerial photography across the UK and internationally.