How I photographed a winter light trail in Harrogate
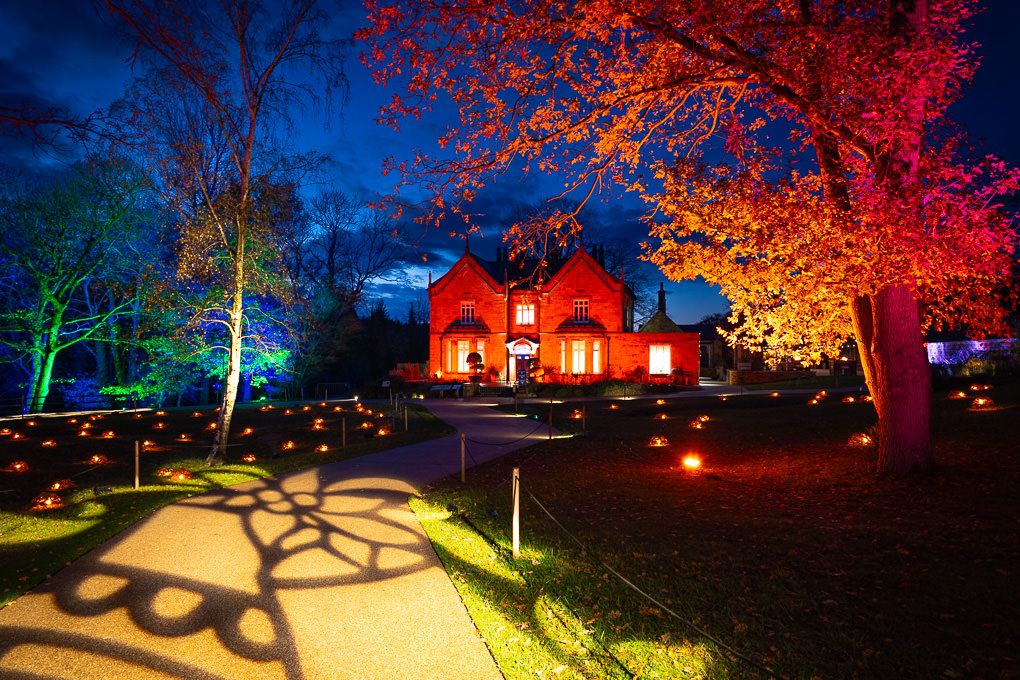
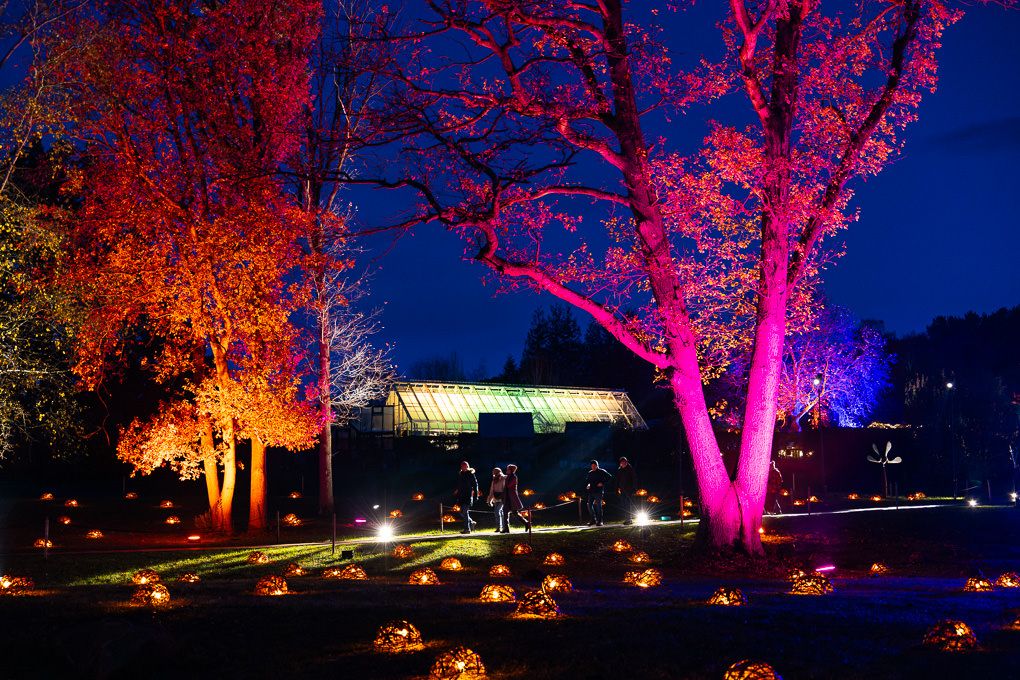
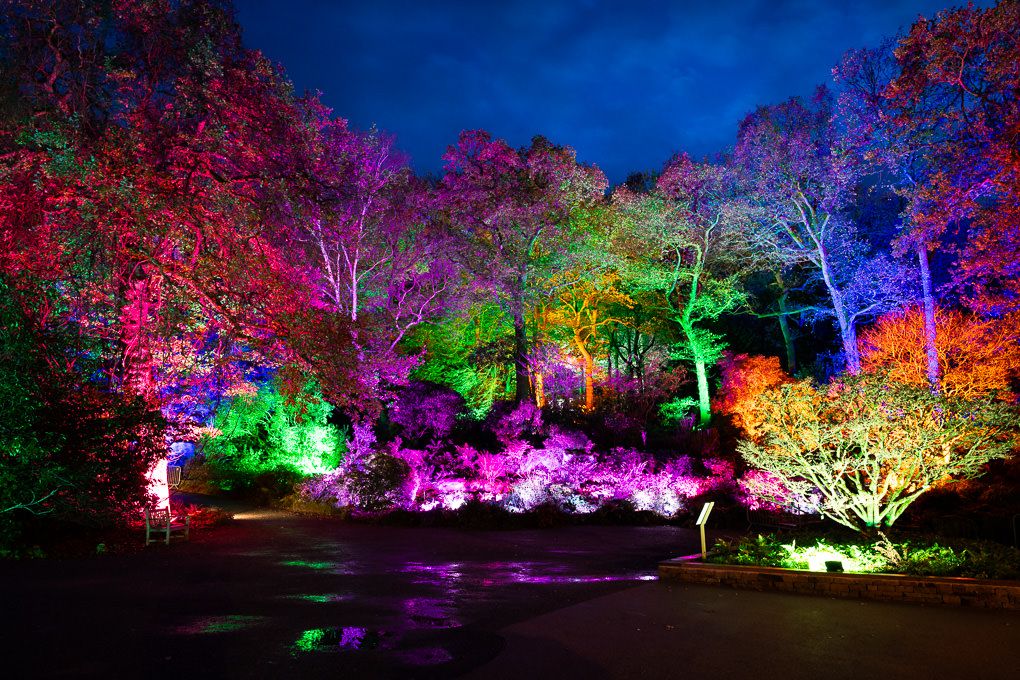
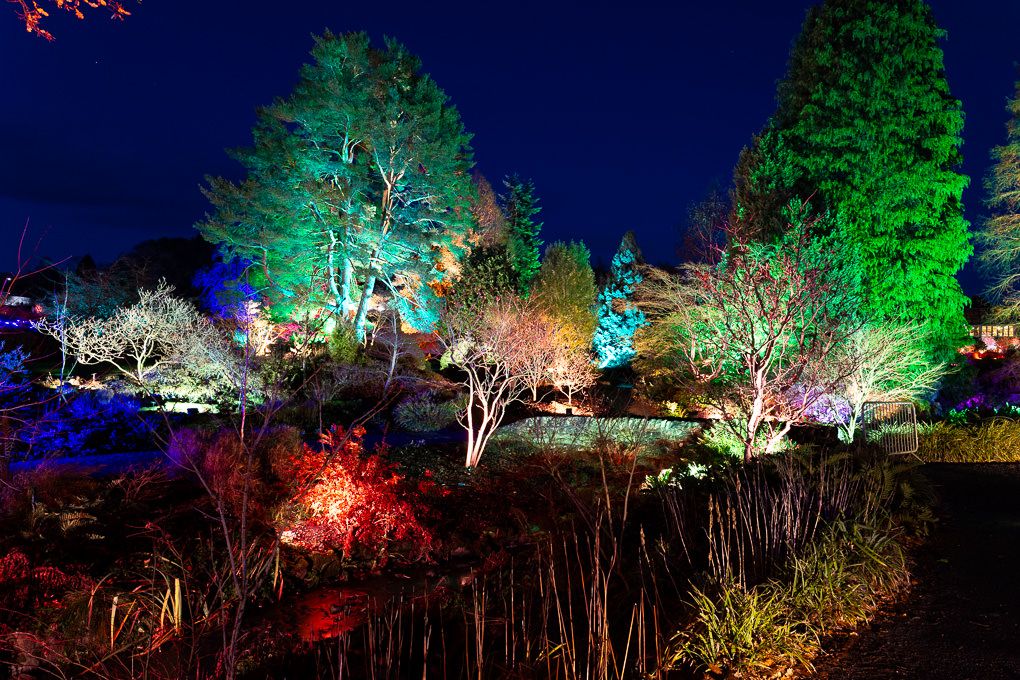
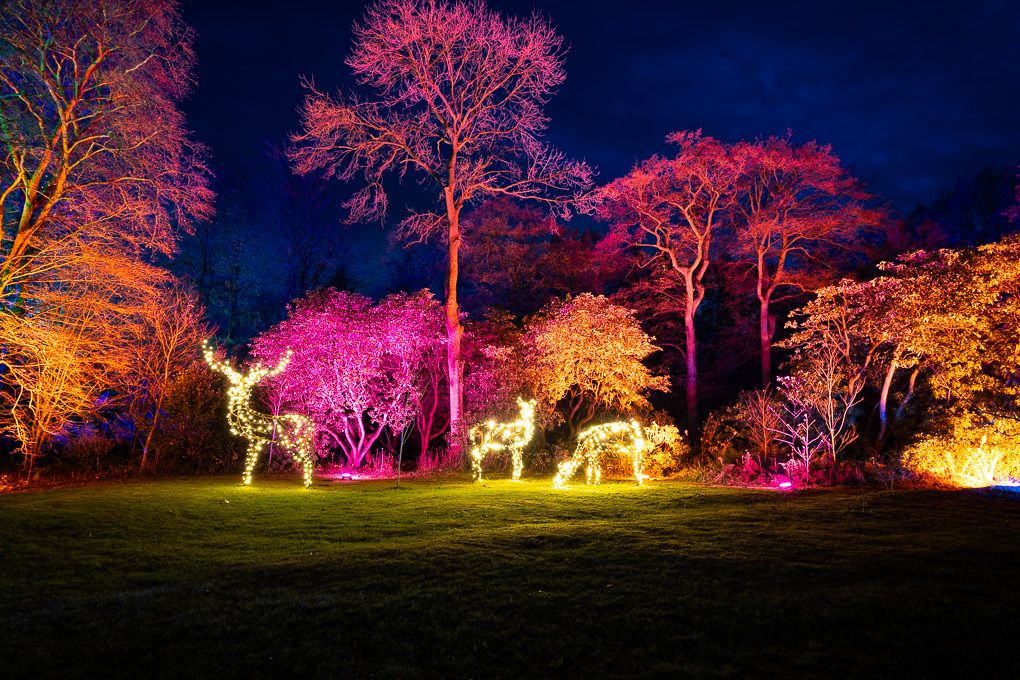
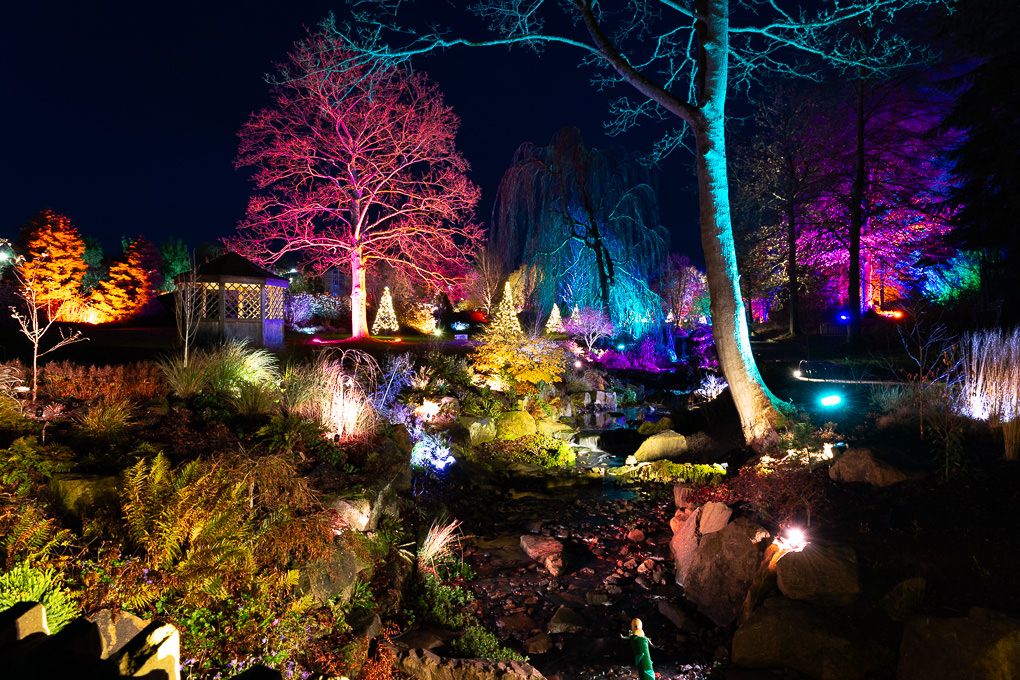
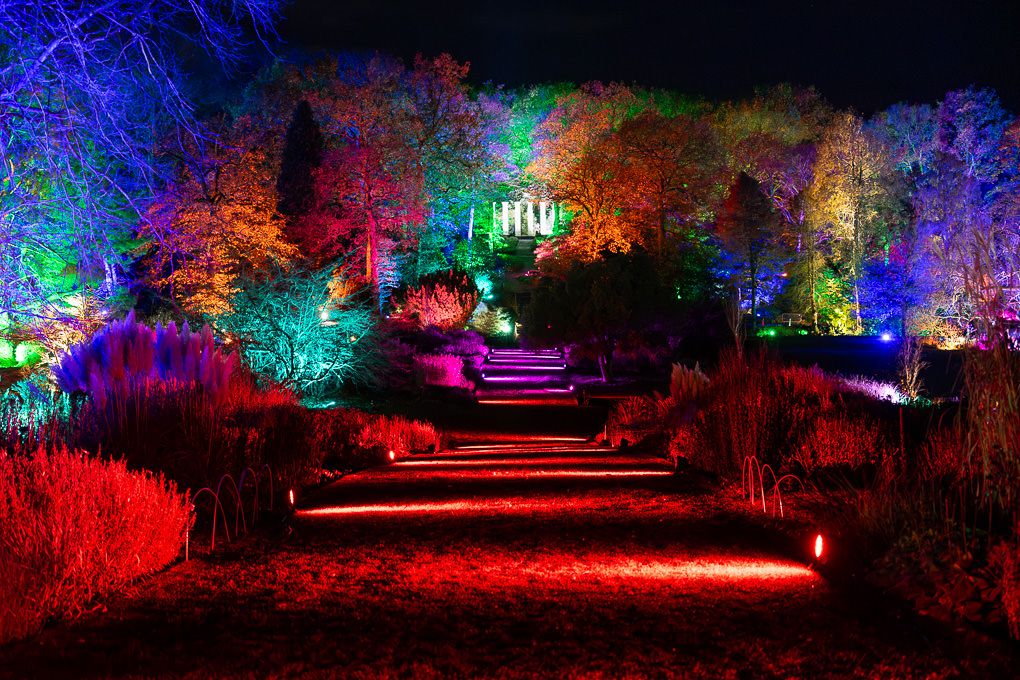
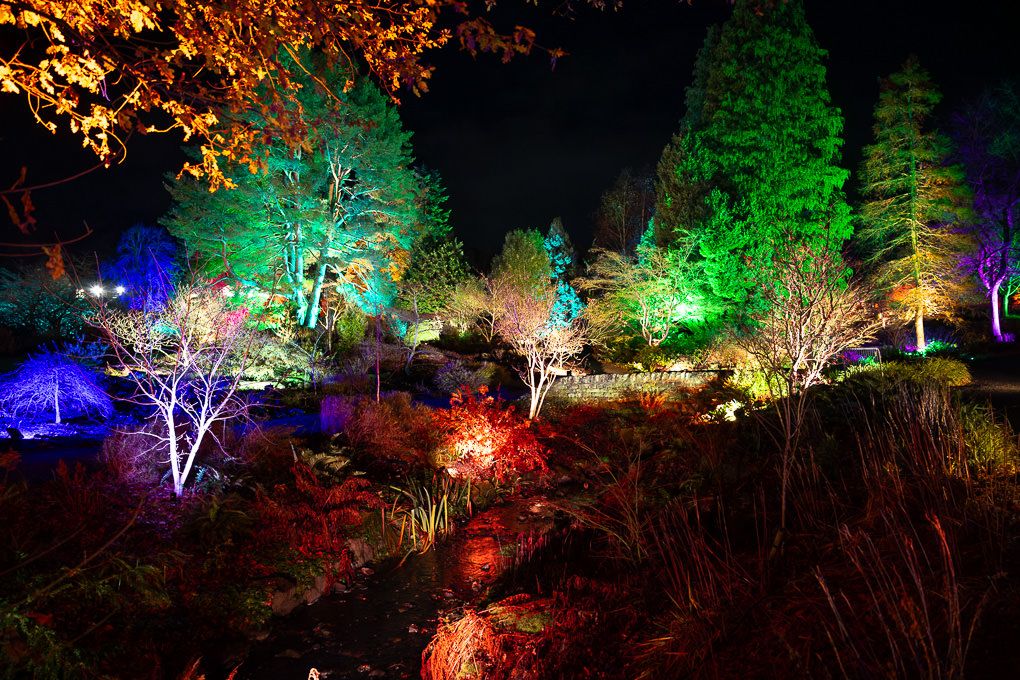
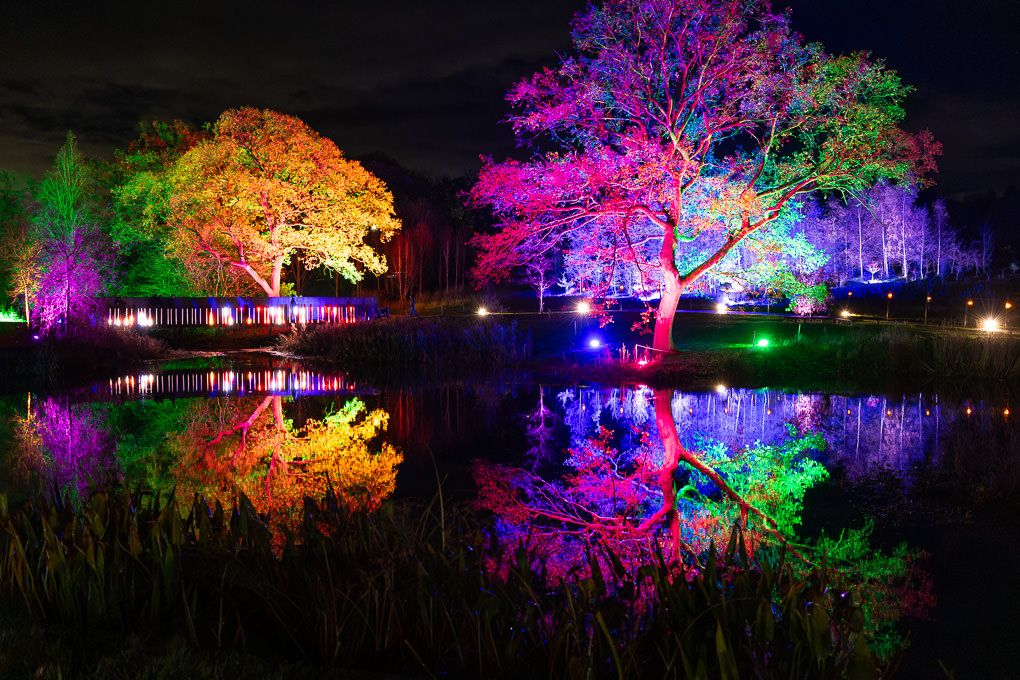
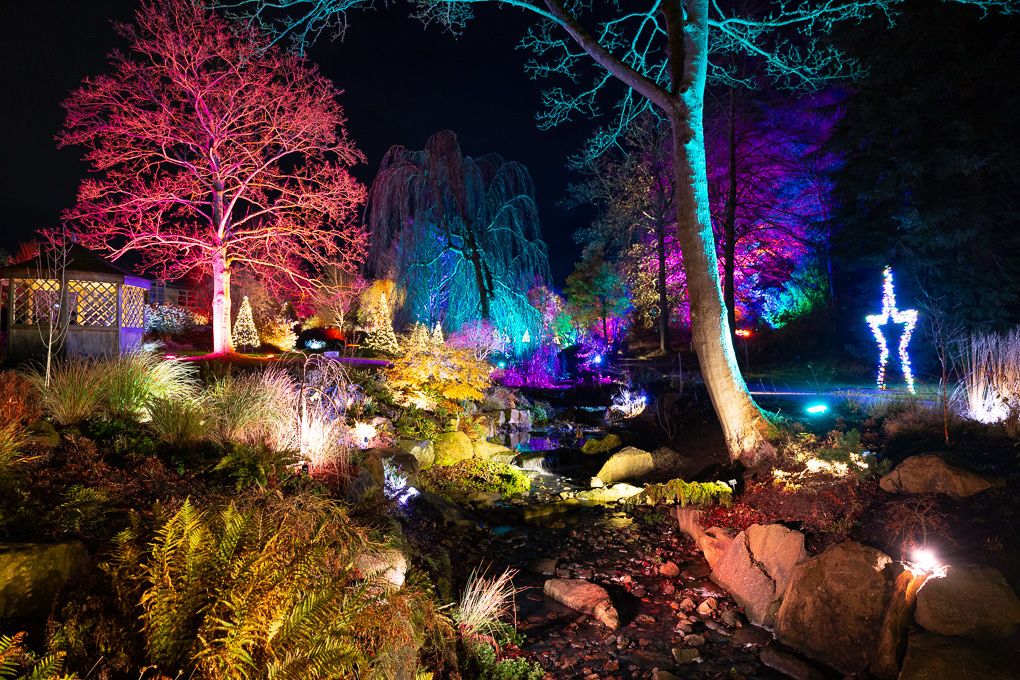
Photographing Glow at RHS Harlow Carr meant exposing for intensely bright LEDs without losing the atmosphere in the surrounding garden. My approach was to begin at dusk, protect the highlights, combine responsive handheld photography with carefully composed tripod shots, and use aerial imagery to reveal the scale and shape of the illuminated route.
I photographed the 2025 press preview at RHS Garden Harlow Carr in Harrogate using a Canon EOS R5, a 24–105mm f/2.8 zoom and a DJI Mini 3 Pro.
By this point, I had several years of experience photographing RHS gardens, shows and events. Even so, Glow presented a different set of challenges: saturated artificial light, deep shadows, mixed colour temperatures and visitors moving through scenes that could change in a matter of seconds.
Project details
Location: RHS Garden Harlow Carr, Harrogate, North Yorkshire
Event: Glow press preview, 2025
Coverage: Ground-level and aerial photography
Camera: Canon EOS R5
Lens: 24–105mm f/2.8
Drone: DJI Mini 3 Pro
Main challenge: Retaining colour and highlight detail without losing the atmosphere of the garden
Intended output: A varied commercial image collection suitable for press, websites, marketing and social media
What was the aim of the photography?
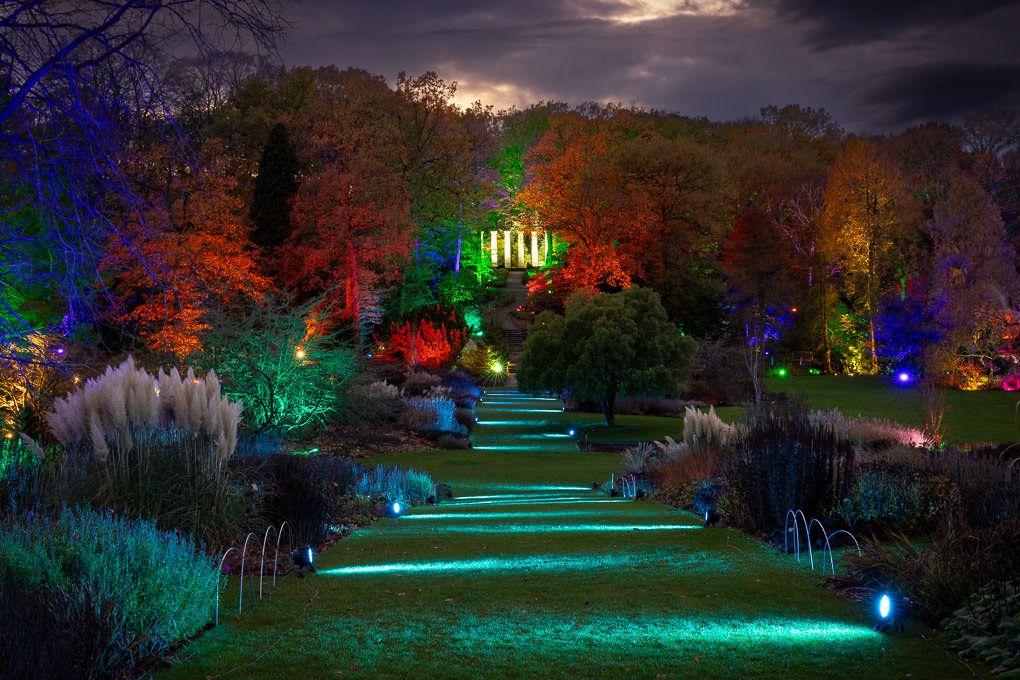
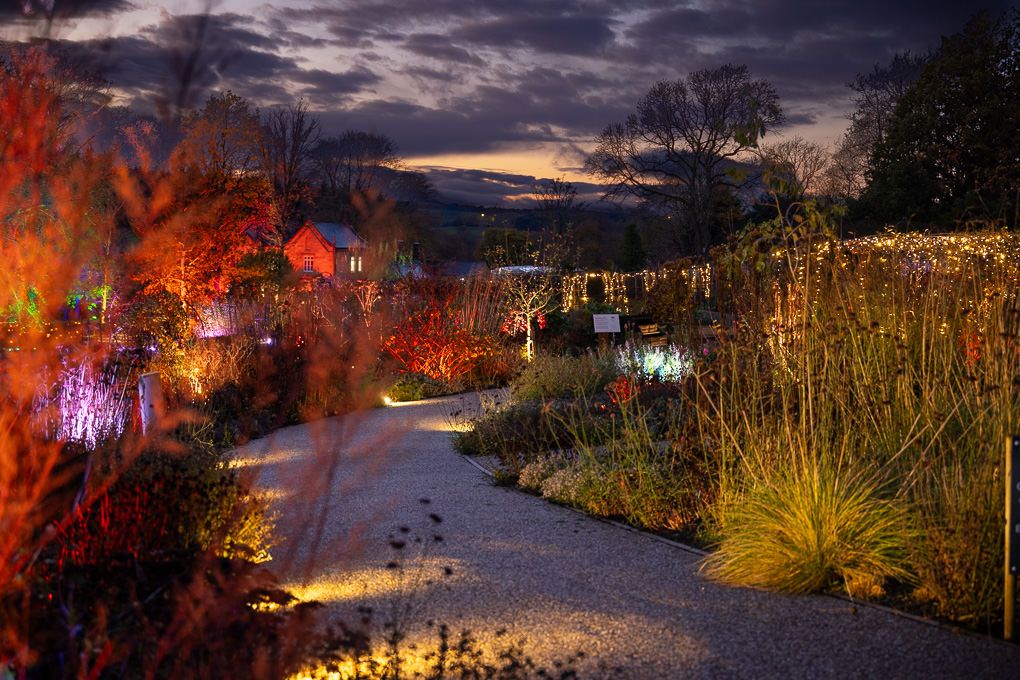
The objective was not simply to photograph individual light installations. I wanted the finished images to show what it felt like to move through the garden after dark.
That required a mixture of:
- Wide establishing photographs showing the setting
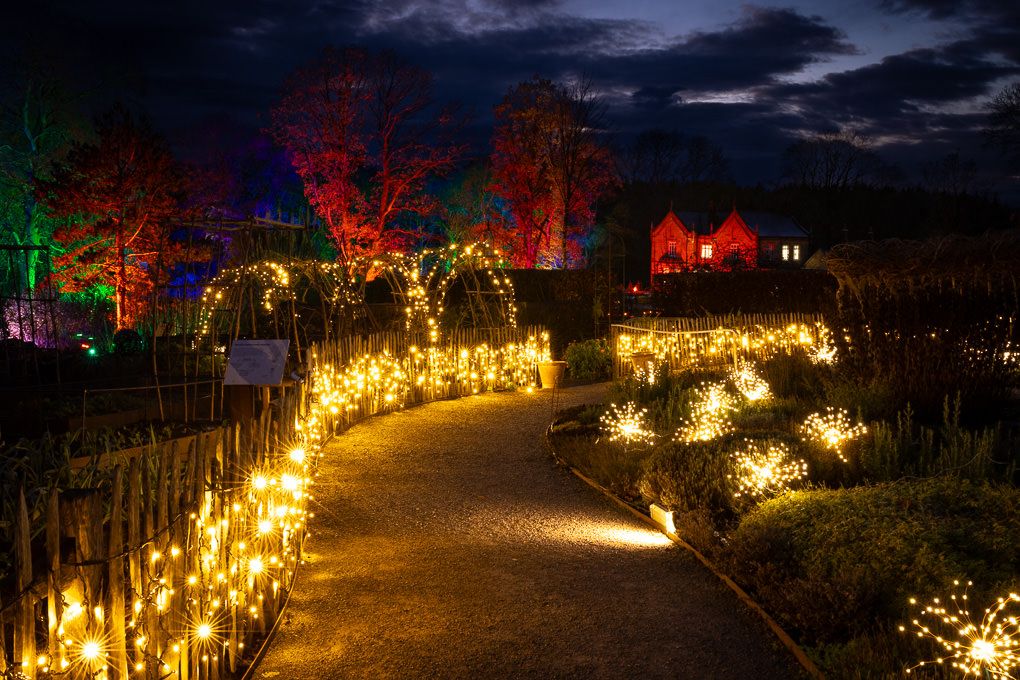
- Medium views connecting installations with paths, trees and water
- Close details that communicated colour and texture
- Horizontal and vertical compositions for different marketing formats
- Ground-level images that felt immersive
- Aerial views that explained the trail’s scale and layout
I approached the shoot as a visual journey rather than a collection of unrelated night photographs. This is also central to my wider travel, tourism and visitor-attraction photography, where the images must communicate both a place and the experience of visiting it.
What makes light trail photography difficult?
Light trail events often appear bright to the eye, but the camera sees a far wider contrast between the illuminated installations and their surroundings.
The main challenges at Harlow Carr were:
Bright LEDs and dark surroundings
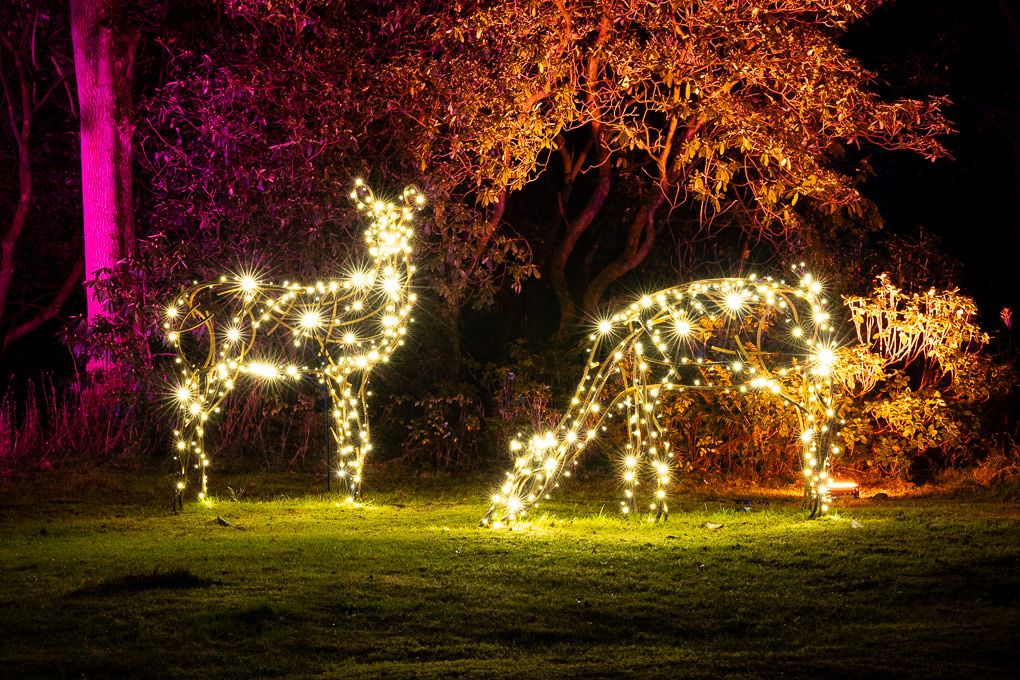
Small LED lights can become completely white if overexposed, losing their colour and detail. At the same time, the paths, trees and surrounding garden may remain almost black.
I watched the brightest areas of each scene closely and generally exposed slightly darker than the camera’s meter suggested. Shadows can often be recovered from a RAW file; detail from a completely blown highlight cannot.
Mixed colour temperatures
One installation might combine warm white lights, deep blue LEDs and intensely saturated pinks. Automatic white balance can provide a useful starting point, but there is rarely one technically perfect setting for the entire scene.
My priority was to keep the lighting believable and maintain consistency across photographs taken in different parts of the trail.
Moving visitors
Visitors give an event scale and atmosphere, but their movement can introduce blur or block an important composition.
Sometimes I waited for a clear view. In other situations, I deliberately included people as silhouettes or allowed gentle movement to reinforce the sense of an active visitor experience.
Limited time
The balance between ambient sky and artificial light changes quickly after sunset. A composition that works during blue hour may feel completely different 20 minutes later.
Planning the order of the shoot therefore matters just as much as choosing the camera settings.
My approach on location
Starting at dusk
I began while there was still some colour and detail in the sky.
At this point, the illuminated installations were already visible, but the remaining ambient light helped separate paths, buildings and treetops from the background. These early photographs often provide more context than images captured later in complete darkness.
As the evening progressed, the lights became more saturated, and the garden took on a more dramatic appearance. Working through both periods created a more varied final gallery.
Looking for routes through the frame
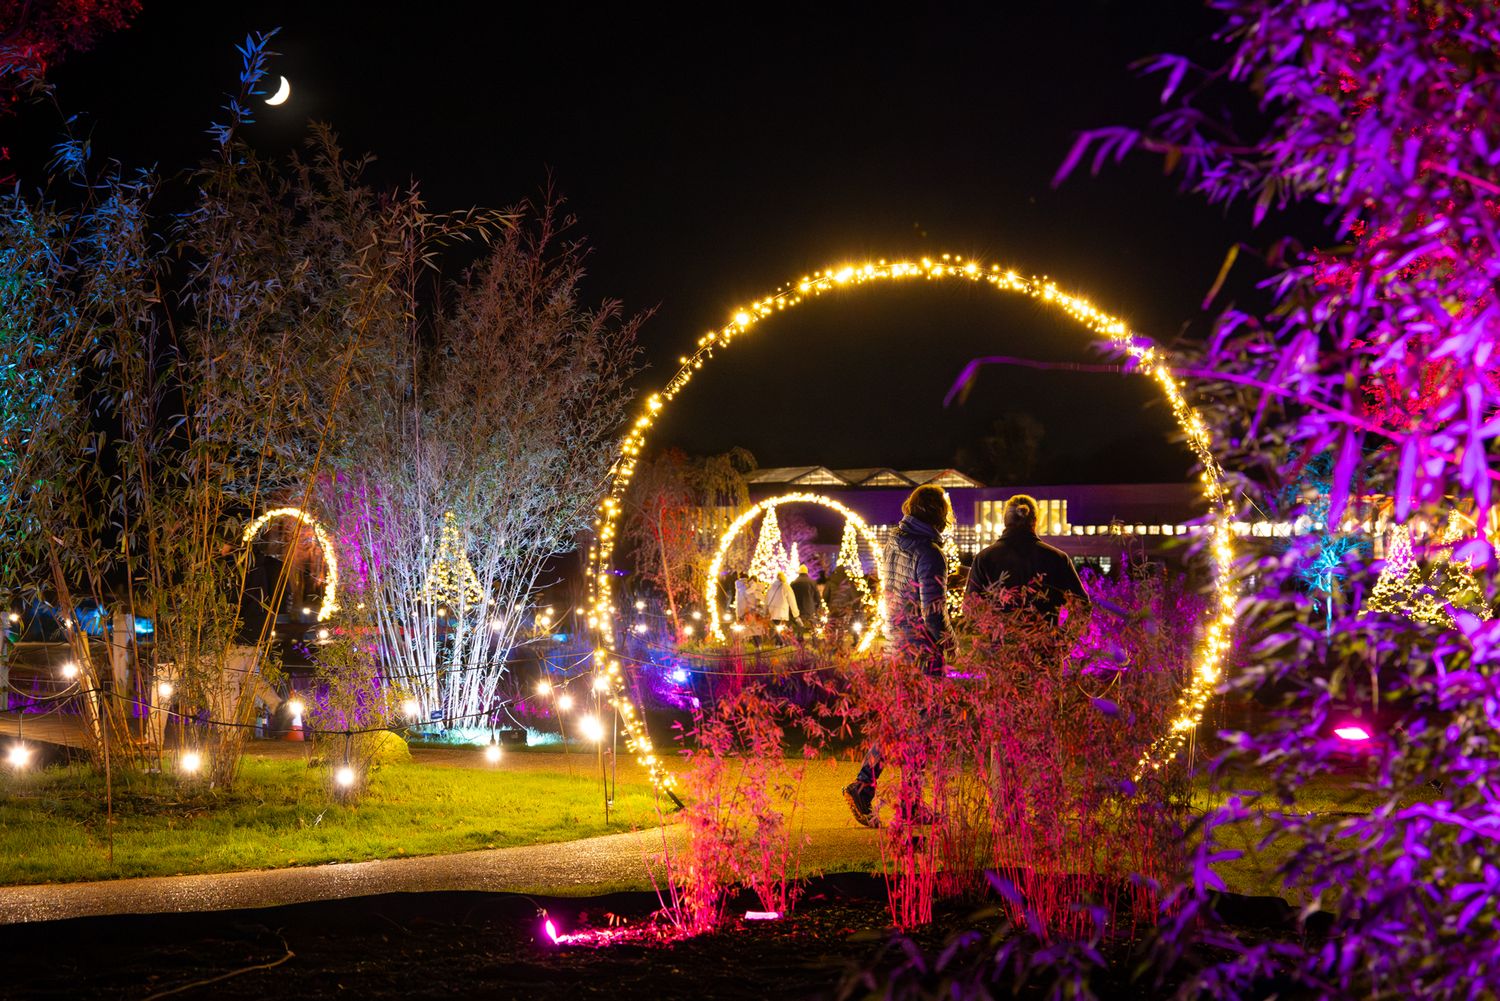
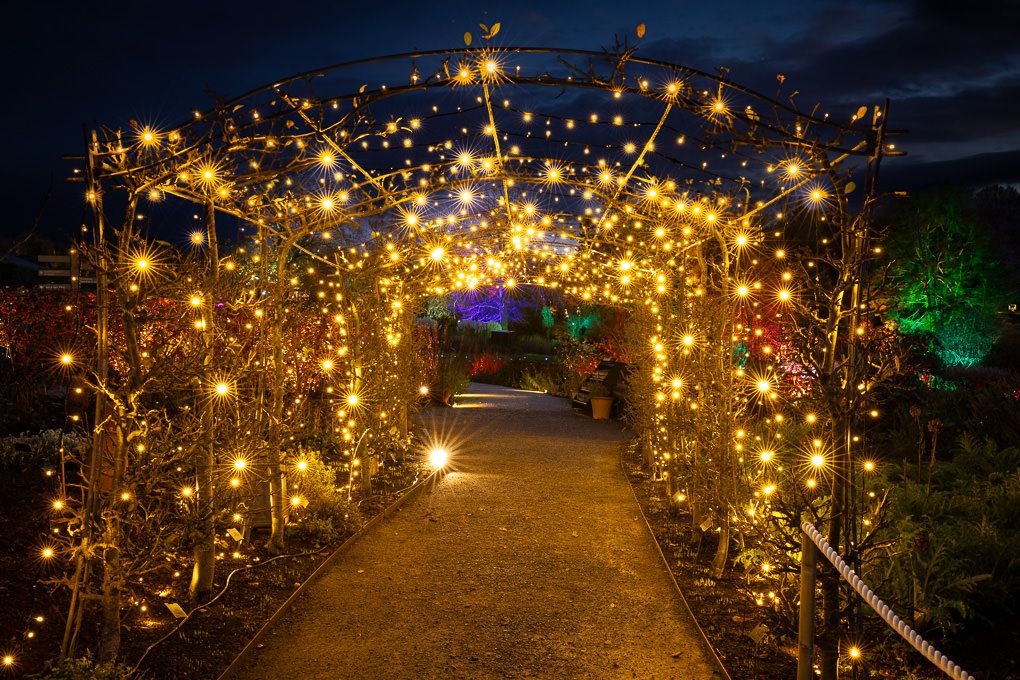
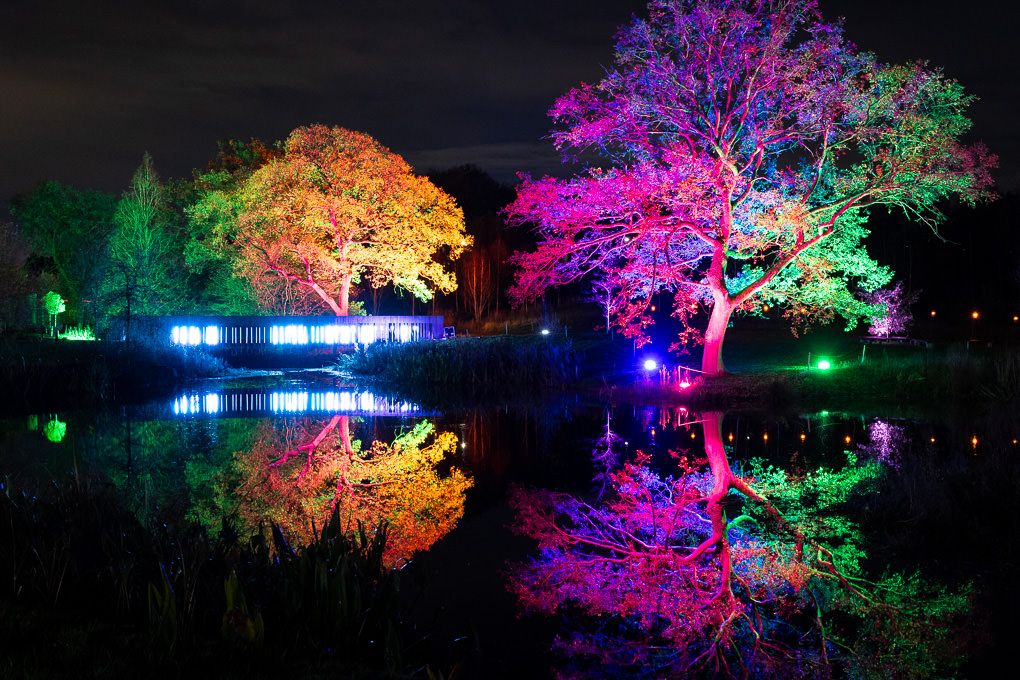
Harlow Carr’s winding paths and intimate spaces lent themselves to strong leading lines. I looked for paths, arches, water and illuminated branches that could guide the viewer into the photograph.
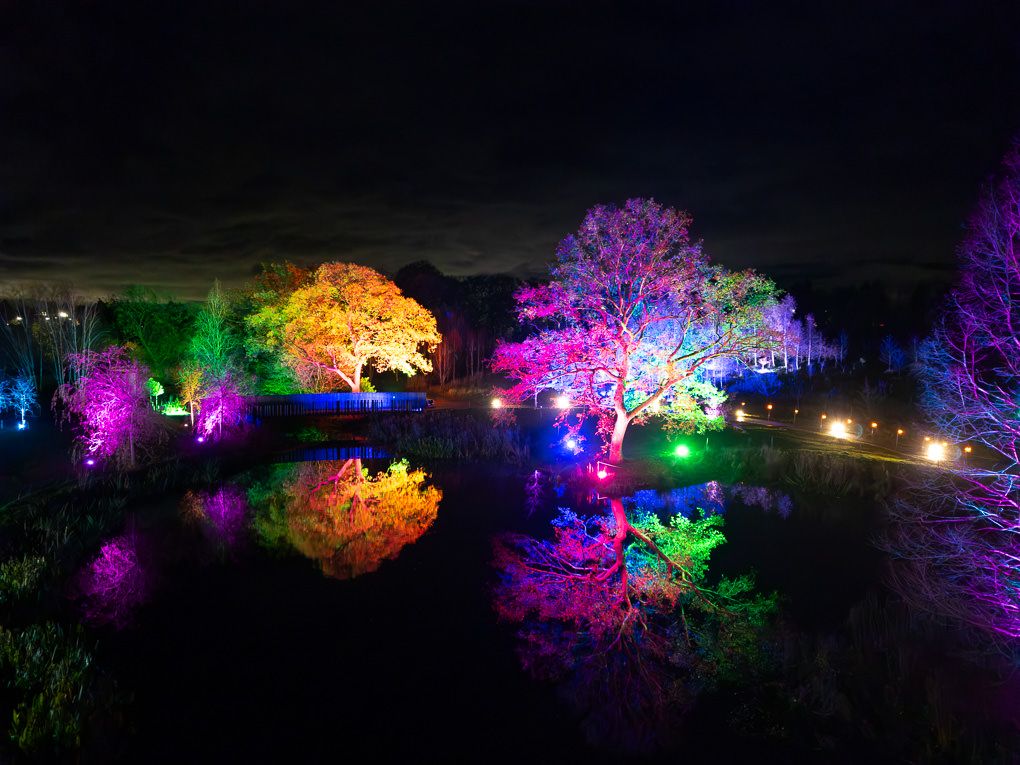
Rather than placing every installation in the centre, I used foreground elements and overlapping layers to create depth. Reflections were particularly useful because they connected the artificial lighting with the wider garden.
Protecting the highlights
For many scenes, I reduced the exposure by approximately two-thirds of a stop to protect the brightest lights.
This was not a fixed rule for every photograph. I used the histogram, highlight warnings and the appearance of the individual installation to make the final decision. The important principle was to expose for the information I could not recover later.
Choosing between handheld and tripod photography
I worked both handheld and with a tripod.
Handheld photography helped me respond quickly when people entered a useful position or an installation changed colour. Auto ISO allowed the camera to adapt while I concentrated on timing and composition.
A tripod was more useful for carefully framed views, lower-light areas and photographs where I wanted a smaller aperture or longer exposure. It also allowed me to examine the edges of the composition more carefully before taking the photograph.
Camera settings and equipment
My Canon EOS R5 and 24–105mm f/2.8 zoom gave me enough flexibility to move between wider views and tighter compositions without changing lenses repeatedly in the dark.
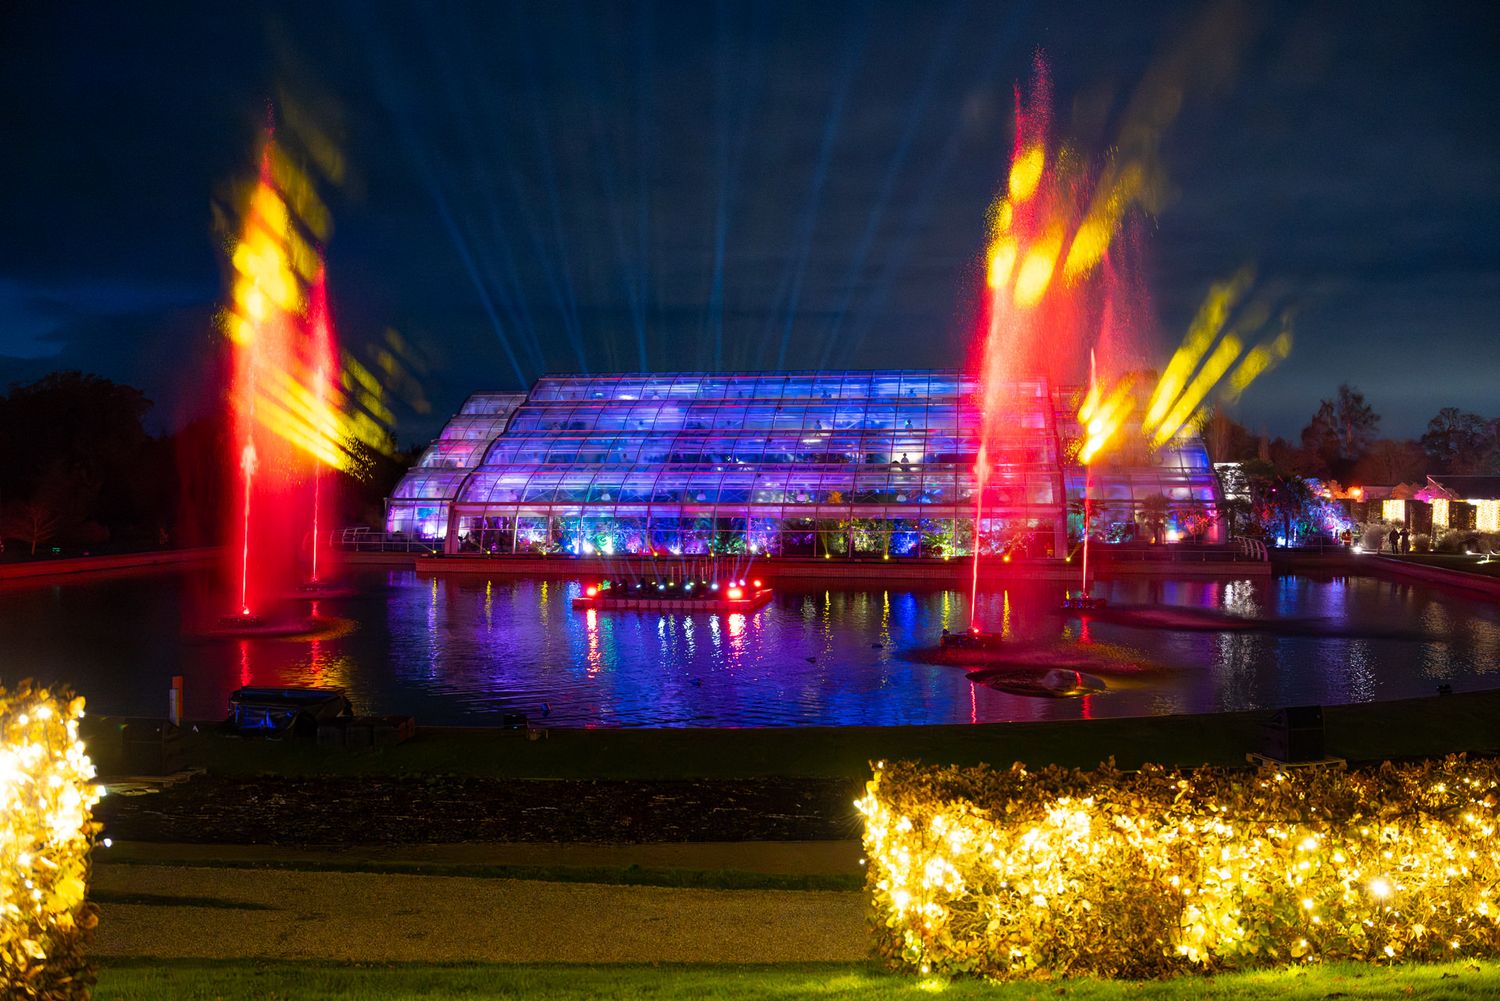
For selected tripod photographs, I closed the aperture to around f/16. Point light sources then produced defined starbursts, adding structure and visual interest to the scene.
A smaller aperture introduces a trade-off: diffraction can reduce fine detail, while the reduced light may require a slower shutter speed or higher ISO. I therefore used f/16 when the starburst effect contributed to the image rather than treating it as a default setting.
For handheld photographs, the settings changed according to visitor movement and the brightness of each installation. I used Auto ISO where responsiveness mattered and monitored the resulting noise rather than relying on one setting for the entire route.
There is no universal exposure for a light trail. A useful starting approach is to:
- Photograph in RAW.
- Expose for the brightest important lights.
- Check the histogram and highlight warnings.
- Use a tripod when the composition benefits from it.
- Raise ISO when freezing movement is more important than achieving a technically cleaner but blurred photograph.
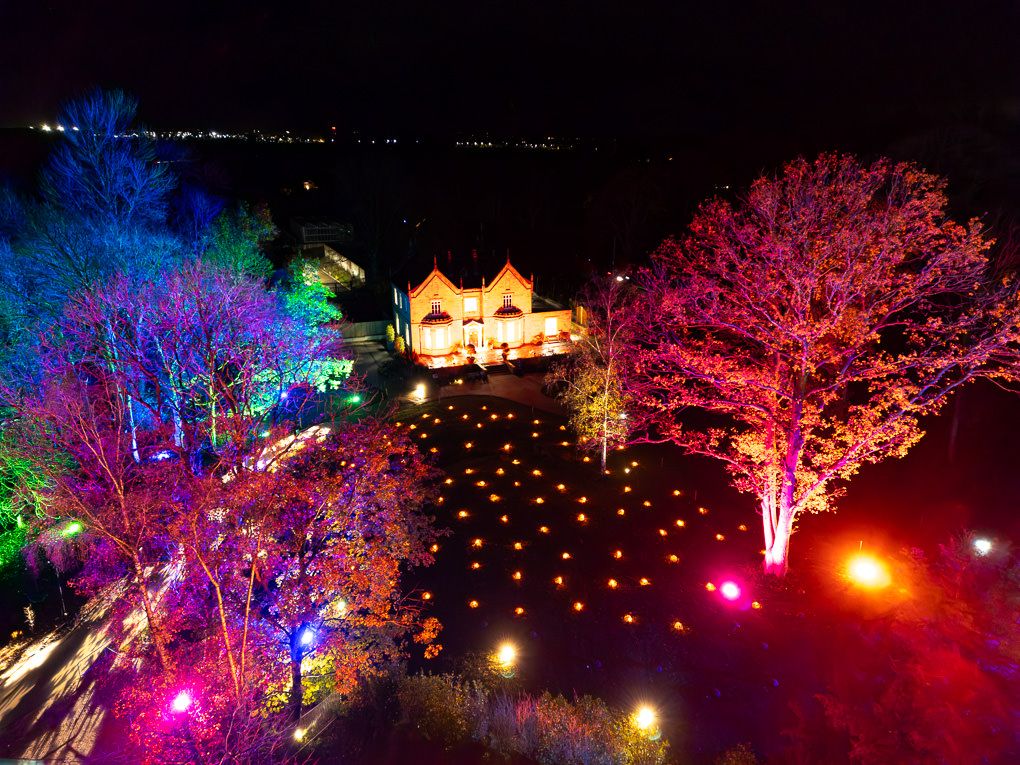
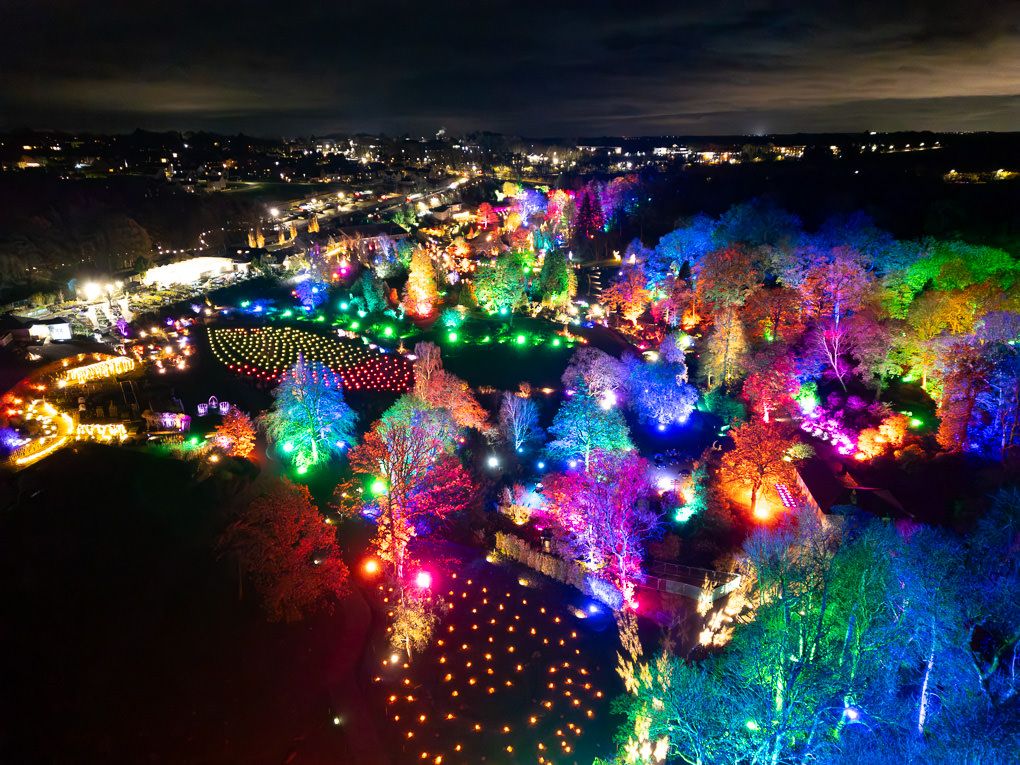
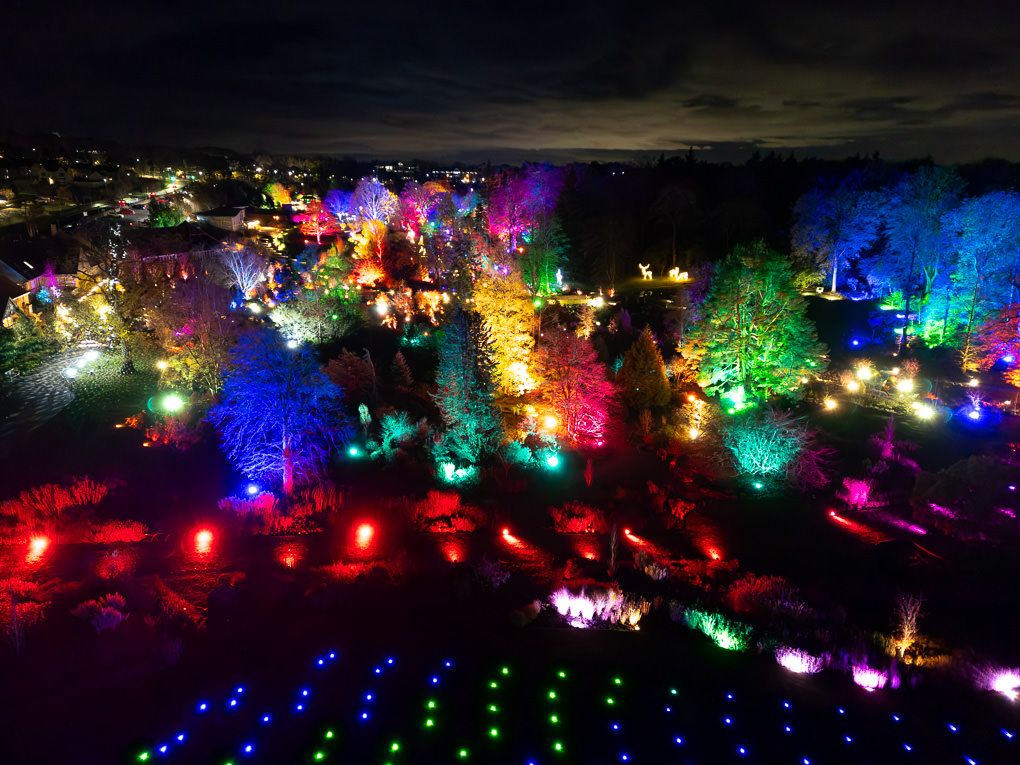
Why aerial photography mattered
Ground-level photographs place the viewer inside the experience, but they cannot always explain how an illuminated route fits within the wider garden.
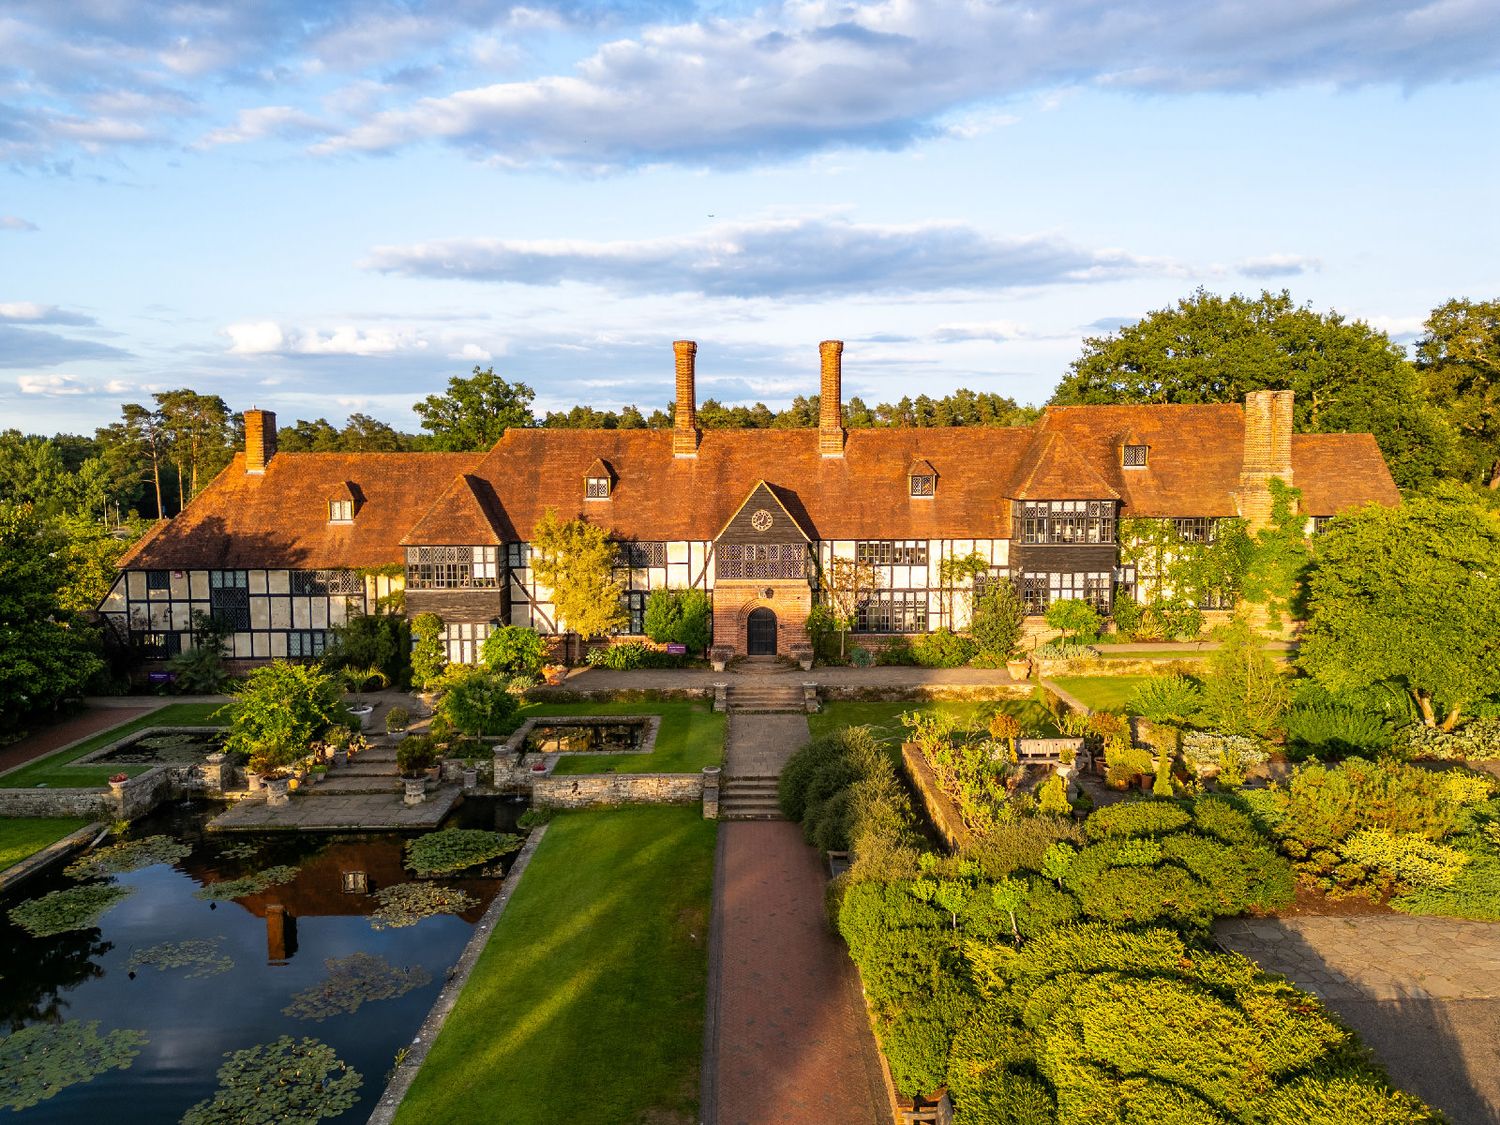
The DJI Mini 3 Pro allowed me to show the relationship between paths, trees, water and separate lighting installations. These aerial views gave the collection a sense of scale that would have been difficult to achieve from the ground.
I captured high-resolution 48MP stills and controlled the shutter speed and ISO manually. Because the Mini 3 Pro has a fixed aperture, careful exposure and a stable aircraft were especially important in low light.
I did not treat the drone as a way to make every scene look more dramatic. Each aerial photograph still needed a clear subject, readable composition and commercial purpose.
Drone flights at events require appropriate landowner permission, airspace checks, risk assessment and careful planning around visitors. You can see more about my approach to professional drone and aerial photography.
My post-production workflow
The editing needed to preserve the impact of the event without making the colours appear artificial.
My workflow included:
- Applying lens corrections and checking the camera profile.
- Adjusting white balance individually where different installations required it.
- Lifting shadows carefully while protecting the brightest LEDs.
- Using Lightroom’s Denoise feature selectively on higher-ISO and aerial files.
- Controlling individual colour channels when pinks, blues or greens became overpowering.
- Applying sharpening with masking so that noise in dark areas was not exaggerated.
- Producing high-resolution and web-optimised exports for different uses.
The most important decision was knowing when to stop. Winter light trails are meant to look colourful, but excessive saturation or shadow recovery can make the result feel less believable than the original experience.
What can event organisers learn from this shoot?
Successful photography of an illuminated trail begins before the photographer arrives.
Event organisers and marketing teams can help by considering:
- Whether the photographer can access the route before it becomes busy
- Which installations are the priorities for press and promotion
- Whether photographs should show visitors, empty scenes or a mixture of both
- Which horizontal and vertical formats will be needed
- Whether space is required within compositions for text
- How aerial permissions and safe operating areas will be managed
- Whether the images are needed during the event or as an evergreen library for future campaigns
A clear brief makes it easier to deliver more than a few spectacular hero images. It enables the photographer to create a useful collection covering the route, atmosphere, details, people and overall setting.
The first chapter of my RHS Glow series
Harlow Carr became the technical foundation of a three-part RHS Glow photography series.
This shoot reinforced the importance of protecting saturated highlights and balancing immersive ground photography with wider aerial views.
At Glow at RHS Wisley, the challenge shifted towards scale, water reflections, crowd flow and the logistics of covering a much larger site.
At Glow at RHS Bridgewater, I concentrated more on the narrative of the route, visitor moments and a live illuminated juggling performance.
Together, the three shoots demonstrate how the same broad assignment can require a different photographic response at every location.
For a wider look at photographing gardens in natural light, you can also read my guide to professional garden photography at RHS Wisley.
Frequently asked questions about light trail photography
What settings should I use for light trail photography?
There is no single correct exposure because the brightness of each installation can vary significantly. Photograph in RAW, monitor the brightest LEDs and choose a shutter speed based on whether people and lighting effects need to appear sharp or deliberately blurred.
Do I need a tripod to photograph a light trail?
Not for every photograph. A tripod is useful for longer exposures, smaller apertures and carefully composed scenes, while handheld photography is often better when people are moving or the lighting changes quickly. I use both during most assignments.
How do you prevent coloured lights from becoming overexposed?
Expose for the brightest, most important part of the installation and check the histogram or highlight warnings. I will often photograph slightly darker than the camera meter suggests because shadow detail is generally easier to recover than a completely clipped LED.
Can a drone be used at an illuminated event?
Potentially, but only when the location, airspace, permissions, weather and visitor safety allow it. Commercial event flights require proper planning and should never be treated as an improvised addition on the night.
What photographs should an event organiser request?
A useful brief should include wide establishing views, medium scenes, close details, visitor interaction, signage or branding and both horizontal and vertical formats. If permitted, aerial views can add valuable context by showing the route and its relationship to the venue.
Can light trail photography be used for marketing and PR?
Yes. A well-planned shoot can provide atmospheric hero images, visitor-experience photographs, detailed installation shots and aerial views for websites, press releases, social media, advertising and future event promotion. Photographing both horizontal and vertical compositions makes the collection more versatile across different platforms.
About Lee Charlton
Lee Charlton is a multi-award-winning commercial photographer with more than 16 years of professional experience.
He spent nine years as Global Photography Manager at TUI and worked with the Royal Horticultural Society for four years, photographing gardens, flower shows, events, people and commercial campaigns across the UK. His garden photography has appeared several times in The Garden magazine, including cover photography.
Planning a light trail or visitor-attraction shoot?
I photograph gardens, visitor attractions, events and tourism experiences across the UK, creating ground-level and aerial imagery for websites, press, marketing and social media.