How I photographed Glow at RHS Garden Wisley
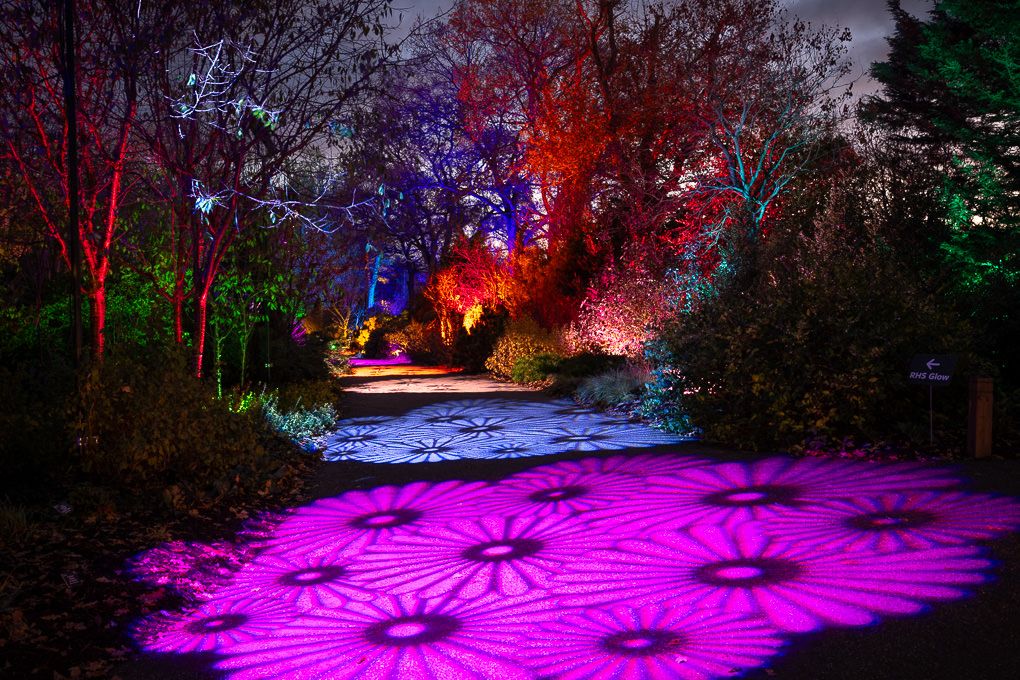
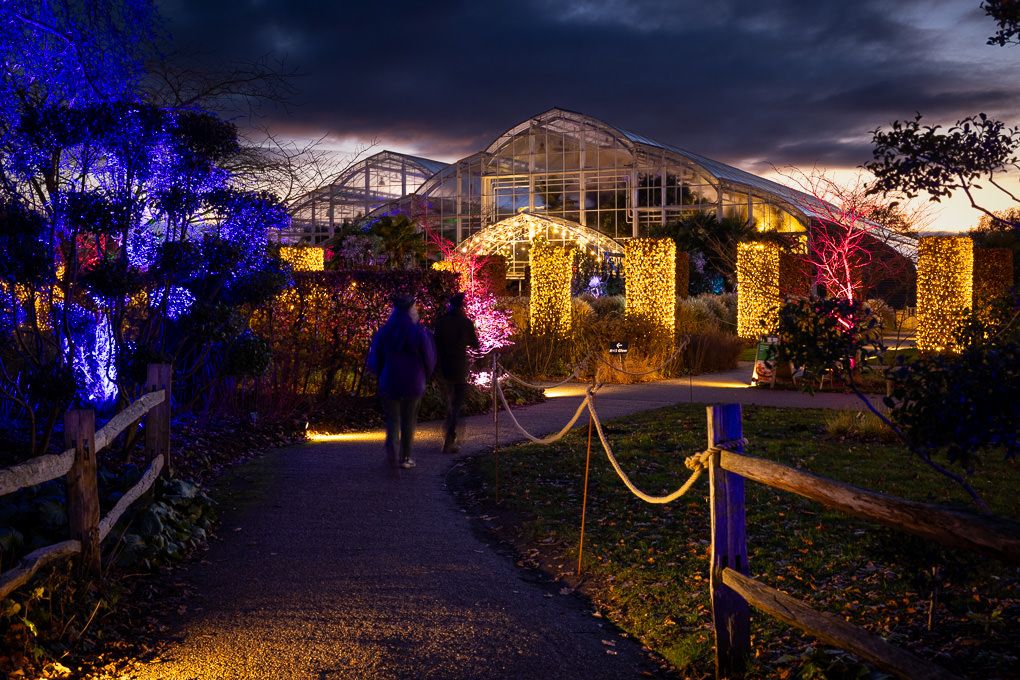
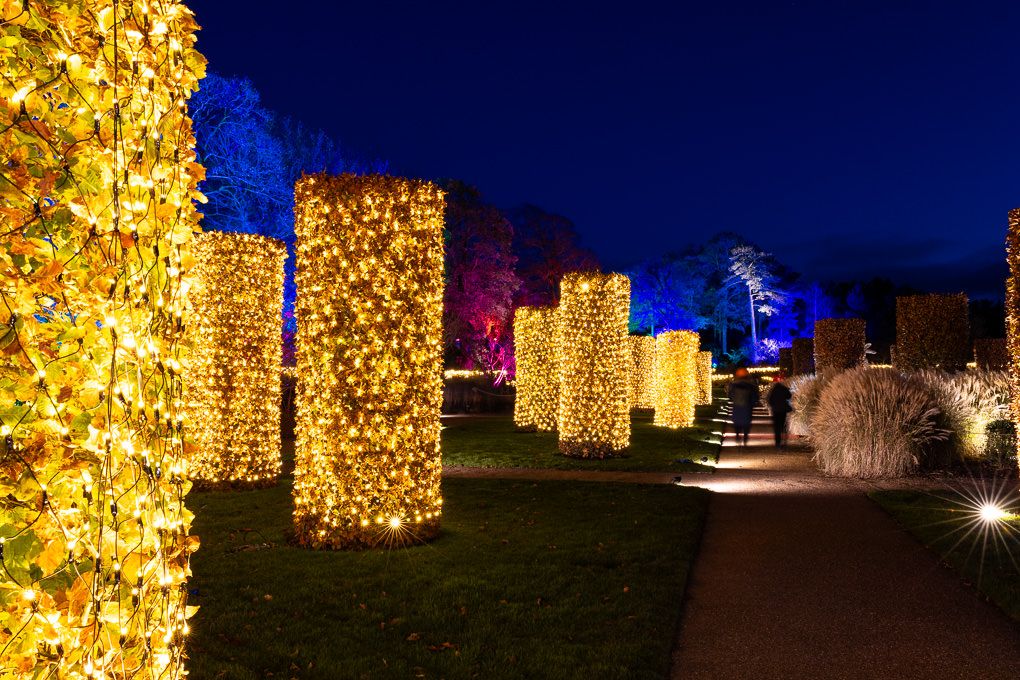
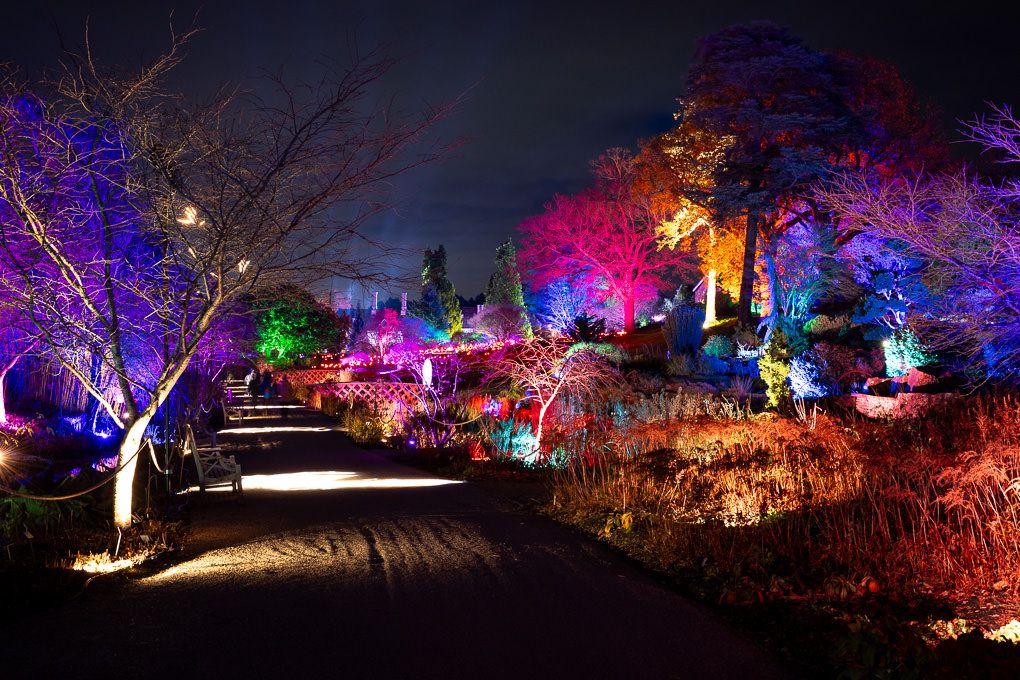
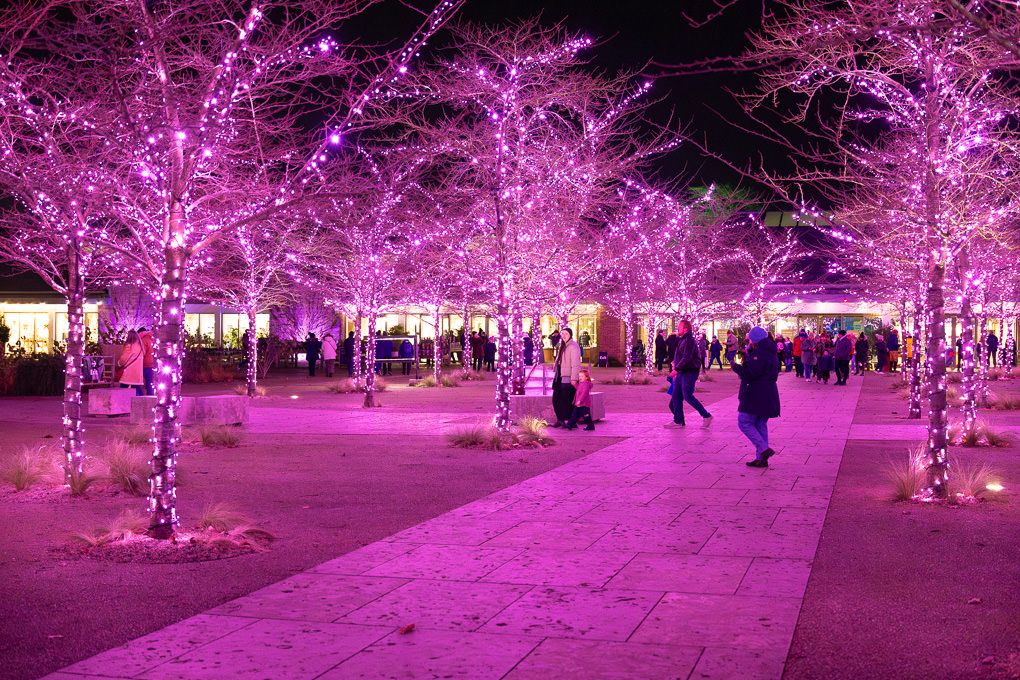
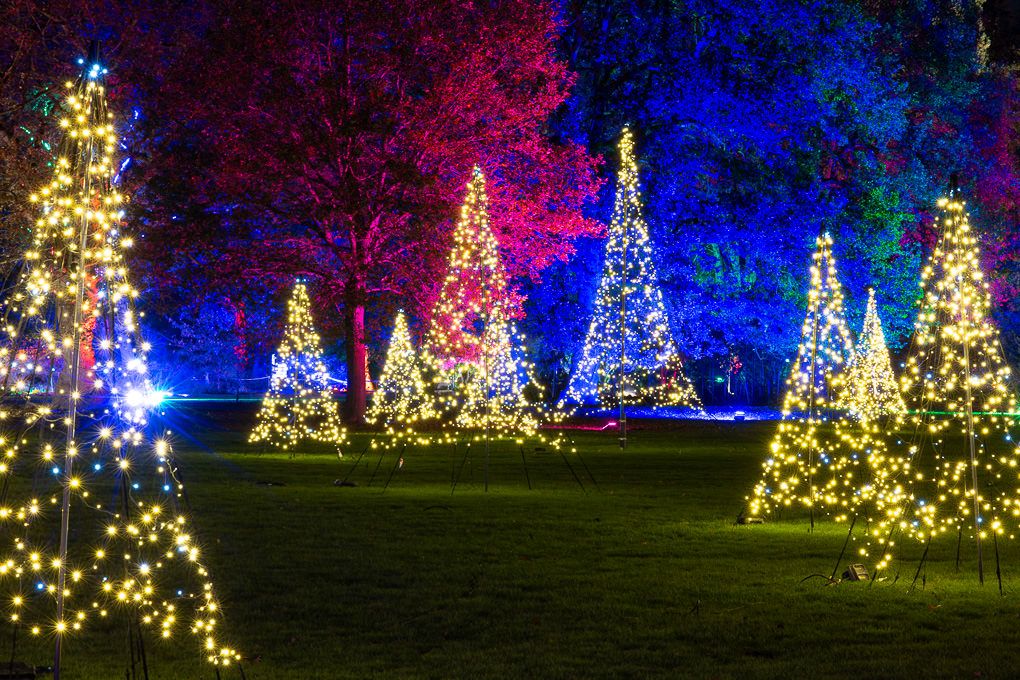
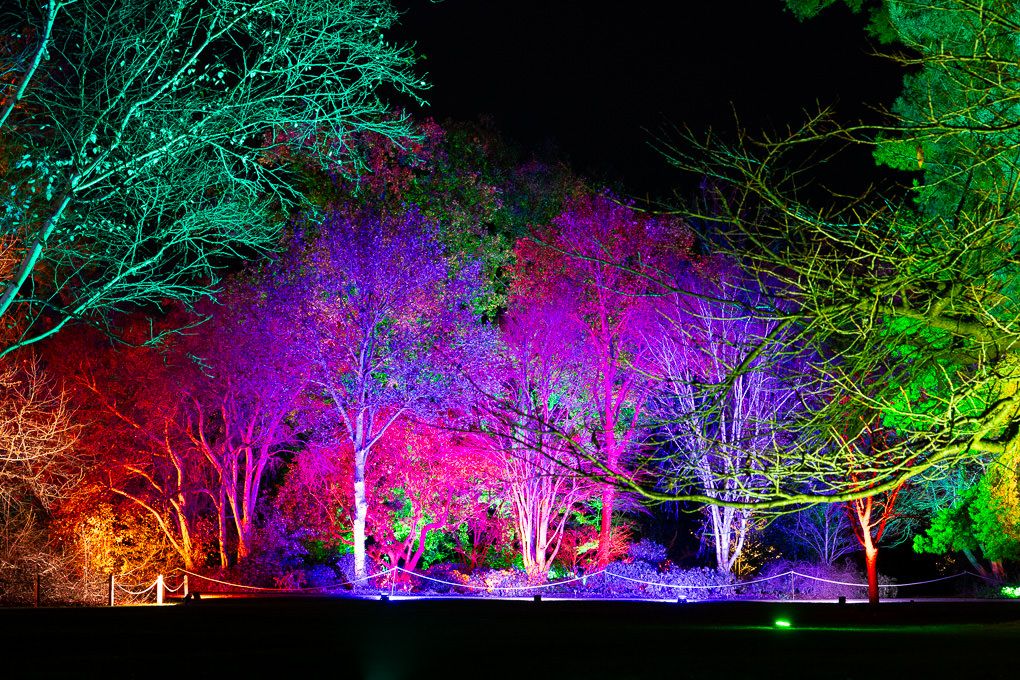
Glow at RHS Garden Wisley is a large-scale winter light trail that transforms the Surrey garden after dark. Illuminated trees, pathways, water, architecture and seasonal installations create an immersive visitor experience, but they also present a demanding photography brief.
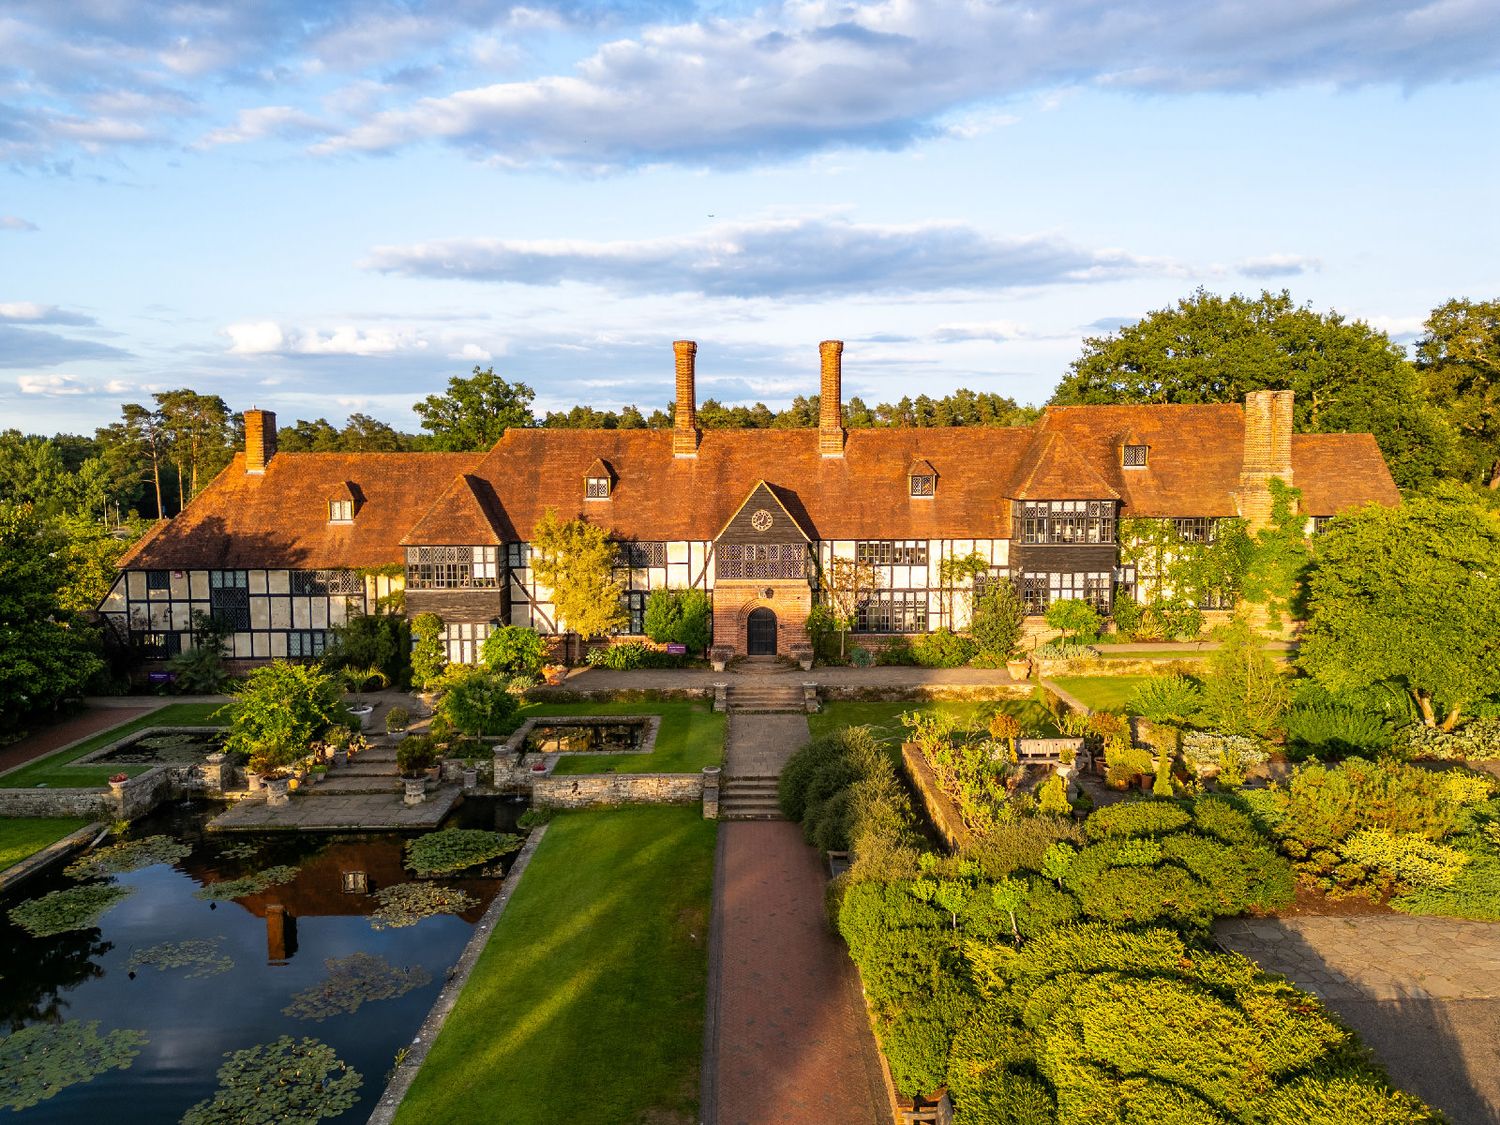
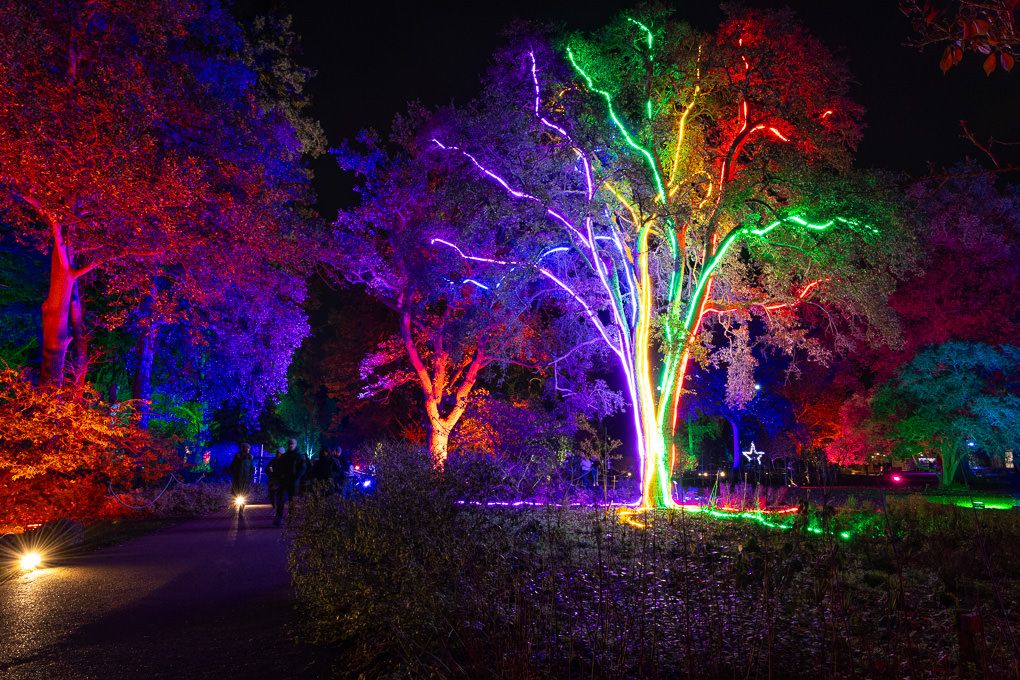
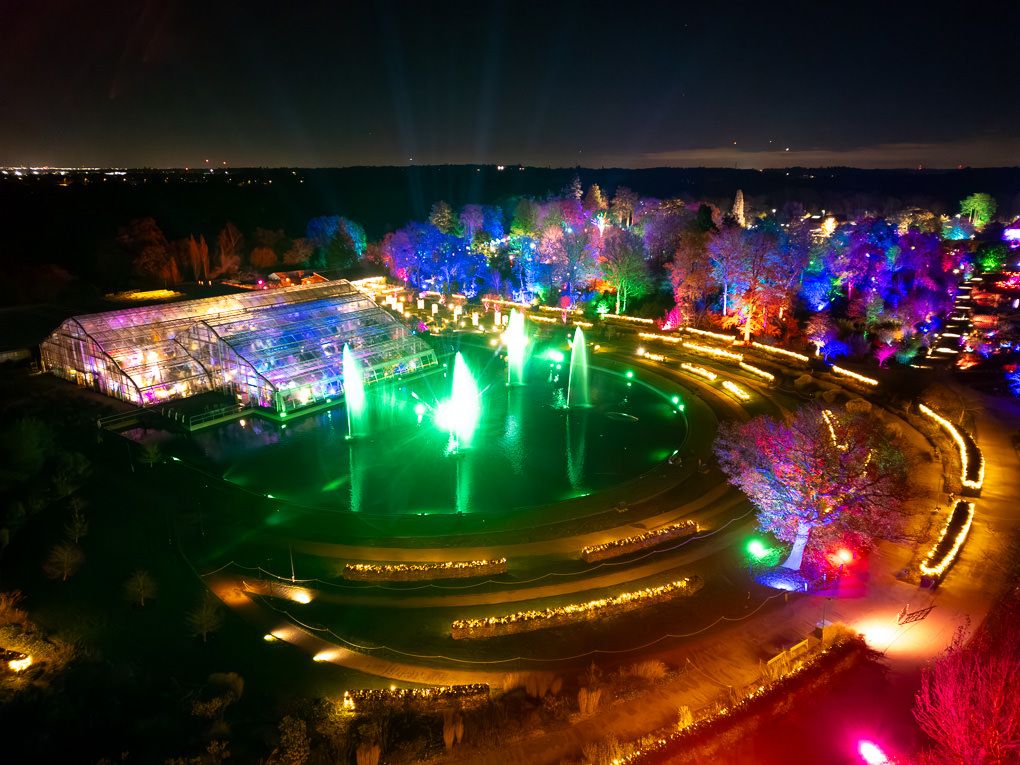
For this RHS Wisley Glow photography project, I combined ground-level low-light photography with aerial images to capture more than the individual installations. My aim was to show the scale of the garden, the atmosphere of the event and the journey visitors experience as they move through the trail.
The shoot formed part of my wider photography work with the Royal Horticultural Society. I spent four years working as the RHS Photography and Digital Asset Manager, photographing gardens, events, people and campaigns while also helping teams organise and use imagery across marketing, press, publications and digital channels.
That background meant I approached Glow as a commercial image-library assignment, not simply as an opportunity to take attractive photographs.
Project at a glance
Location: RHS Garden Wisley, Surrey
Subject: Glow winter light trail
Photography: Low-light event, garden and aerial photography
Equipment: Canon EOS R5, 24–105mm f/2.8 lens and DJI Mini 3 Pro
Approach: Early planning, blue-hour photography, after-dark coverage and a mixture of wide views, details and visitor-led images
Objective: Create a coherent visual story showing the setting, scale, atmosphere and visitor experience
What makes light trail photography challenging?
Light trails create extreme differences between the brightest and darkest parts of a scene. Small LED lights can lose detail very quickly, while surrounding trees, paths and visitors may disappear into shadow.
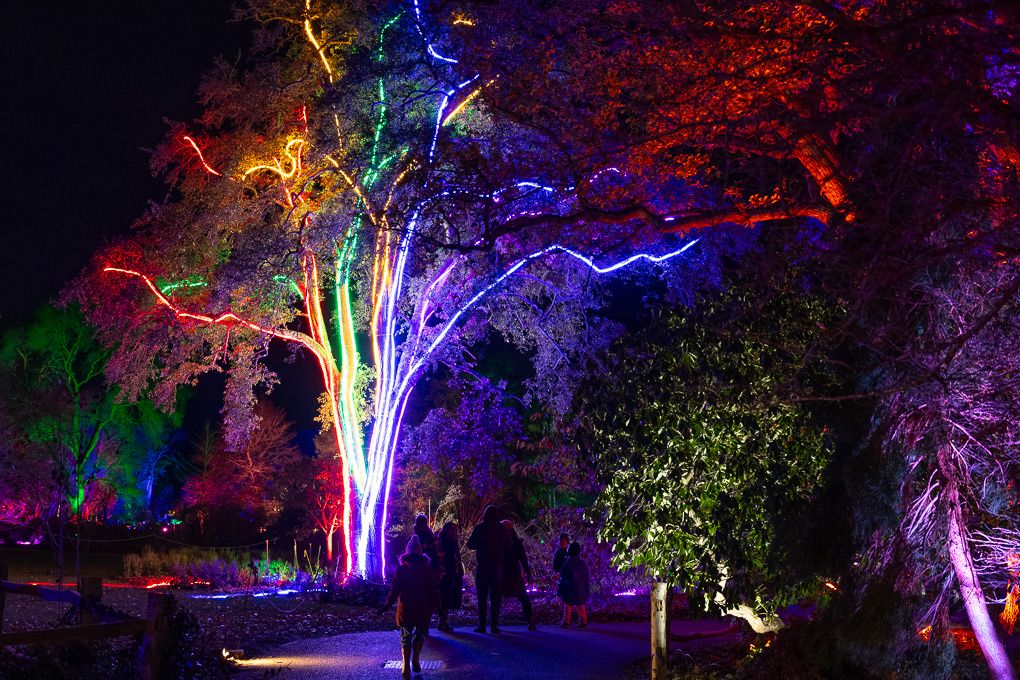
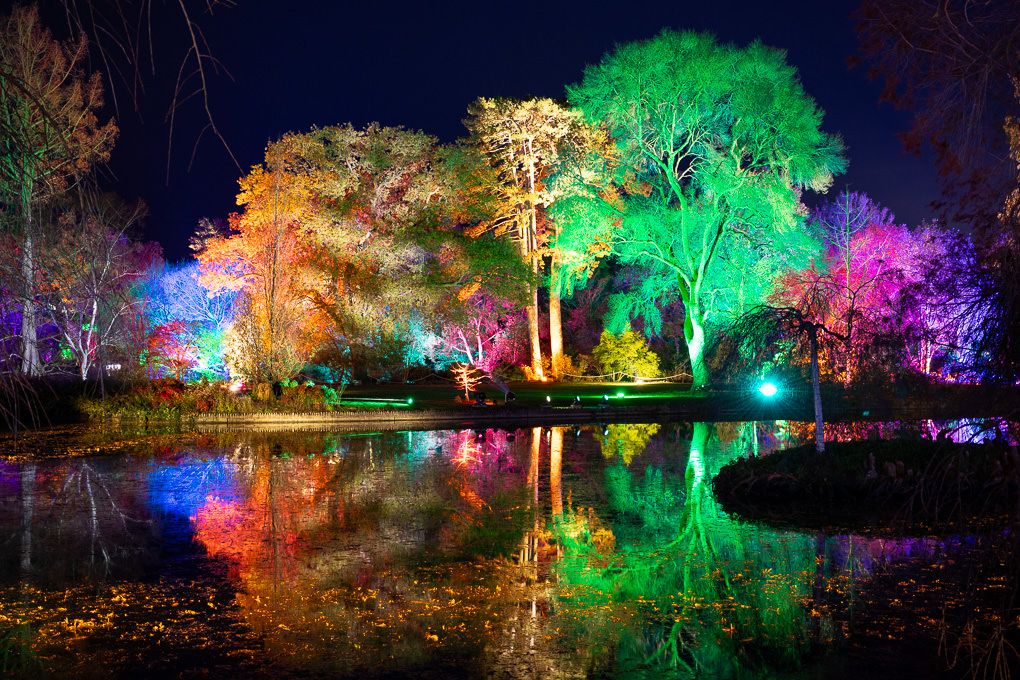
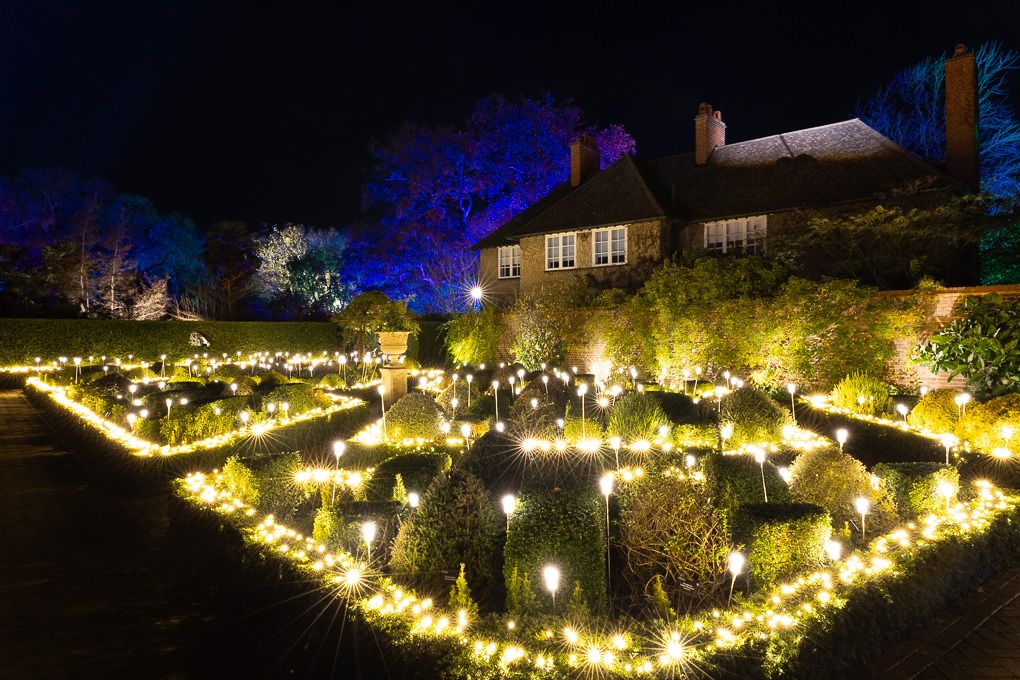
The colour also changes constantly. One area may be illuminated with warm white lights, while the next uses saturated blue, magenta or green. Reflections from water, glass and wet paths can make those colours appear even stronger.
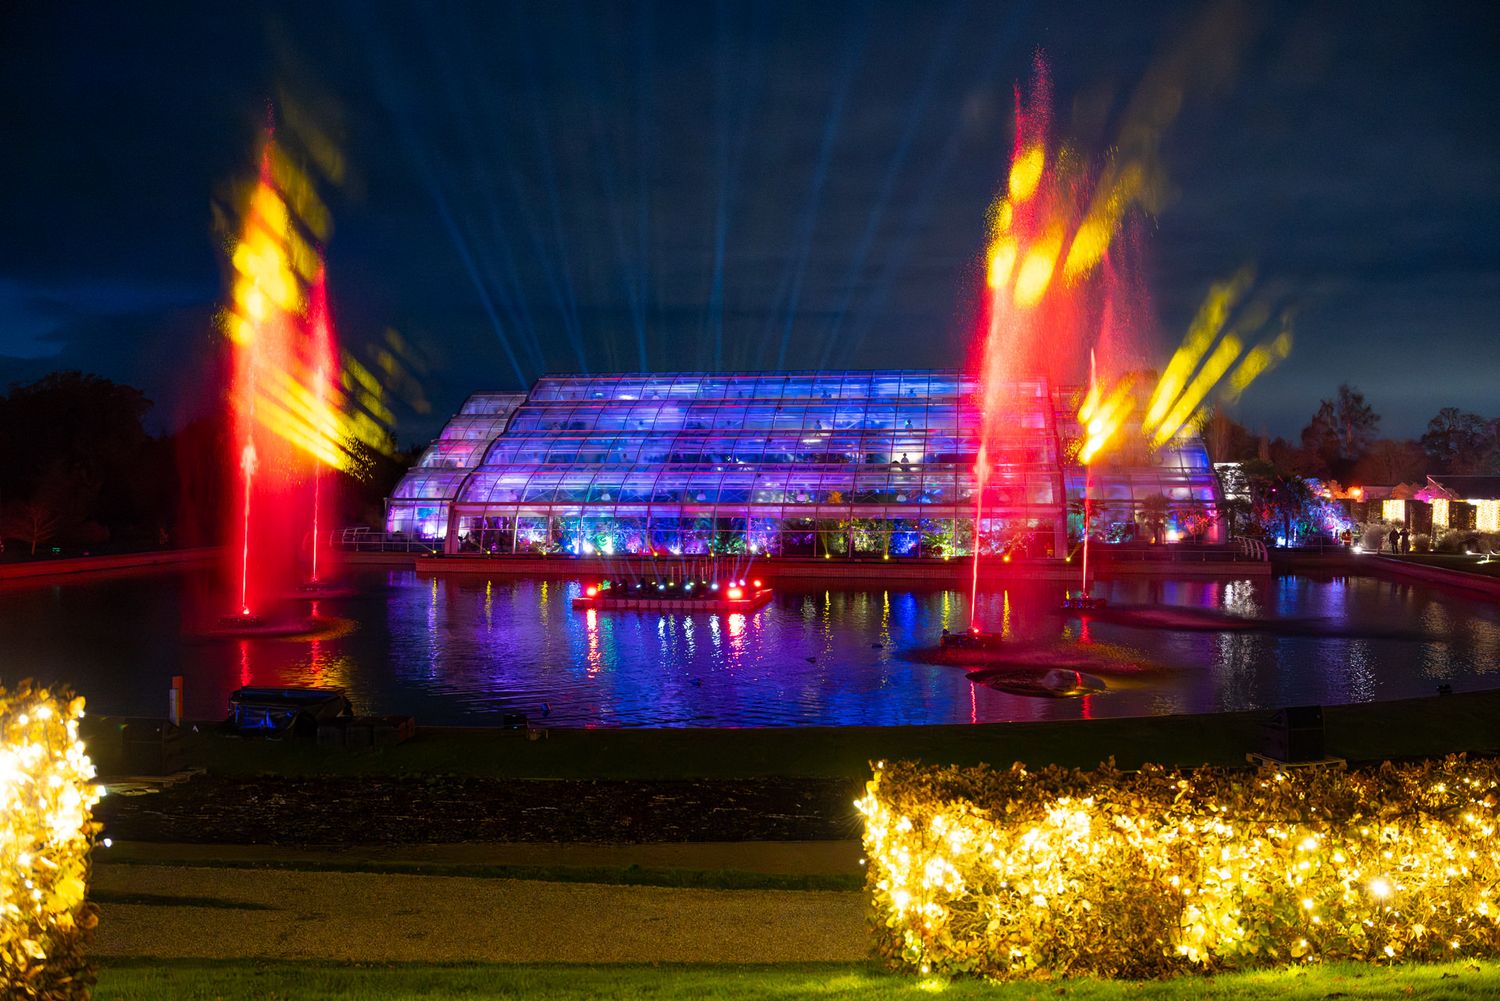
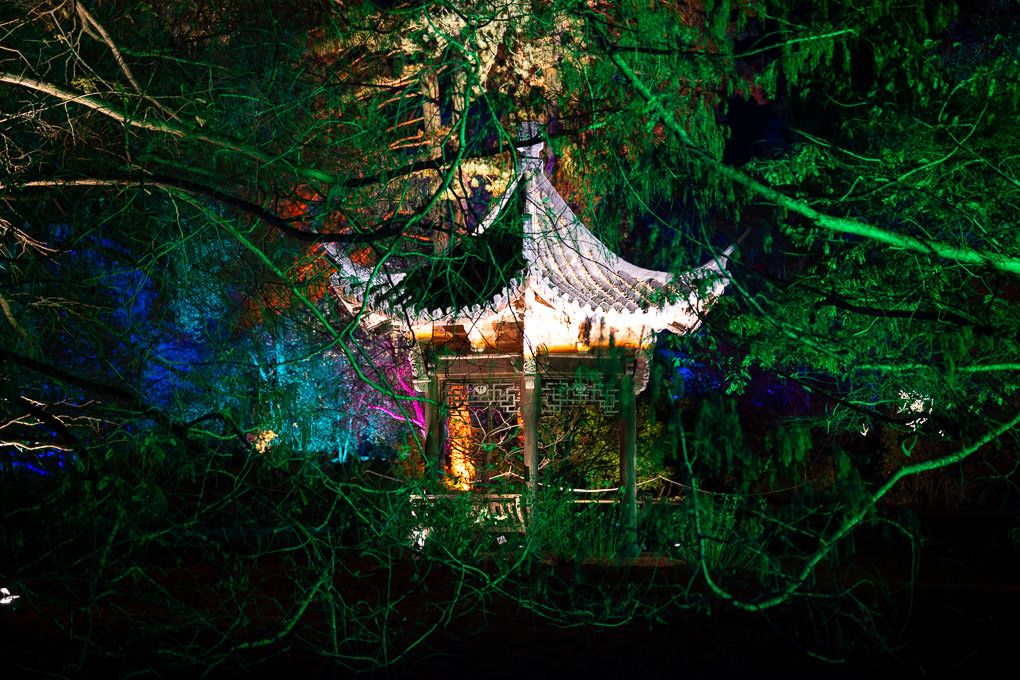
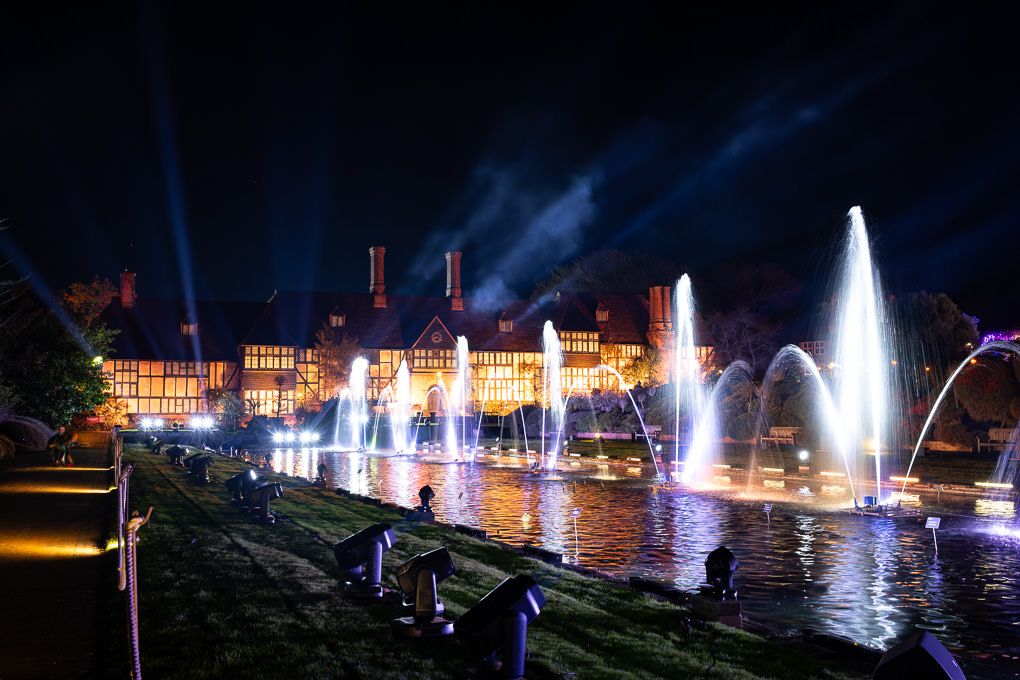
At Wisley, the size of the garden added another layer of complexity. The route included open spaces, enclosed pathways, water features and recognisable structures such as the Glasshouse. Each area required a slightly different photographic approach.
There is no single camera setting that works throughout a light trail. The important skill is being able to read each scene, protect the illuminated highlights and decide how much surrounding detail is needed to tell the story.
Planning the RHS Wisley Glow shoot
Before photographing the trail, I walked the route and identified the locations that would provide the strongest overview of the event.
I looked for:
- Recognisable views that clearly established the location
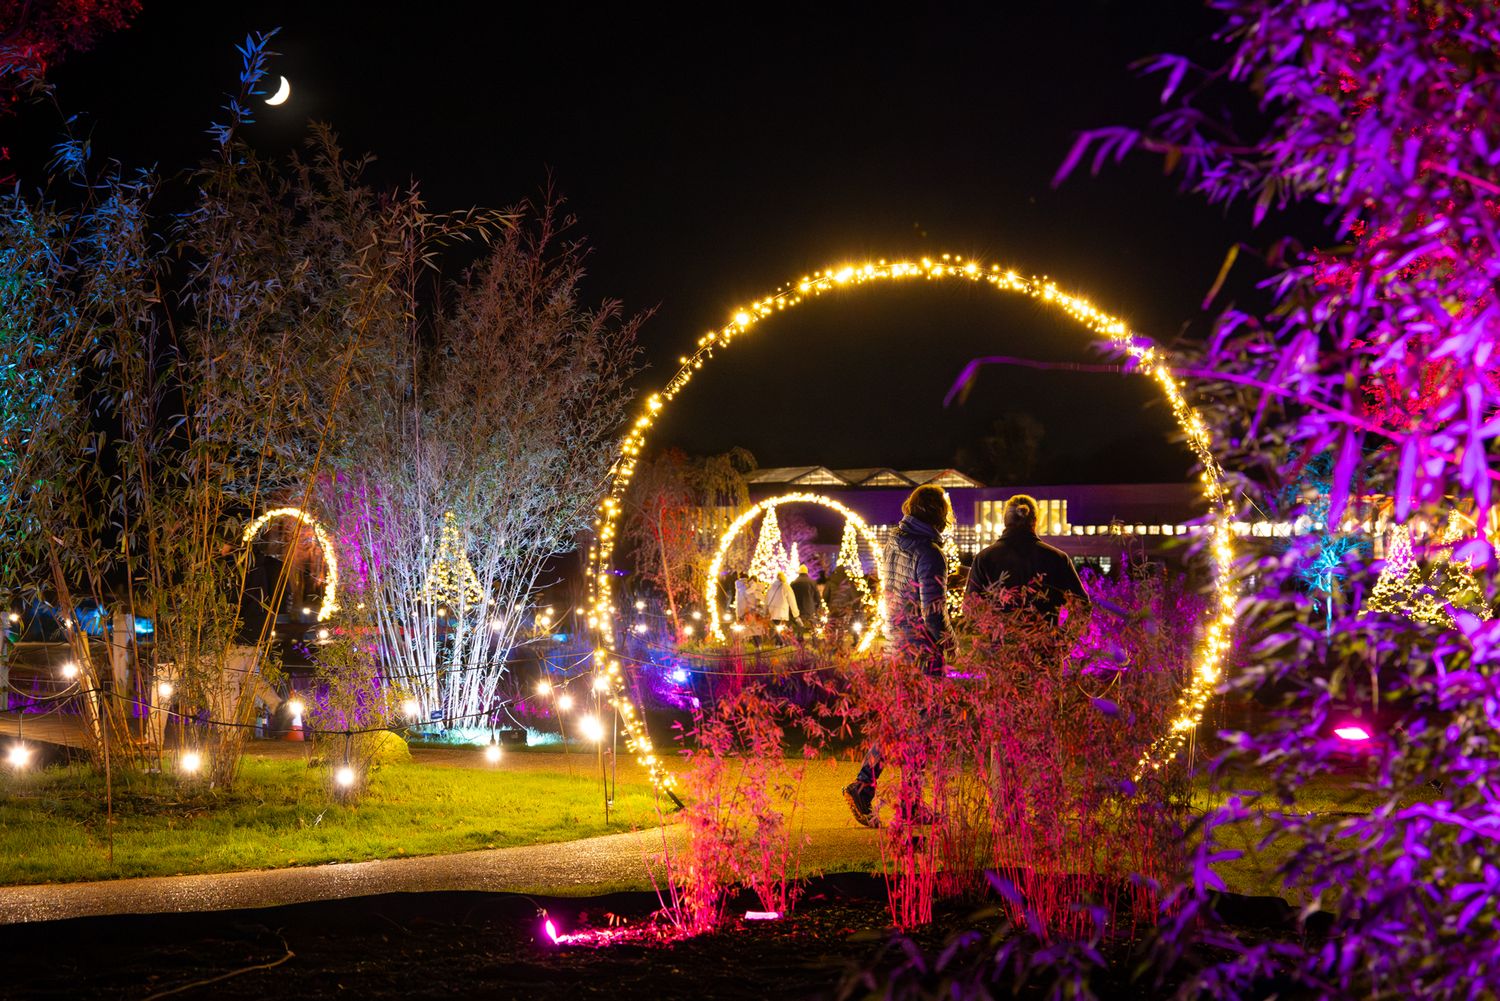
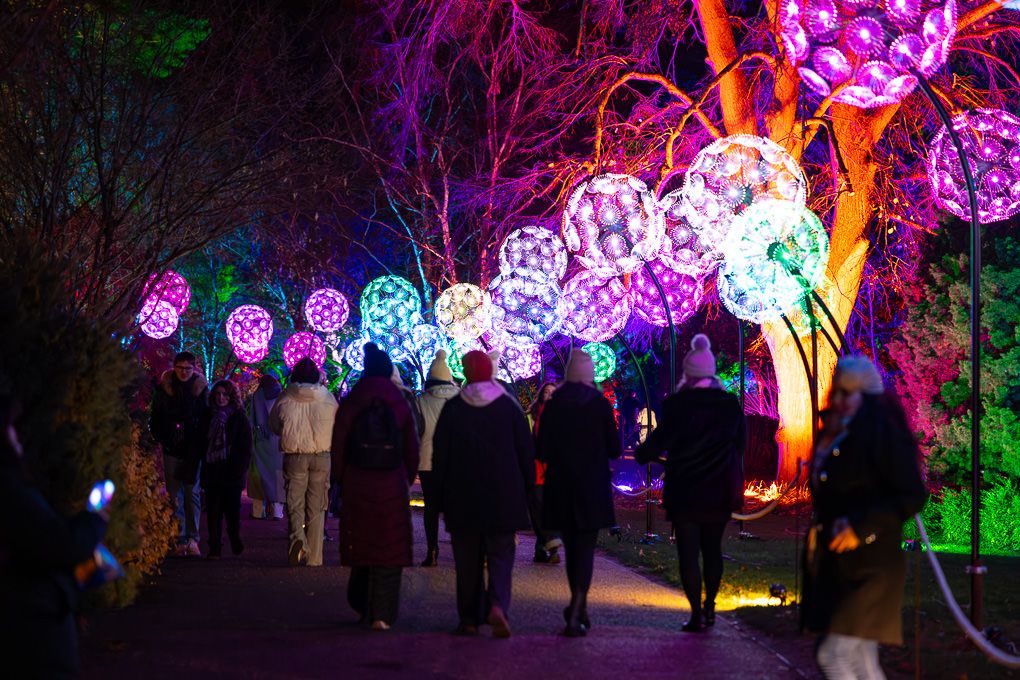
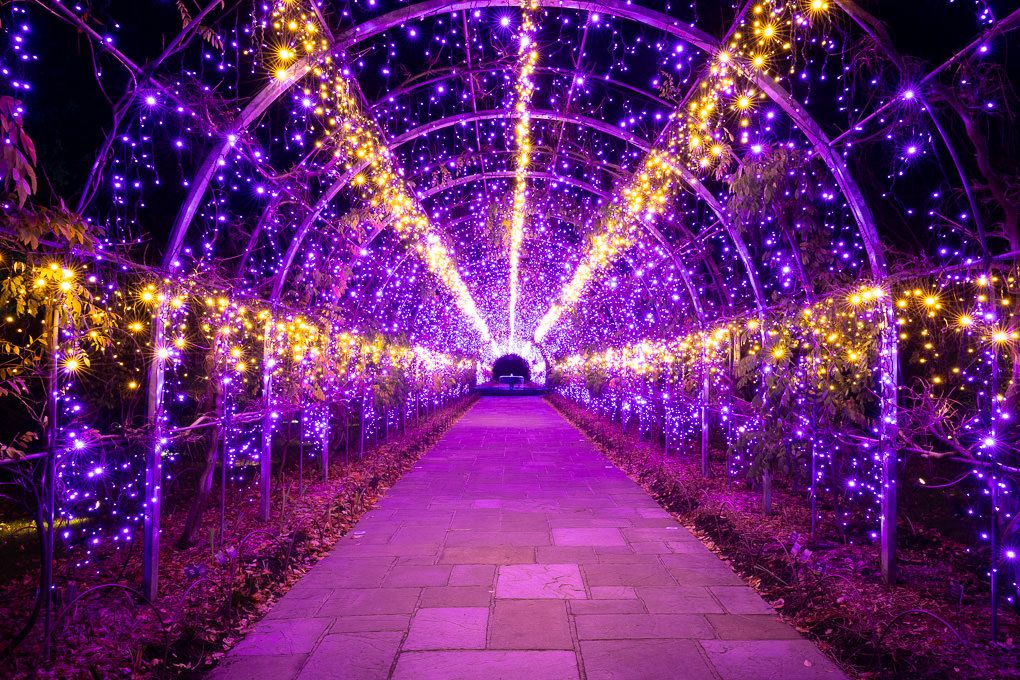
- Paths and illuminated arches that could create leading lines
- Water and glass surfaces that would produce reflections
- Areas where visitors could add scale and atmosphere
- Installations that would benefit from a cleaner, quieter composition
- Safe and permitted opportunities for aerial photography
- Views that could work in horizontal, vertical and square formats
Starting around dusk allowed me to capture some photographs while there was still colour and detail in the sky. This blue-hour light helped separate trees, buildings and installations from the background before the garden became completely dark.
I then continued after nightfall, when the illuminated displays appeared at their most intense.
My experience photographing gardens in changing natural light also influenced this planning. I discuss that in more detail in my guide to photographing gardens professionally at RHS Wisley.
Capturing the complete visitor journey
Effective event photography should do more than document a collection of individual features. It should show how the complete experience unfolds.
At Wisley, I photographed the trail as a sequence:
- Wider establishing images introduced the scale and location.
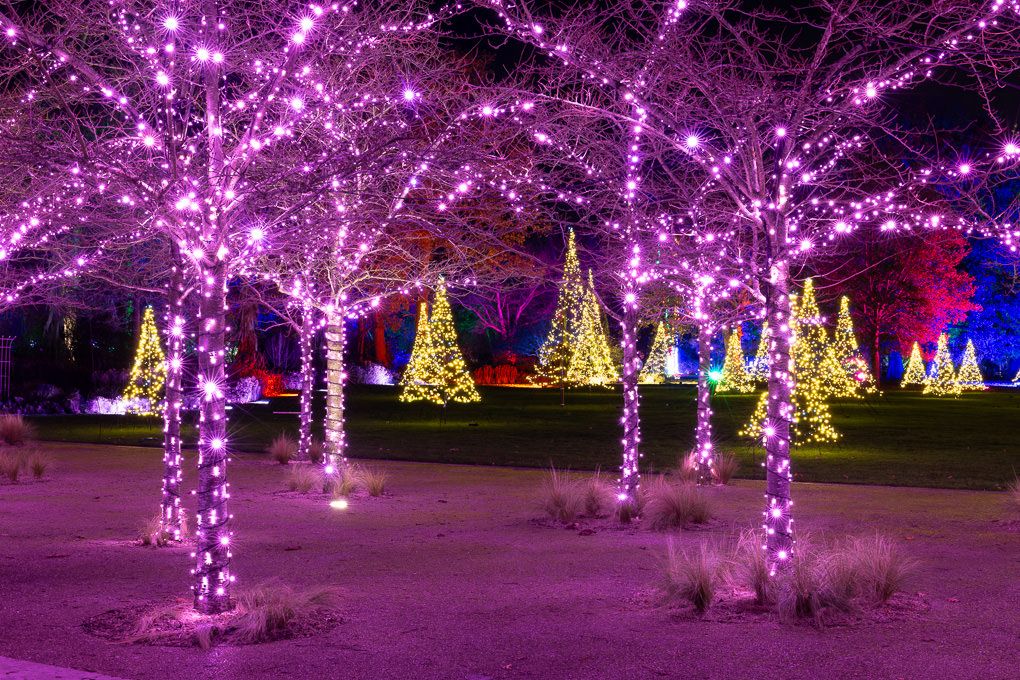
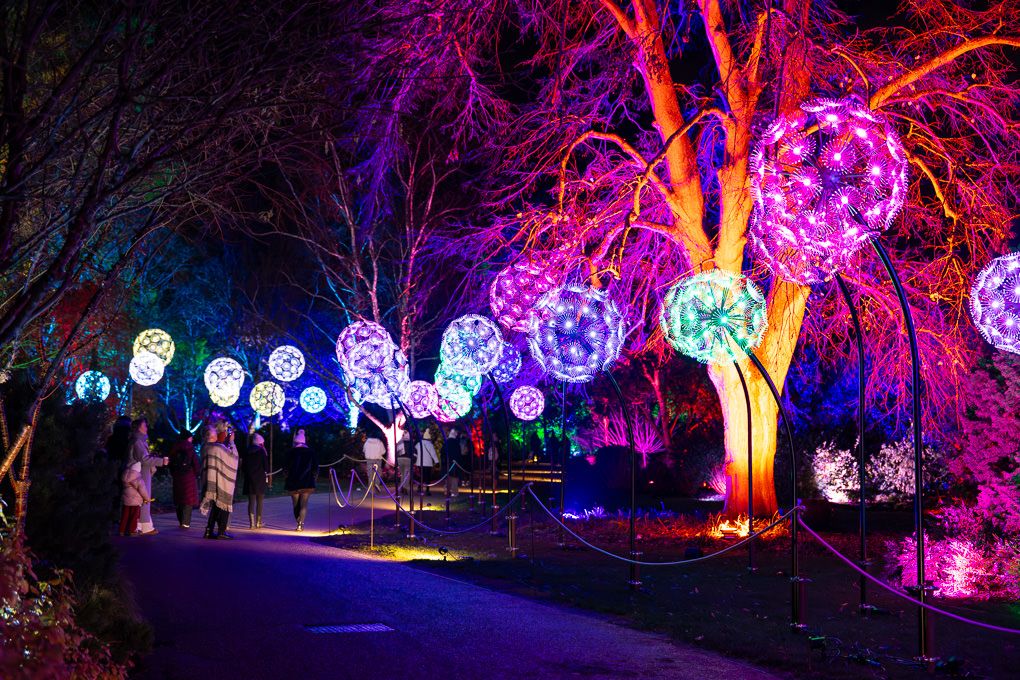
- Paths, archways and illuminated trees drew the viewer into the route.
- Medium views showed how installations interacted with the surrounding garden.
- Details highlighted colour, texture and smaller visual moments.
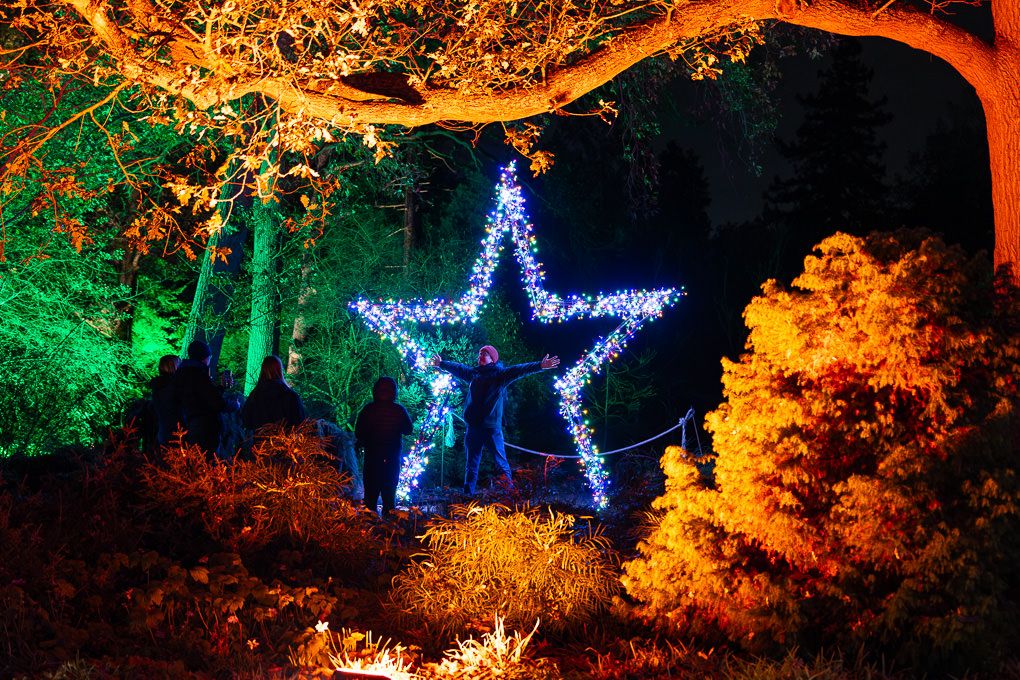
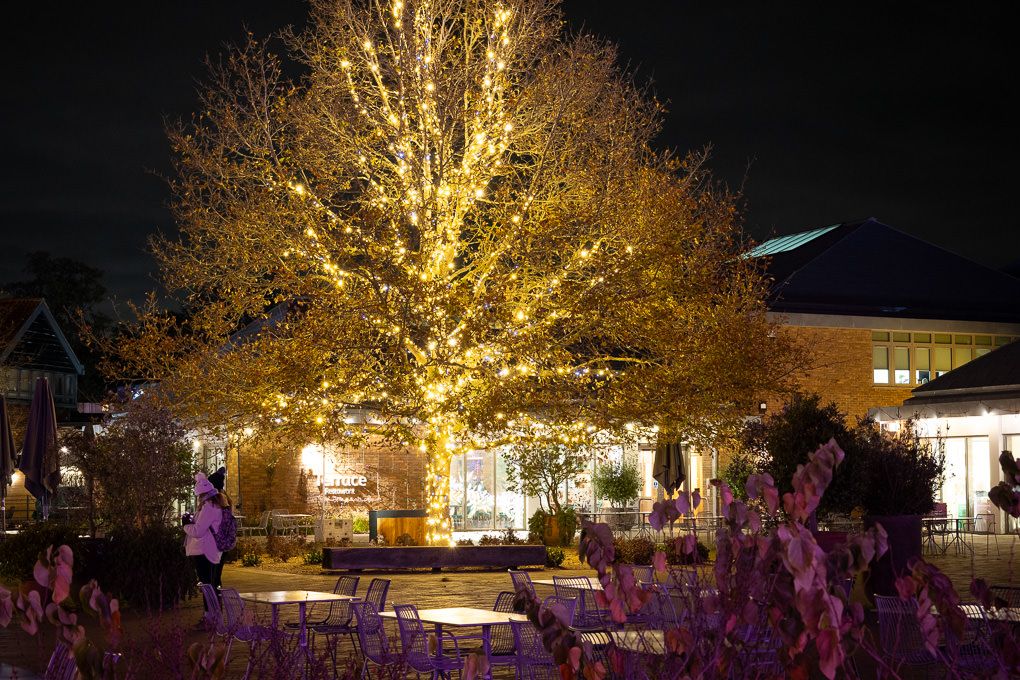
- Visitors provided scale, movement and a sense of shared experience.
- Aerial photographs connected the different areas and revealed the event’s overall footprint.
This mixture gives marketing and communications teams more options than a gallery made entirely from wide “hero” photographs. Different formats and viewpoints can support websites, social content, press coverage, brochures and future event promotion.
The same principle guides my wider event and conference photography: the strongest collection combines atmosphere, context, people, branding and important details.
My ground-level photography approach
I used a Canon EOS R5 with a 24–105mm f/2.8 lens for most of the ground-level photography. This gave me the flexibility to move quickly between wide views and tighter compositions without repeatedly changing lenses in the dark.
I photographed in RAW and exposed carefully for the brightest parts of each installation. It is usually easier to recover controlled shadow detail than to restore an LED light that has been completely overexposed.
For some compositions, I used a tripod and a longer exposure. This was particularly useful for static installations, architectural views and water reflections. In other areas, I worked handheld so I could react more quickly to visitors and changes in the lighting sequence.
I occasionally used a smaller aperture to create starburst effects around individual lights, but that was a creative decision rather than a default setting. Every scene required its own balance between aperture, shutter speed and ISO.
Including visitors without losing the installation
People are an important part of visitor-attraction photography. Completely empty photographs may show the design of an installation clearly, but they do not always communicate what it feels like to attend the event.
At Wisley, I included visitors selectively to:
- Show the scale of installations
- Introduce movement and energy
- Demonstrate how people move through the trail
- Add a sense of discovery
- Make the experience feel active and welcoming
Timing was important. A carefully positioned silhouette or small group could strengthen a composition, while a congested pathway could hide the feature I was trying to photograph.
Where possible, early access and quieter periods allowed me to create clean views before concentrating on more people-led photographs.
Aerial photography at RHS Wisley
Ground-level photography places the viewer inside the trail. Aerial photography provides a different perspective by showing how illuminated paths, trees, water and buildings relate to one another.
Using the DJI Mini 3 Pro, I created wider photographs that revealed patterns and relationships that were not visible from the ground. The Glasshouse and surrounding water were particularly effective visual anchors.
Drone photography was only undertaken where permissions, airspace, weather and visitor safety allowed. I planned flight paths around the venue and avoided operating above crowded areas.
As an A2 CofC-qualified and fully insured drone operator, I treat aerial coverage as part of the wider photography brief rather than as an optional novelty. It needs to add information, context or scale that the ground-level images cannot provide.
You can see more examples of this approach in my professional drone and aerial photography portfolio.
Editing low-light photographs accurately
After the shoot, I processed the RAW files in Adobe Lightroom Classic.
My editing workflow included:
- Applying the appropriate lens corrections
- Checking white balance scene by scene
- Protecting detail in bright installations
- Carefully recovering useful shadow information
- Reducing noise without removing natural texture
- Controlling individual colour channels where LEDs appeared excessively saturated
- Applying selective sharpening
- Producing consistently edited images across the complete gallery
With light trail photography, it is easy to push colour and contrast too far. My objective was to retain the visual impact of the installations while keeping the photographs believable and consistent.
I supplied separate high-resolution and web-optimised files so the images could be used appropriately across different formats.
What organisers should include in a light trail photography brief
A useful brief should explain where the photographs will be used and which parts of the experience matter most.
For a seasonal light trail, I recommend considering:
- Establishing photographs that identify the venue
- Every major installation or sponsored feature
- Horizontal and vertical compositions
- Images with space for headlines or promotional copy
- Visitors interacting naturally with the experience
- Accessibility features, food areas or additional activities
- Wide photographs showing scale
- Details that can support social media posts
- Aerial coverage where it can be completed legally and safely
- Any images required quickly for press or live social media
It is also worth discussing quiet access, lighting schedules and important viewpoints before the event opens. A short period with fewer visitors can make a significant difference to the variety and commercial usefulness of the final collection.
The three-part RHS Glow photography series
Wisley was the second of three RHS Glow events I photographed during the season. Each garden presented a different creative and practical challenge.
RHS Harlow Carr Glow became the technical foundation of the series, particularly for managing bright LEDs, saturated colour and dark garden environments.
Wisley demanded a more logistical approach because of its larger scale, extensive visitor route, water and recognisable architecture.
RHS Bridgewater Glow completed the series with woodland scenes, reflective areas, visitor moments and a live illuminated performance.
Together, the three assignments demonstrate why light trail photography requires more than one repeatable formula. The photographer must respond to the design, geography, audience and atmosphere of each venue.
RHS Wisley Glow photography FAQs
What is light trail photography?
Light trail photography documents illuminated outdoor experiences such as winter garden trails, Christmas light events and after-dark visitor attractions. It usually combines low-light, event, landscape and architectural photography.
When is the best time to photograph an illuminated trail?
Blue hour and the early part of the evening are particularly useful. Blue hour retains detail in the sky and surroundings, while full darkness produces stronger colour and contrast in the installations. Professional coverage will often include both.
Why should visitors appear in light trail photographs?
Visitors provide scale, movement and evidence of the experience itself. Carefully composed people-led images help potential customers imagine attending the event, while quieter views allow the installations and venue to remain the focus.
Can drone photography be used at a light trail?
Potentially, but only when venue permission, airspace, weather, regulations and public safety allow. Aerial photography should be planned in advance and carried out by a suitably qualified and insured operator.
What photographs should a light trail organiser request?
A strong collection should include venue-establishing images, major installations, wide and detailed views, visitor interaction, landscape and portrait formats, space for marketing copy and aerial perspectives where appropriate.
Can light trail photographs be supplied quickly for PR and social media?
Yes. A selection of edited photographs can often be delivered during or shortly after the event for press, social media and marketing. Fast-turnaround requirements should be agreed in advance so that time can be reserved for selecting, editing and delivering the priority images.
Planning photography for a light trail or visitor attraction?
I provide professional event, garden, visitor attraction, and aerial photography for select commissions across Hertfordshire, London, and throughout the UK.
If you are planning an illuminated trail, seasonal event or destination campaign, get in touch to discuss the photography brief.

About The Photographer
Lee Charlton is a commercial, event and garden photographer with more than 16 years of professional experience.
He spent nine years as Global Photography Manager at TUI and four years as Photography and Digital Asset Manager at the Royal Horticultural Society. His work has included gardens, visitor attractions, commercial campaigns, conferences, corporate events, travel content and digital image libraries across the UK and internationally.