Professional garden photography advice from four years working across RHS Gardens
Garden photography can look deceptively simple. Find some attractive planting, wait for decent light and take a photograph.
In reality, creating a useful collection of garden images requires much more thought. You need to show the design of the space, the relationship between different planting areas, seasonal details, architecture, atmosphere and a sense of how it feels to move through the garden.
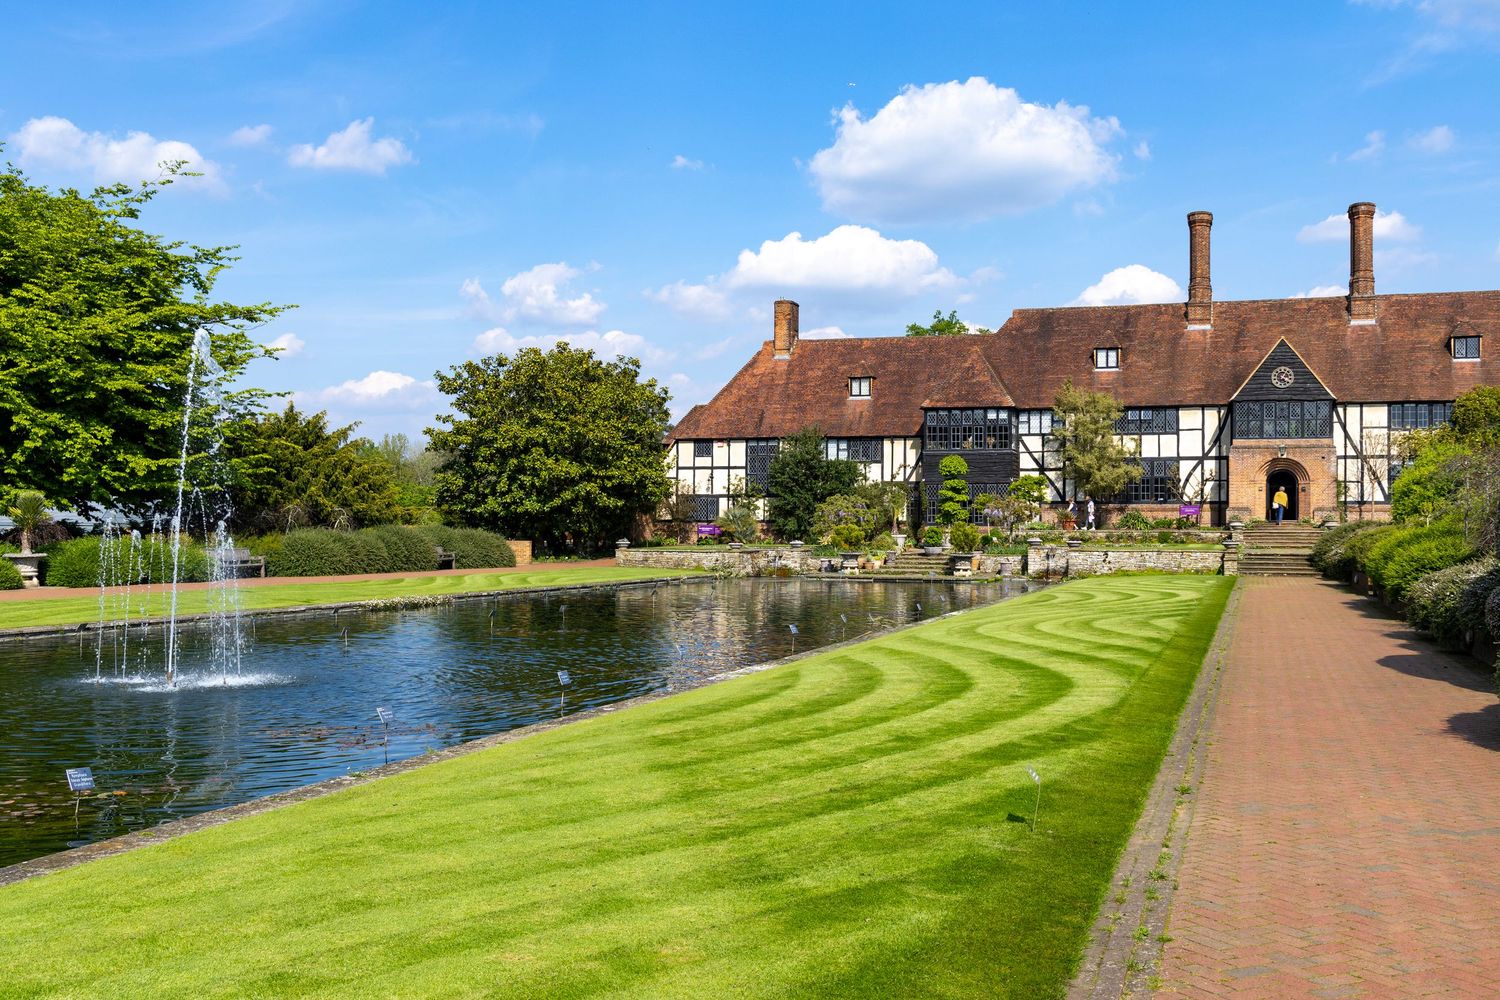
I photographed RHS Garden Wisley in Surrey over several visits as part of my work with the Royal Horticultural Society. The images were created as commercial assets and uploaded to the organisation’s digital asset management system, allowing different teams to access them for websites, press, marketing, social media and other communications.
Having also photographed RHS Hyde Hall, Harlow Carr, Rosemoor and Bridgewater, I learned that successful garden photography is not simply about capturing individual flowers. It is about creating a complete and flexible visual story.
Here are the techniques I use when photographing gardens professionally.
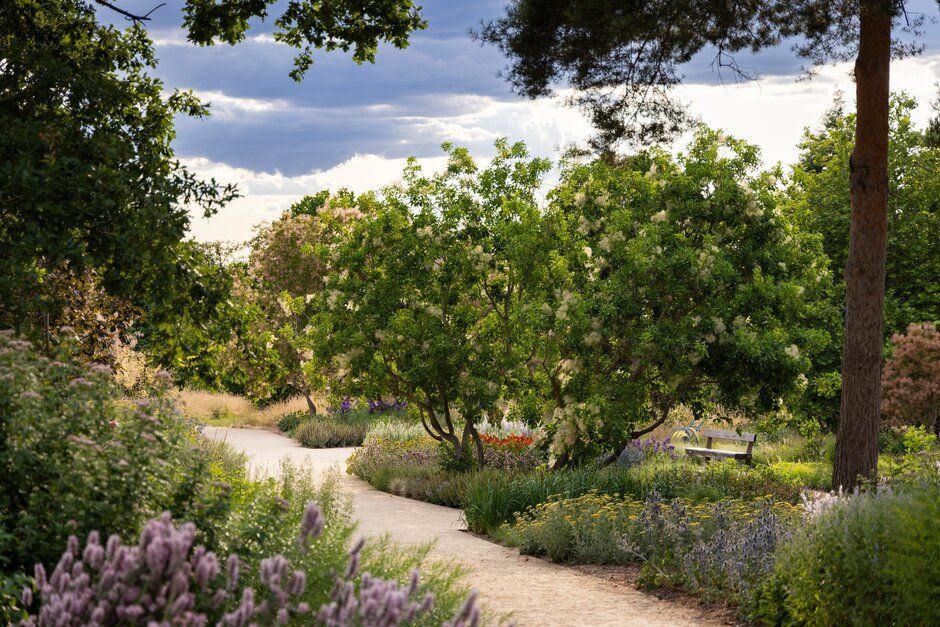
What makes garden photography difficult?
Gardens contain a huge amount of visual information.
Planting can overlap, colours can compete with one another and pathways, signs, buildings and visitors can easily distract from the main subject. Weather and wind can change within minutes, while areas that look impressive to the eye do not always translate into a clear photograph.
The photographer’s job is to bring order to that complexity without making the garden feel artificial.
That means making deliberate decisions about light, viewpoint, lens choice, timing and how the final photograph may eventually be used.
How I photographed RHS Wisley
These images were created over several visits rather than during a single afternoon.
Working over multiple days allowed me to photograph different areas of Wisley in changing weather and light. It also meant I could return to locations when the planting, sky or direction of the sunlight worked better.
My usual setup for this type of work included Canon EOS R5 and R6-series mirrorless cameras, primarily paired with 24-105mm and 70-200mm lenses.
The 24-105mm was useful for moving quickly between wider garden views and medium compositions. The 70-200mm allowed me to isolate areas of planting, compress different layers and simplify visually busy scenes.
I worked handheld rather than using a tripod or filters. Drone photography was also used where permission, airspace, weather and visitor safety allowed.
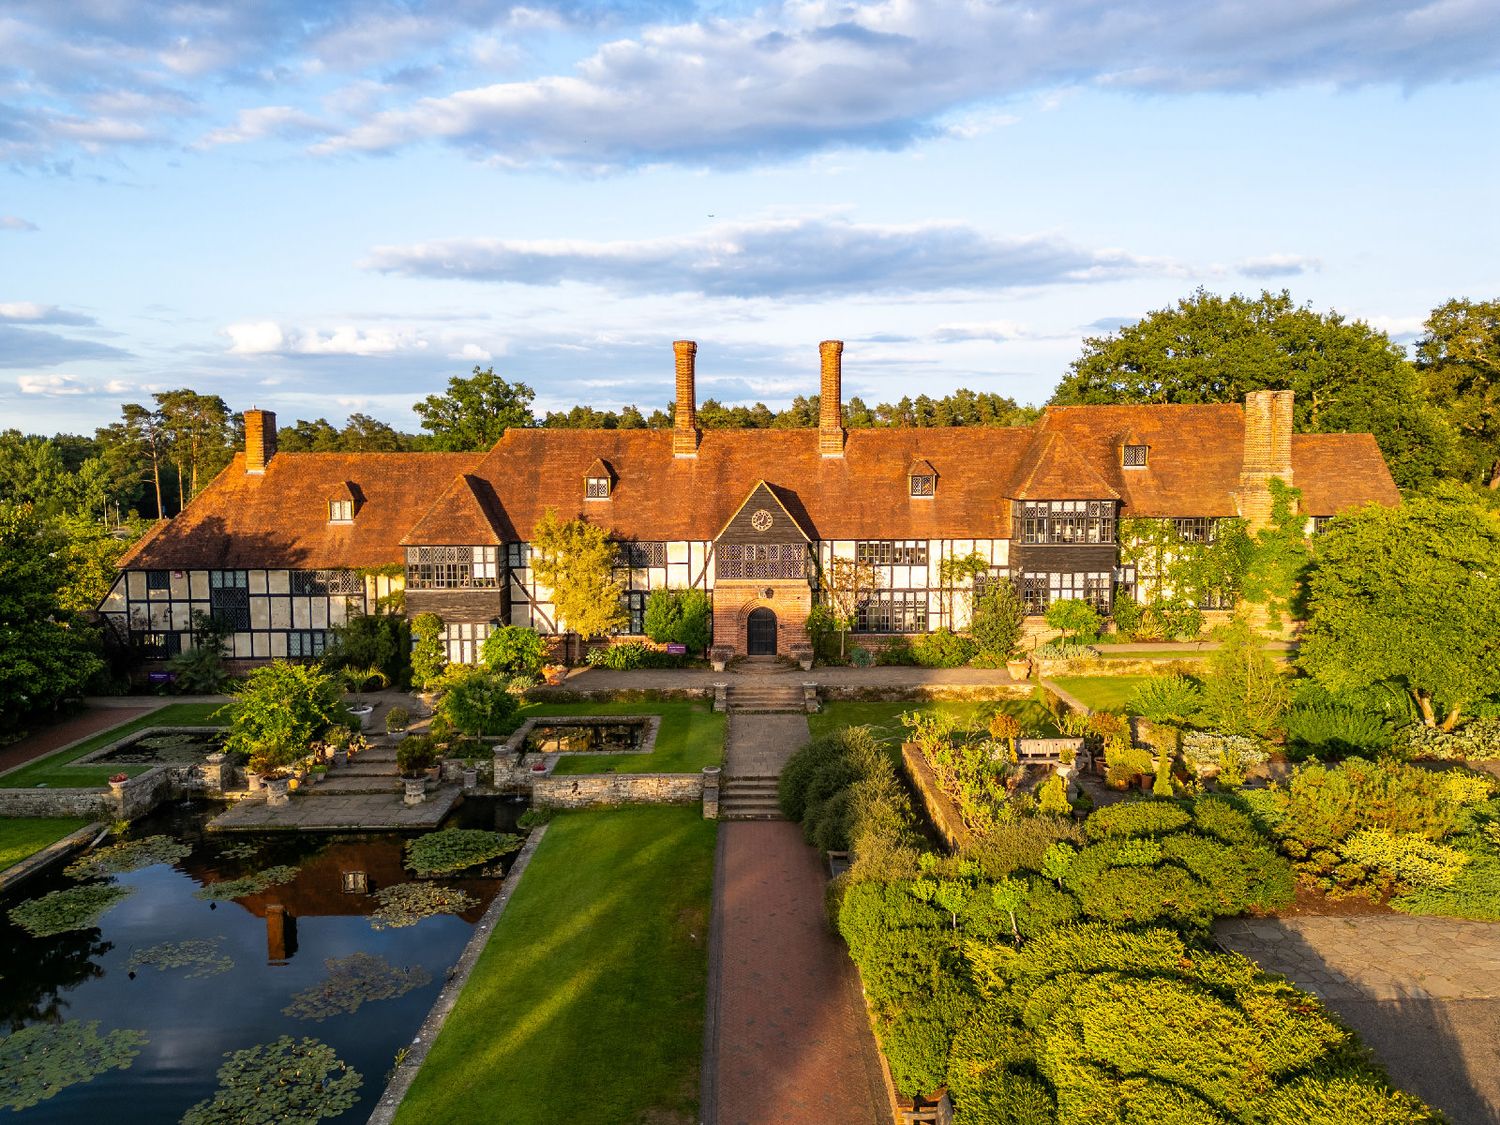
You can see more examples of how I combine ground-level and professional drone and aerial photography to show the scale and layout of a location.
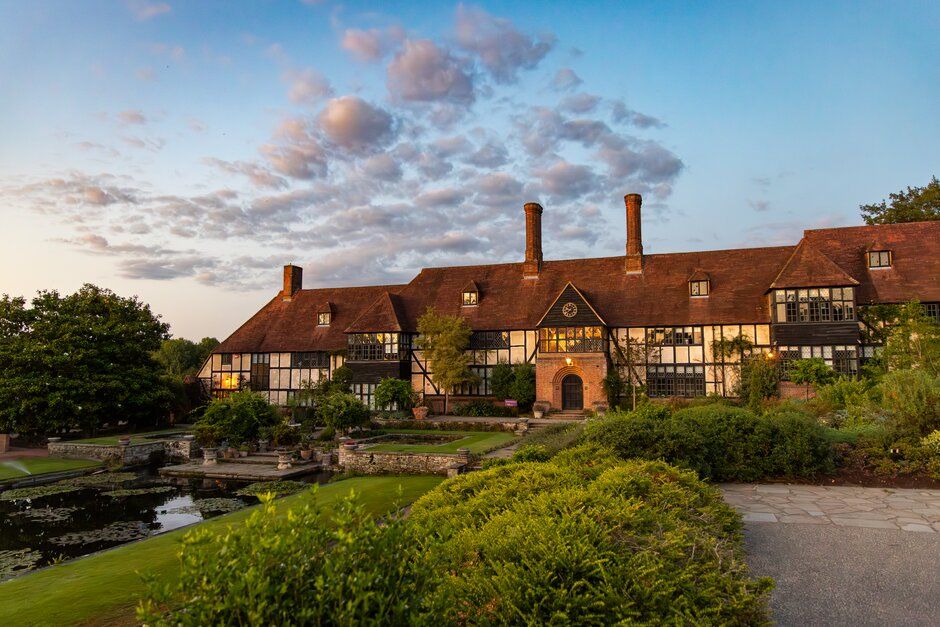
1. Plan around the light, not just the weather forecast
The middle of a sunny day is often one of the hardest times to photograph a garden.
Direct overhead light can cast deep shadows beneath plants while producing bright highlights on pale flowers, paths, and buildings. This can make an image feel harsh and visually untidy.
Early morning and evening light is usually softer and more directional. It reveals texture, creates depth and can bring warmth to grasses, leaves and architectural features.
However, golden hour is not the only useful light.
Overcast conditions can be ideal for photographing planting because the clouds act like a huge diffuser. Colours become easier to control, shadows soften, and you can photograph in more directions without constantly fighting the sun.
Rather than waiting endlessly for supposedly perfect conditions, think about what the existing weather does well.
2. Walk through the garden before photographing it
When possible, I avoid photographing the first attractive view I see immediately.
Walking through the location first helps me understand:
Where the main paths lead
Which viewpoints reveal the scale of the garden
How the sun moves across important areas
Where buildings and structures sit within the landscape
Which sections are likely to become crowded
Which areas may work better later in the day
A garden is designed to be experienced as a sequence of spaces. The photography should reflect that rather than reducing the entire location to a collection of disconnected flower photographs.
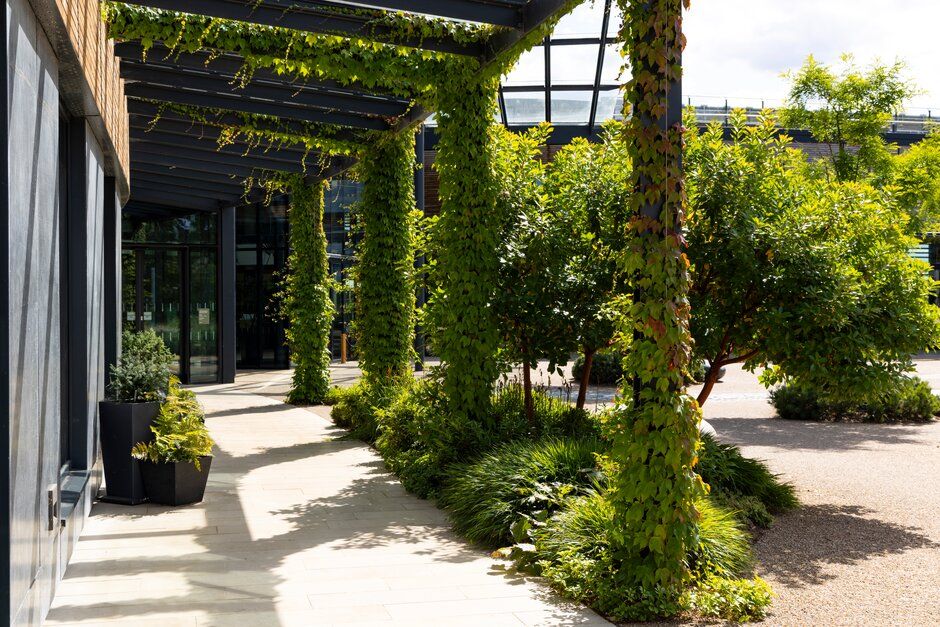
3. Photograph the garden at three different scales
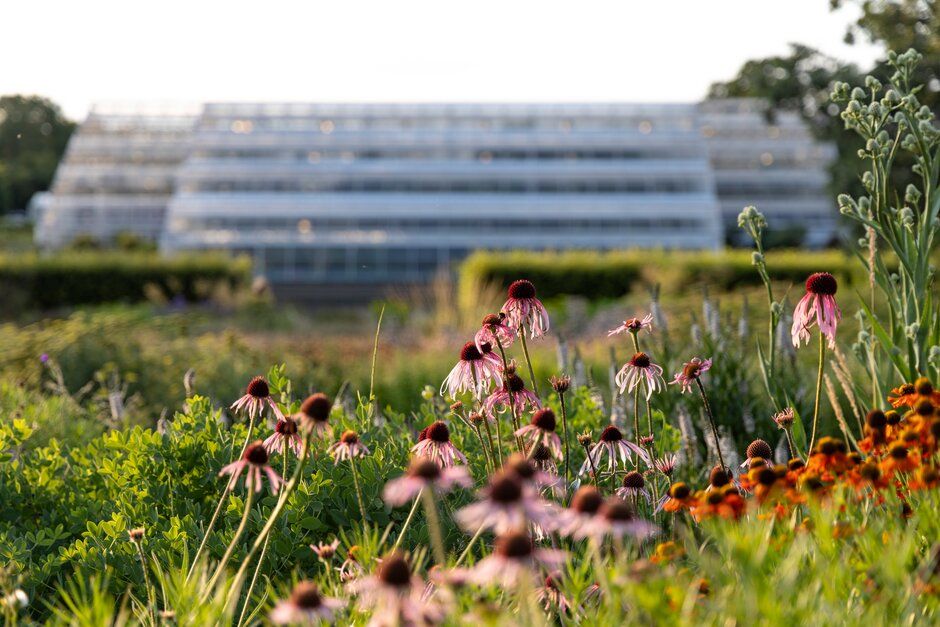
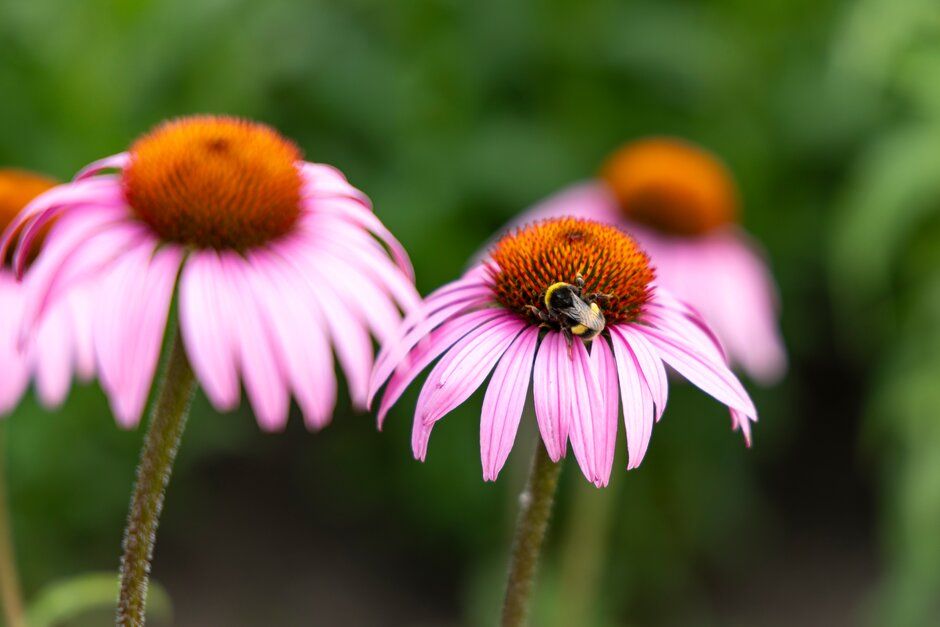
A strong garden gallery usually needs wide views, medium compositions and close details.
Wide photographs
Wide images establish the location and show how the garden is designed.
They may include paths, glasshouses, buildings, water features, mature trees or large areas of planting. These photographs are particularly useful for website banners, brochures, press features and destination marketing.
Medium compositions
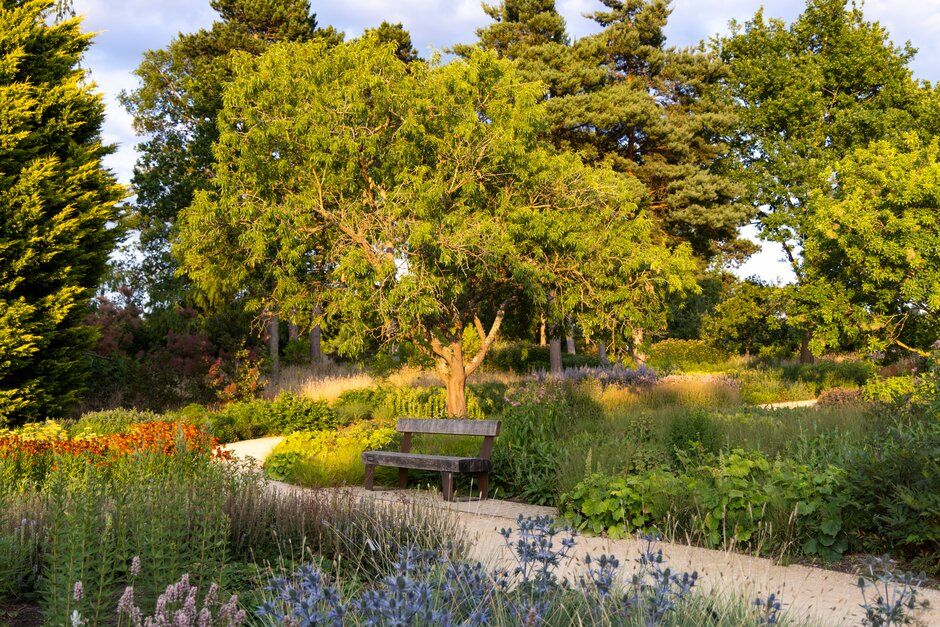
Medium views show the relationship between different elements.
This could be a section of planting beside a pathway, a bench framed by foliage or a glasshouse seen through a border. These images often feel more intimate while still giving the viewer enough context.
Close details
Detailed photographs capture colour, texture, wildlife and seasonal character.
They add variety to the final collection, but they should support the wider story rather than dominate it.
Producing all three gives marketing and editorial teams far more choice than a gallery containing dozens of similar flower close-ups.
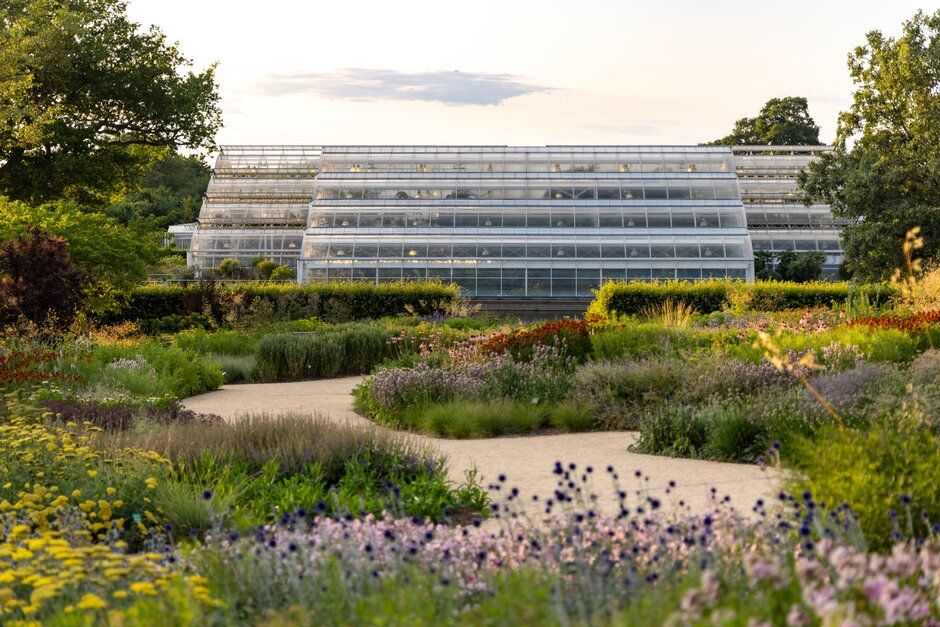
4. Choose the lens according to the story
There is no single best lens for garden photography.
A wider lens is useful when you need to show the scale of a landscape, photograph within a confined area or place a building within its surroundings.
However, very wide lenses can make distant planting appear small and insignificant. They can also introduce empty foregrounds or distorted edges if used without care.
A telephoto lens does the opposite.
Using a 70-200mm lens allows me to bring distant areas closer together visually. It can turn several separate borders into compressed layers of colour and remove unwanted distractions from the edge of the frame.
Rather than asking which lens is technically best, ask what relationship you want to show between the different parts of the garden.
5. Use paths and structures to guide the viewer
Paths are among the most useful compositional tools in garden photography.
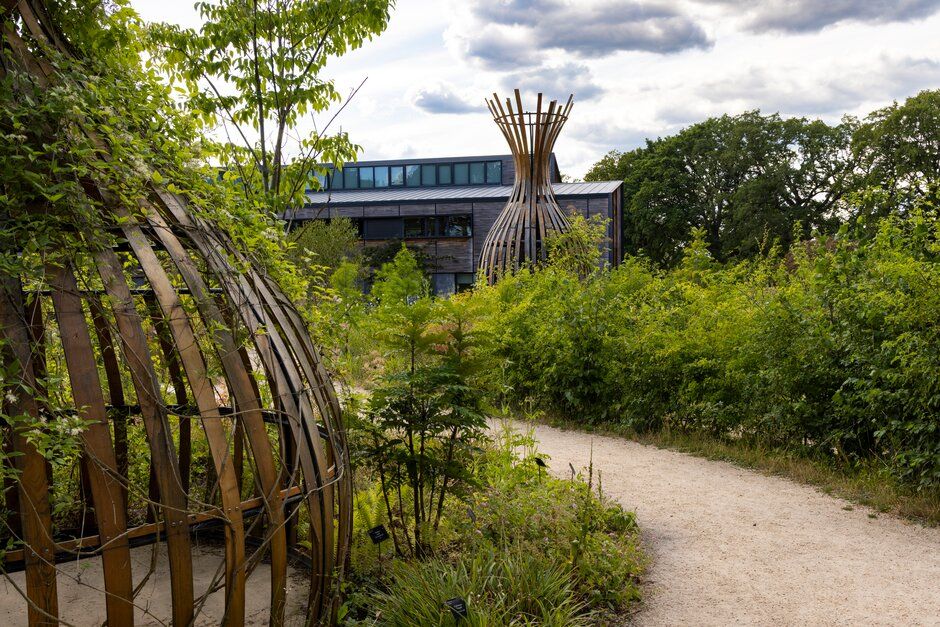
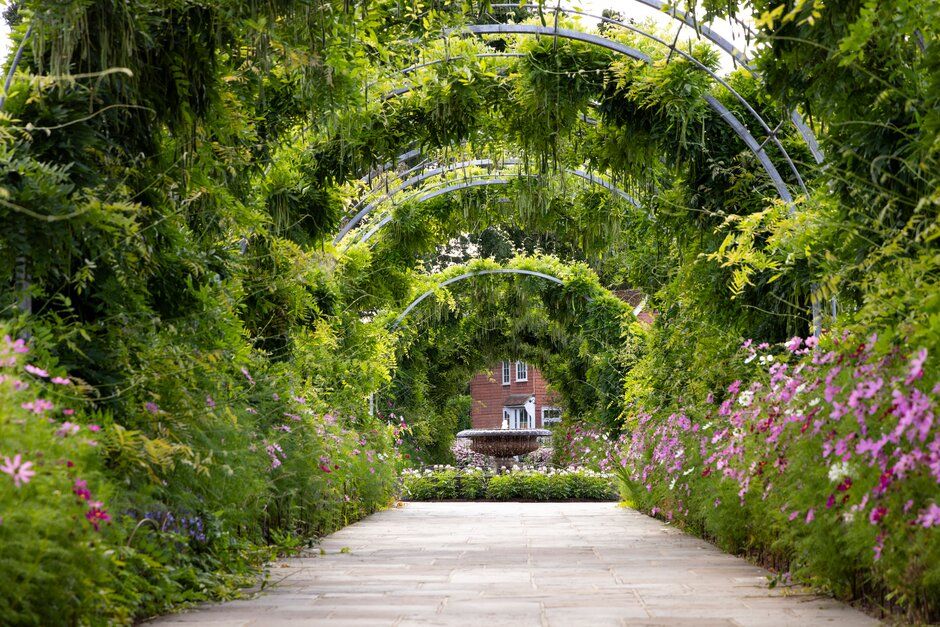
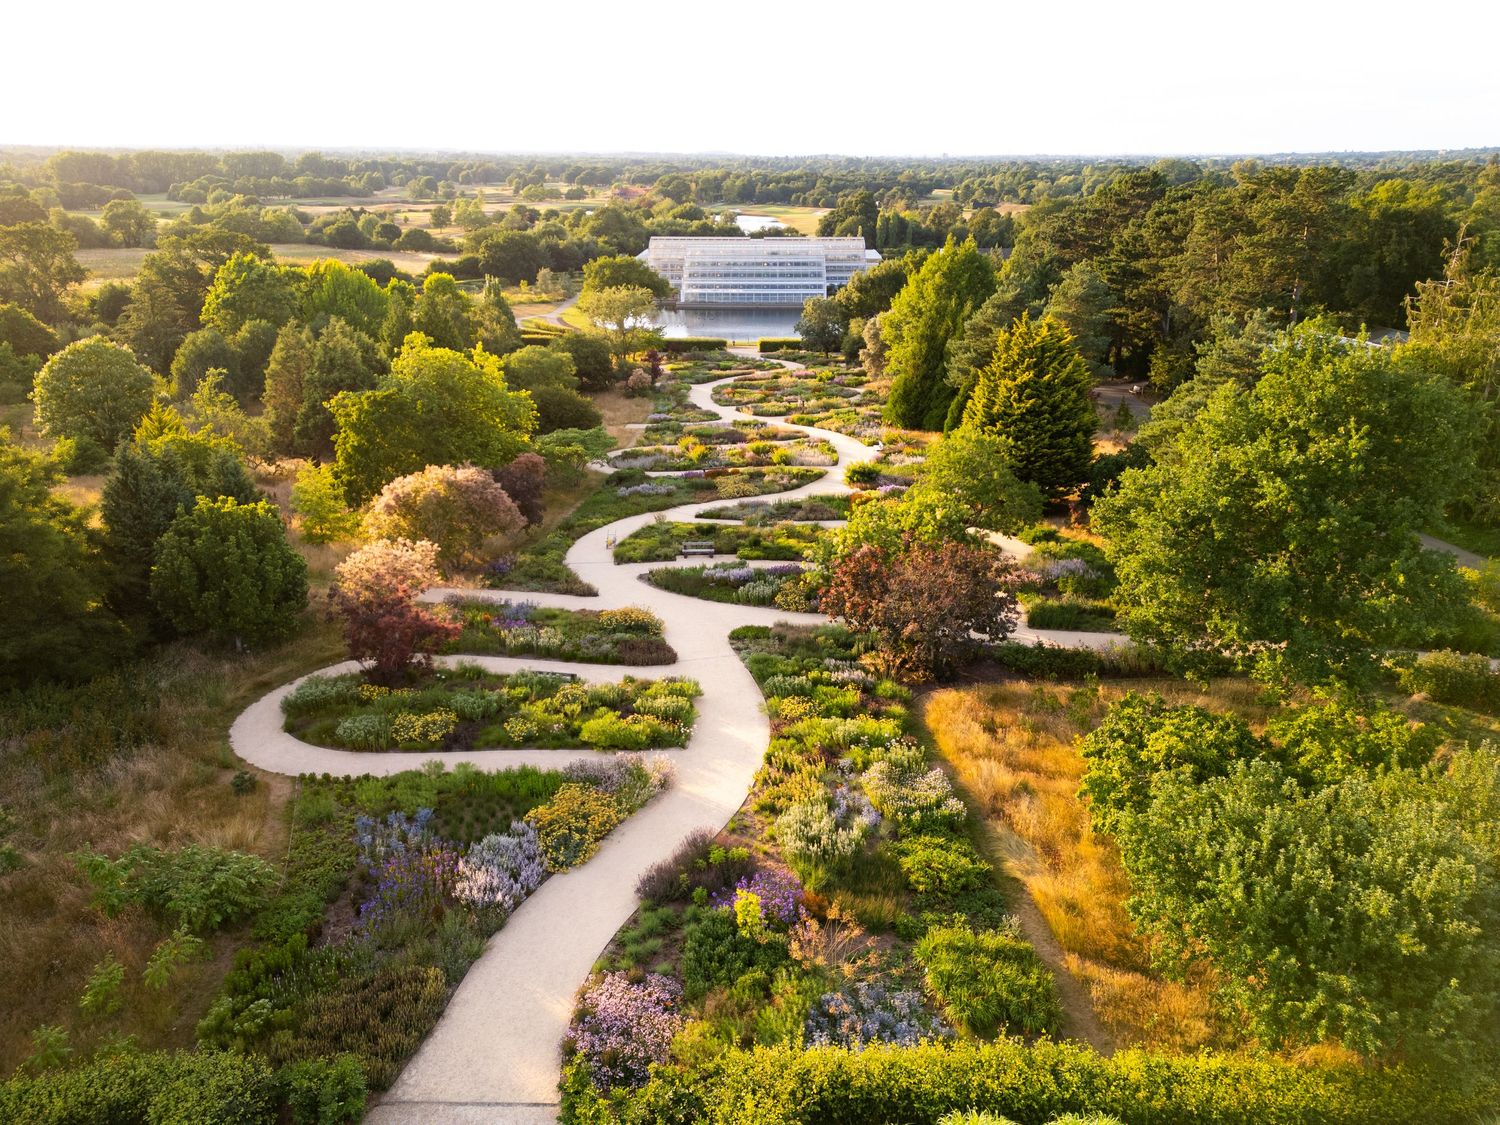
A curved path can lead the viewer gradually through the frame, while a straight avenue creates symmetry and a stronger sense of formality. Walls, hedges, borders and lines of trees can serve the same purpose.
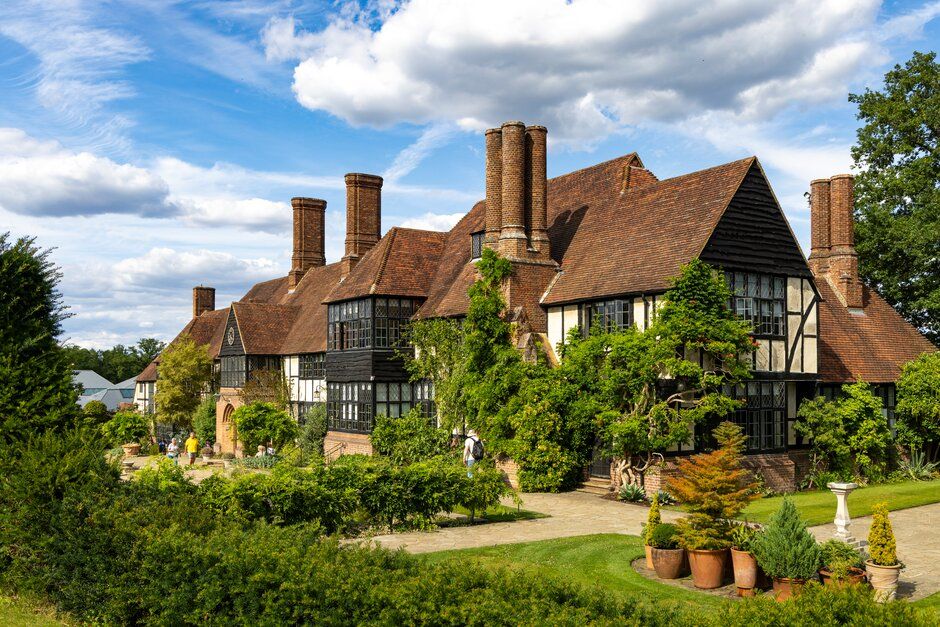
Architecture can also help anchor a photograph.
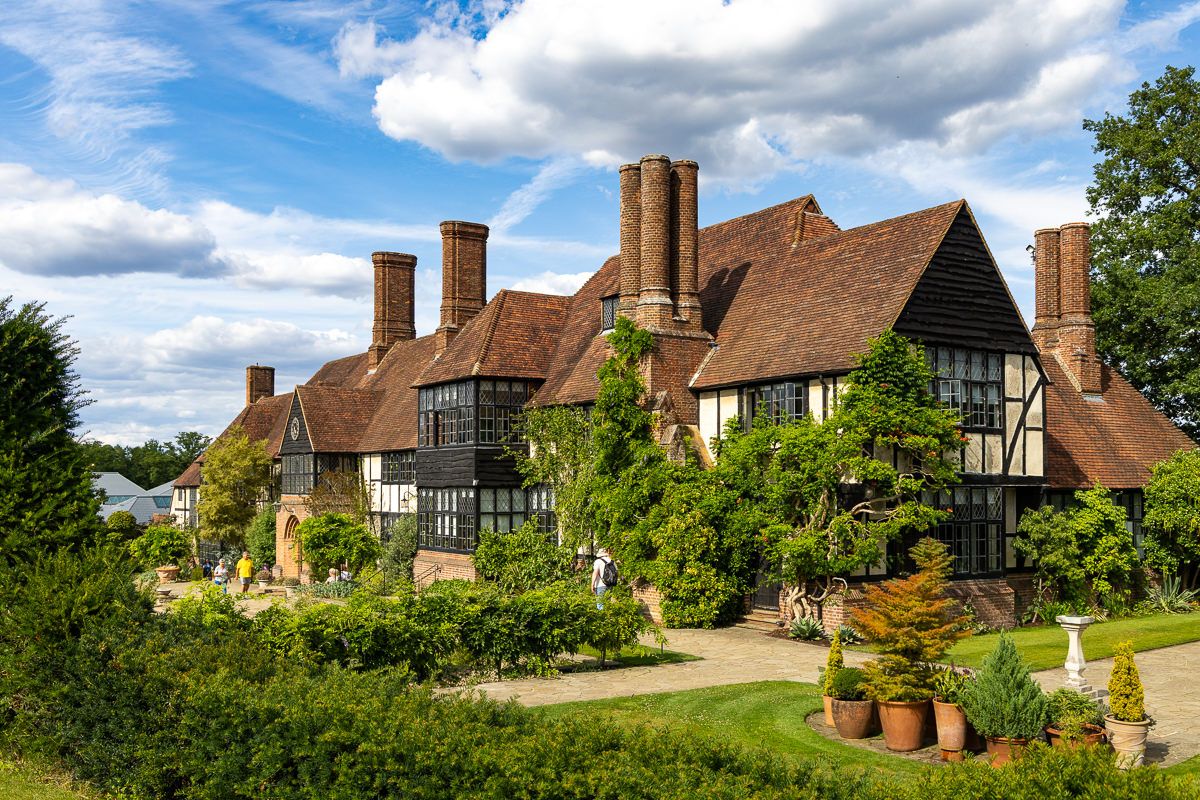
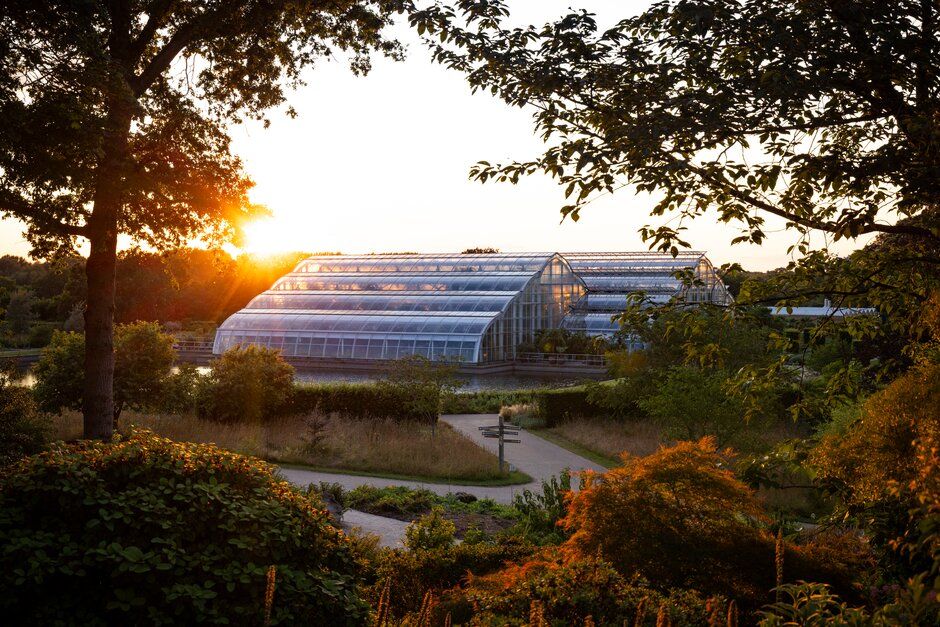
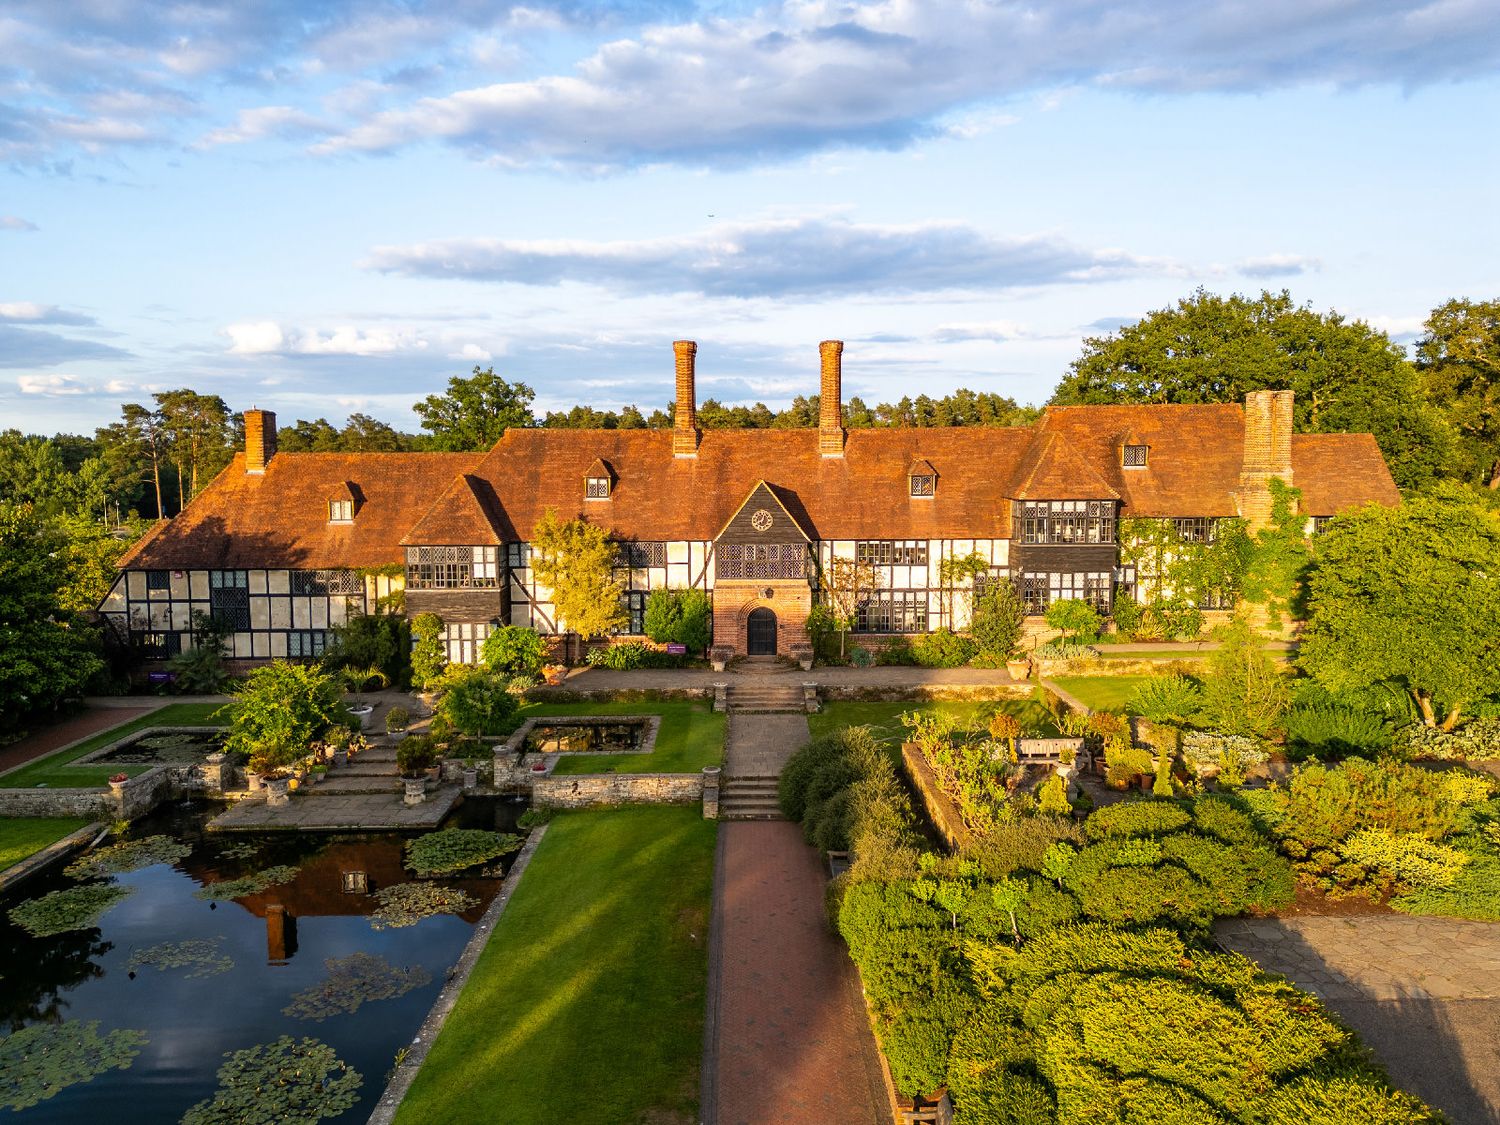
At Wisley, buildings such as the Glasshouse provide scale and context. Including recognisable structures helps establish the location and prevents the photographs from feeling like they could have been taken in any garden.
The strongest compositions often combine planting with a structural element, allowing the softness of the garden to contrast with cleaner architectural lines.
6. Watch the wind as carefully as the light
Wind is one of the biggest practical challenges in garden photography.
Even a gentle breeze can move tall grasses, leaves and flower heads enough to cause softness. This becomes more noticeable later in the day, as available light drops and shutter speeds slow.
When photographing moving planting, I will usually:
- Increase the shutter speed
- Raise the ISO where necessary
- Wait for brief pauses between gusts
- Photograph sturdier planting or wider views during stronger wind
- Return to detailed photographs when conditions settle
A perfectly exposed image is no use if the main subject has moved and become blurred.
At the same time, movement is not always a problem. Grasses and lighter planting can look natural with a small amount of movement when it suits the atmosphere of the photograph.
7. Protect highlights in bright flowers and skies
White, yellow and pale pink flowers can easily lose detail in strong sunlight.
The same applies to reflective glasshouses, pale paths and bright sections of sky. Once these highlights are completely overexposed, recovering the missing texture during editing may be impossible.
I therefore pay close attention to the brightest parts of the frame rather than judging the exposure only by how the overall image looks on the back of the camera.
Slightly protecting the highlights gives me more flexibility when processing the RAW files later. Shadows can usually be lifted more successfully than completely blown highlights can be recovered.
8. Think about where the photographs will be used
Commercial garden photography needs to do more than look attractive in a gallery.
Images may eventually be required for:
- Website banners
- Press releases
- Magazine features
- Social media
- Printed marketing
- Visitor information
- Reports and presentations
- Advertising campaigns
That affects how I compose the photographs.
Alongside the obvious hero images, I create horizontal and vertical versions, leave clear areas where text could be added and vary the position of important subjects within the frame.
A technically strong photograph may still be commercially limited if it only works in one crop or format.
This approach is also central to my wider travel and tourism photography, where locations need varied image libraries suitable for multiple platforms and audiences.
9. Use drone photography to explain the layout
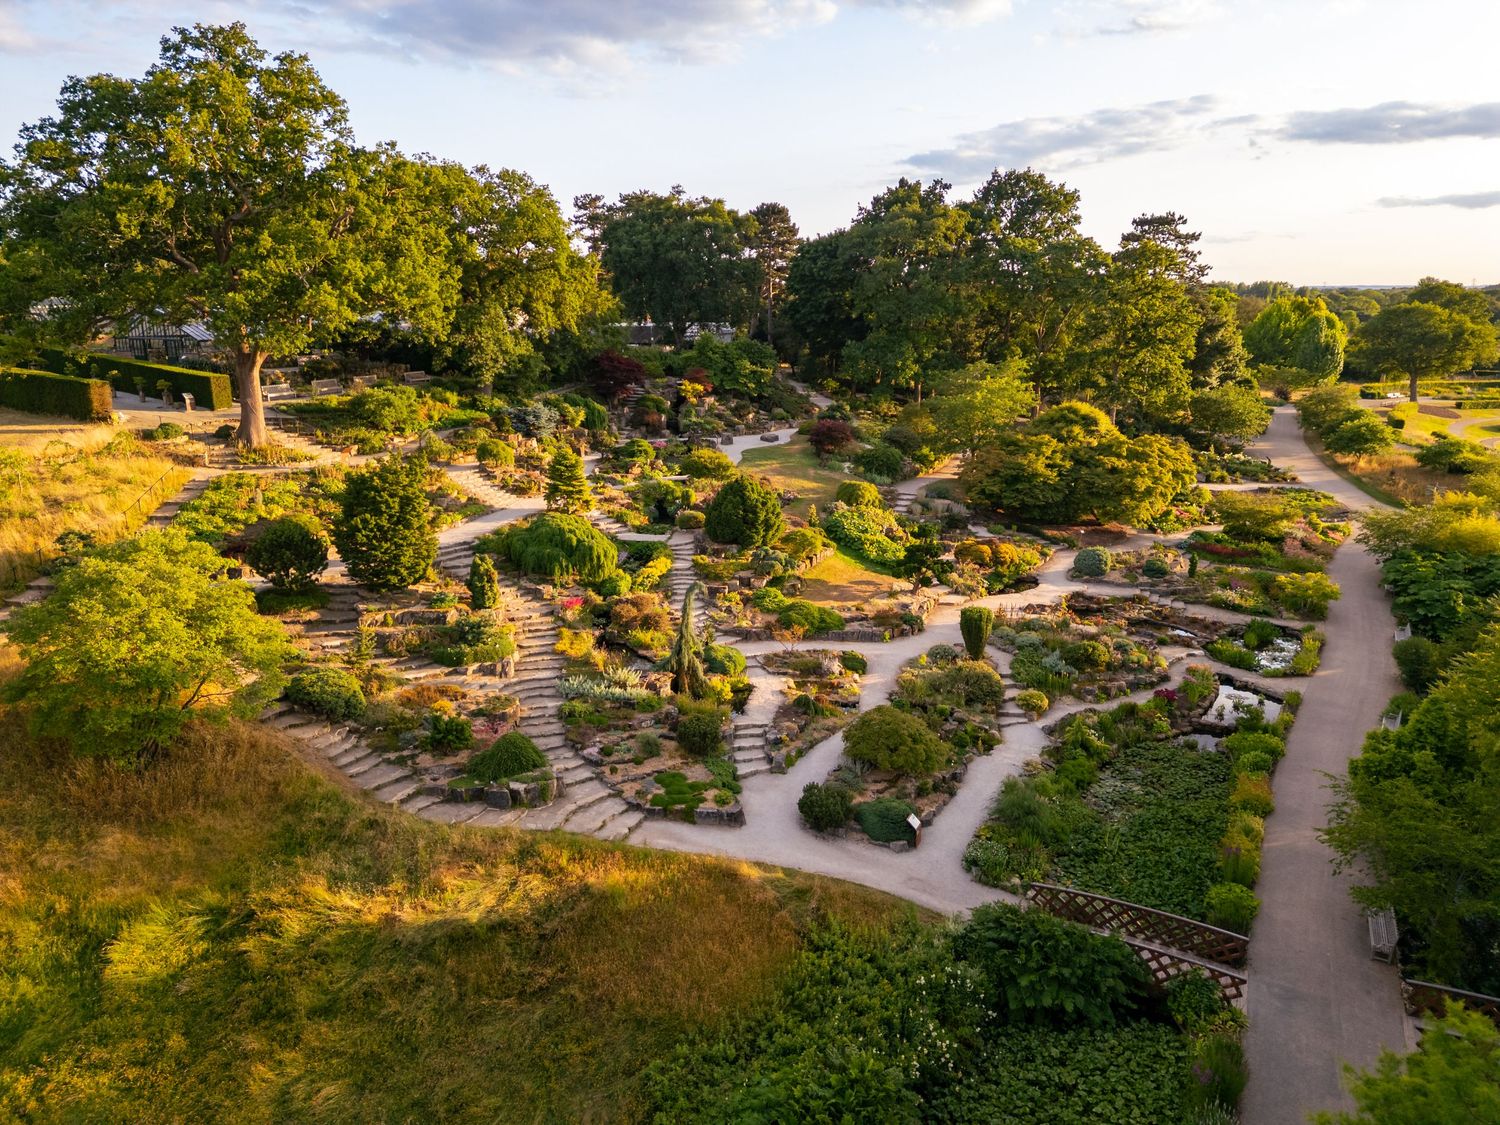
Drone photography can reveal aspects of a garden that are difficult to understand from ground level.
From above, pathways, borders, formal patterns, buildings and surrounding landscapes become much clearer. Aerial images can also demonstrate the overall scale of a garden or show how several distinct areas connect.
The drone should not be used simply because it is available.
Every aerial image still needs a clear subject and strong composition. Flying higher does not automatically create a better photograph, and lower viewpoints can often show more useful detail and depth.
All flights must also be planned around airspace, landowner permission, weather, people, and the location's specific restrictions.
For a more detailed look at this side of my work, read my guide to drone photography for gardens, events and commercial locations.
10. Keep the editing natural
Garden photography can quickly become oversaturated.
Plants already contain strong greens, yellows, reds and purples. Pushing these colours too far can make the images look artificial and may misrepresent the garden itself.
My editing focuses on:
- Natural colour
- Balanced highlights and shadows
- Consistent white balance
- Controlled contrast
- Correct vertical and horizontal lines
- Removing minor temporary distractions where appropriate
- Maintaining consistency across the full image collection
The purpose is to present the garden at its best without turning it into something that never existed.
Creating a useful commercial image library
The Wisley photographs were not created for one isolated advert or social media post.
They were uploaded to the RHS digital asset management system so that authorised teams could search for and use suitable imagery when needed. Because I could not know every future use in advance, the collection needed variety, accurate metadata and enough technical quality to work across different formats.
This changes the way you photograph.
Instead of concentrating only on a few dramatic hero images, you also need reliable supporting photographs that show entrances, pathways, seasonal planting, buildings, visitor experiences and smaller details.
Some of my wider garden photography has been featured several times in the RHS members’ publication, The Garden, including on the cover.
You can read more about my professional photography background and commercial experience.
Photographing gardens after dark
Garden photography does not have to stop when natural light disappears.
Illuminated trails and evening events require a completely different approach, balancing artificial lighting, dark skies, visitors and changing colour temperatures.
I have photographed Glow events at several RHS Gardens, combining ground-level and aerial imagery to capture both individual installations and the overall trail's scale.
Read more about photographing the Glow light trail at RHS Wisley.
Garden photography frequently asked questions
What is the best time of day to photograph a garden?
Early morning and late afternoon usually provide softer, more directional light than the middle of the day. However, overcast weather can be excellent because it reduces contrast and makes colours easier to control.
The best time ultimately depends on the layout of the garden, the direction it faces and the specific areas you need to photograph.
What is the best lens for garden photography?
A standard zoom such as a 24-105mm is one of the most flexible options because it covers wide views and medium compositions.
A 70-200mm lens is useful for isolating sections of planting, simplifying cluttered scenes and compressing different layers of the garden. Wider lenses can help show scale, architecture and confined spaces.
I really like my fixed 100mm too. It's particularily great at getting those stunning macro shots.
How do you photograph flowers when it is windy?
Use a faster shutter speed, increase the ISO if needed and wait for pauses between gusts.
When the wind becomes too strong for close details, concentrate on wider garden views, architecture or more substantial planting until conditions improve.
Is sunshine always best for garden photography?
No. Strong sunshine can create harsh contrast, deep shadows and overexposed pale flowers.
Cloudy conditions often produce softer, more even light and can be particularly useful for detailed planting photographs. The important thing is understanding how to use the conditions available.
Is drone photography useful for gardens?
Drone photography is particularly effective for showing the shape, scale and layout of a garden. It can reveal formal patterns, paths, buildings and the relationship between separate areas.
Flights are only possible where airspace, weather, permissions and visitor safety allow.
Can garden photographs be created for websites, press and social media?
Yes. A commercial garden shoot should produce a varied image library rather than a small selection of similar photographs.
By creating wide, medium and detailed images in both horizontal and vertical formats, the final collection can support websites, press coverage, social media, printed material and wider marketing.
Do you take on garden and outdoor-space photography projects?
I take on selected commercial projects involving landscaped properties, estates, outdoor spaces, tourism locations, hospitality venues and visitor attractions.
Projects can include ground-level photography, aerial imagery or a combination of both, depending on the location and requirements.
What is the best season for garden photography?
There is no single best season because each one creates a different visual story.
Spring is ideal for fresh growth and blossom, summer offers fuller planting and longer days, autumn brings stronger colour and texture, while winter can reveal structure, form and architectural features that are hidden during the growing season.
For commercial projects, photographing the same location at different times of year can create a much more useful image library.
What should a professional garden photography brief include?
A clear brief should explain which areas need photographing, how the images will be used and whether the shoot should include people, buildings, planting details, wider landscapes or aerial photography.
It should also confirm access arrangements, any time-sensitive planting, visitor restrictions, required image formats and whether space needs to be left within compositions for text or graphic design.

Lee Charlton is a multi-award-winning commercial photographer with more than 16 years of professional experience.
He spent nine years as Global Photography Manager at TUI, where he was the company’s sole in-house photographer supporting a global organisation. He also worked with the Royal Horticultural Society for four years, photographing gardens, flower shows, events, people and commercial campaigns across the UK.
His garden photography has appeared several times in The Garden magazine, including cover photography, and his imagery has been created for websites, press, marketing, social media, publications and digital asset libraries.
Discuss your photography project
Need professional photography for an estate, landscaped property, visitor destination, hospitality venue or outdoor commercial space?
Get in touch to discuss your project, the imagery you require and how it will be used.